
Happy Thursday everyone! It's Rosemary
here sharing this scene card I created with several of the NEW Lawn Fawn Dies! I LOVE how easily a scene card comes together using the coordinating Lawn Fawn stamps and dies. It's so much fun, and DIES R US gives me so many options!

++++++++++++++++++++++++
The links to all of the products used from the Dies R Us
Store are shown below. Here is a step-by-step of how I created this
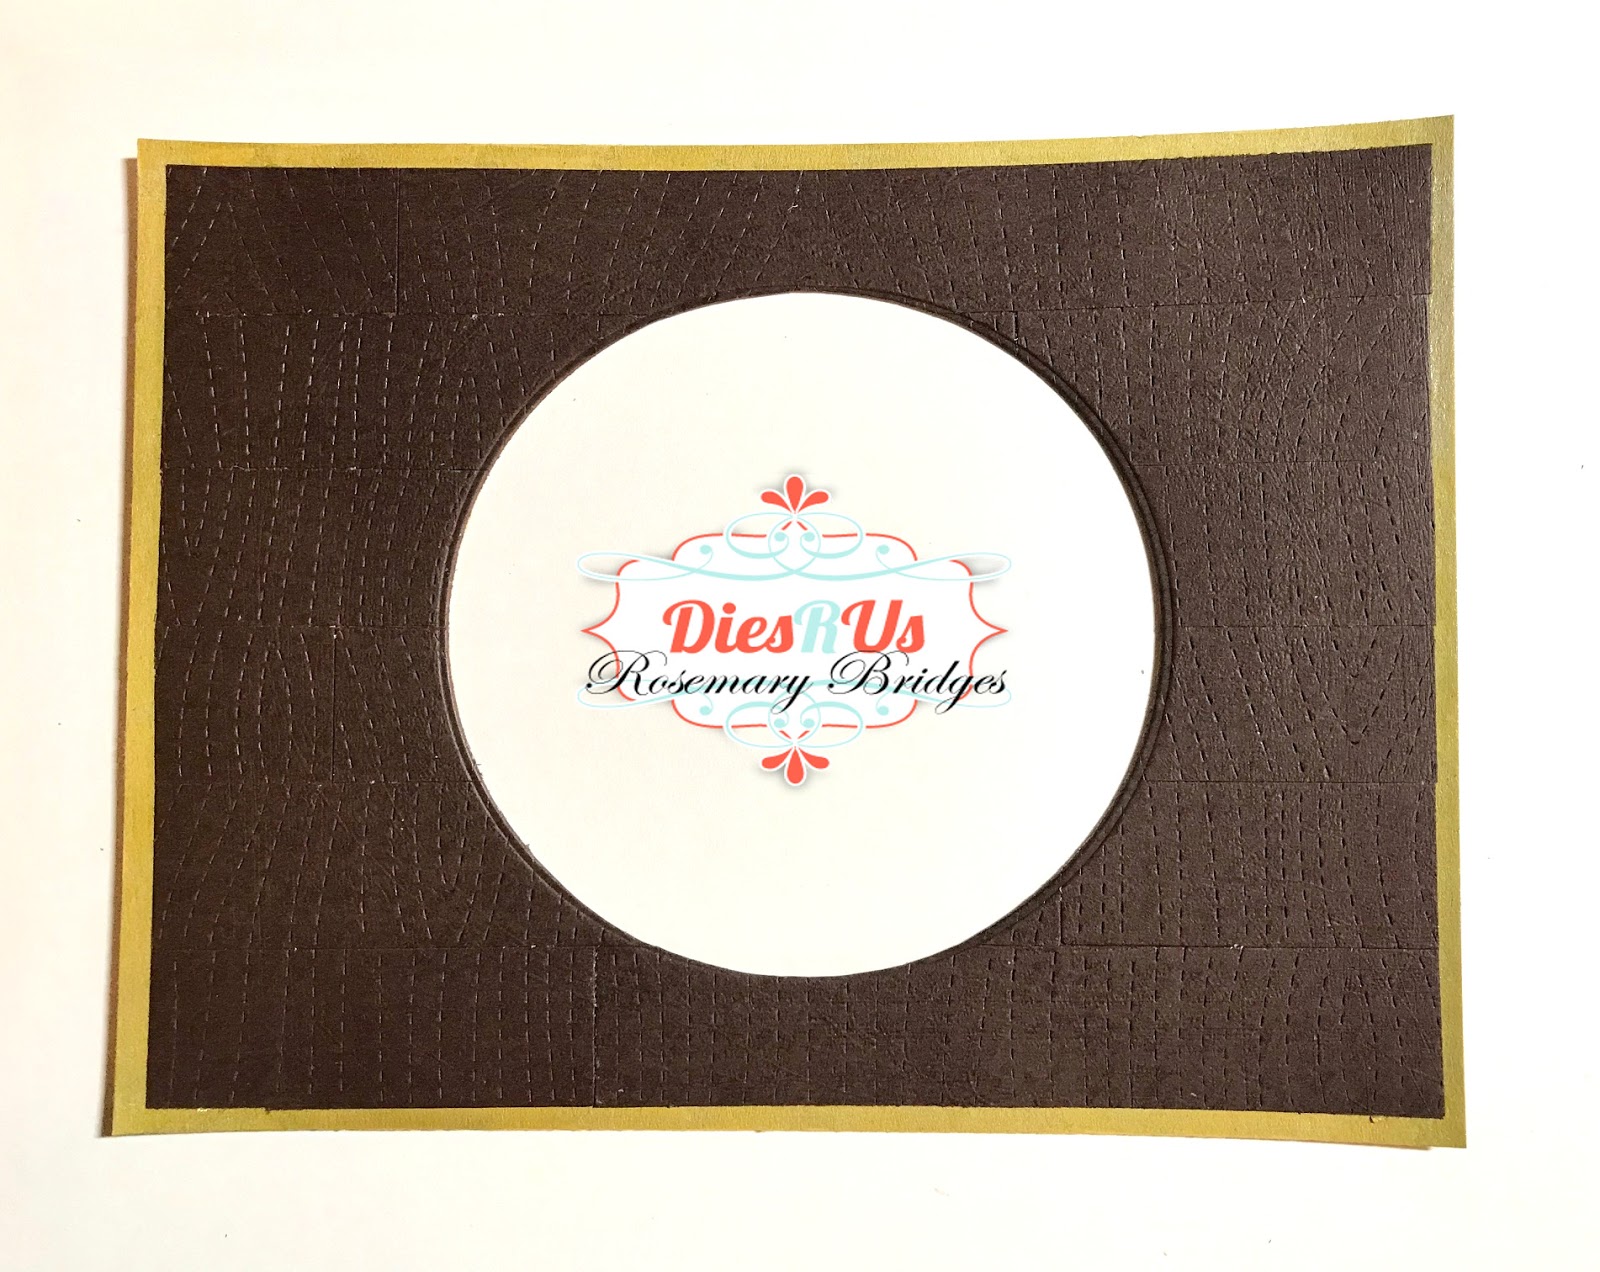
card. First, I cut out two pieces of the Lawn Fawn Stitched Woodgrain Backdrop from brown cardstock.

Next, I used my paper trimmer to cut 3/4" strips, along with a 5" x 6" rectangle to glue the strips to. I was trying to create
a shiplap boat wall. In retrospect, I should have used a lighter brown
cardstock and inked the edges with walnut stain distress ink so you could see the strips.

I glued the strips down to the rectangle, offsetting the strips to look like a shiplap wall, and then trimmed the brown cardstock down to 4.5" x 6". Then I added a piece of 4.75" x 6.25"gold cardstock underneath.

I used a circle die and cut out the center. I used a die I had in my stash, but if you don't have any circle dies you can use the Elizabeth Craft Designs Frame It Stitched Circles.
I cut out the largest Lawn Fawn Porthole Frame Die, and a plain circle about the same size from a transparency sheet. I glued the gold porthole frame on top of the transparency.

I cut two more plain circles....one from watercolor paper and one from Yupo paper. I created a sky background with markers and paintbrush on the watercolor paper. I created water with alcohol inks on the Yupo paper. Next, I used one of the Lawn Fawn Stitched Wave Border Dies to cut out the bottom "water" portion of the circle and glued it on top of the sky background.

I had an extra watercolor paper circle, and covered the top with Hickory Smoke and Black Soot Distress Oxide Inks. Then I splattered water on top and used a paper towel to pick up the excess water. This creates the lighter spots on the paper...perfect for the manatees from the Lawn Fawn Manatee-rific Stamps. This stamp set also has Coordinating Dies.

Here's the circle scene with the manatees. Aren't they adorable?!!

I wanted to create some depth so I added foam squares to the back of the shiplap/porthole cardstock BEFORE adding the circle manatee scene to the back. This puts some space between the porthole and the scene

You can see here that there is space between the scene and the porthole.

The side view shows some of the dimension. I also added foam squares behind the sentiment banner.

************************************
Here are the Dies R Us products used:


Thermoweb 3D Foam Squares


**********************************************************************
For more inspiration, come join the fun at the Dies R Us Challenge Blog. There's a new challenge theme offered on the 1st and 15th of each month, and one
lucky randomly drawn winner will receive a gift voucher prize to the Dies R Us Store. For your convenience, all the important Dies R Us links are provided below.

Come check these out! Click below for:
Fantastic Rosie! What a fun creation ... thanks for wonderful inspiration!
ReplyDeleteCute card.
ReplyDeleteFabulous - so creative!!
ReplyDelete