Dec 31, 2019

Happy New Year!

Happy New Year, crafty friends!  It's Julie with you today, wishing you a wonderful 2020!

What better way to toast in the New Year than with a little bubbly?


That darling focal point is from Tutti Designs.  It's Champagne Flutes. I thought it was perfect for New Year's Eve, but it's actually good for any festive occasion -- birthdays, weddings, anniversaries.  It has many uses.

Here is a picture of all the supplies I used on this card:


The star border on the side of the card is from Technique Tuesday, but this one from Frantic Stamper would work equally as well. The larger stars were cut out from dies by Spellbinders.

Supplies used on this card found in the Dies R Us Store:


The papers and sentiment are from Kaisercraft.

I wish you a happy and safe new year, and here's one more view of my card:

I hope you check this blog every day for wonderful inspiration!  The design team is so creative, you don't want to miss anything.  Then, join in the challenges at the Dies R Us Challenge Blog.  Here's one last link to the Dies R Us Store for you, too! 

Dec 30, 2019

All Aboard!

Hello Dies R Us friends. Lena here with you today. I'm still in Christmas mode, so I'd like to share the Christmas card I made for my grandson.  He's a great Mickey fan, so incorporating Mickey and his friends in this card design was a must  😀 


My little guy is 2 and a half years old and loves trains, especially the one that goes around the Christmas tree, so it was his love for the Christmas train that inspired me to make this card for him.
Since Karen Burniston has such amazing tutorial videos, I thought I would share this one with you on how to put this card together
 Train Pivot Panels / Train Elements tutorial video.

In addition, here is the list of supplies I used, each linked to the Dies R Us store, for your convenience.


Train Pivot Panels
Karen Burniston


Train Elements
Karen Burniston


Crosshatch Squares
Karen Burniston


Mini Snowflakes
Dee's Distinctively Dies


Thank you for stopping by today.  I hope that I inspired you to use your dies, create a project, and come play along with us at the Dies R Us Challenge Blog for your chance to win a gift voucher to the Dies R Us Store.  A new challenge begins on the 1st and 15th of every month.  Be sure to follow us on Facebook and Pinterest too.


Dec 27, 2019

Cardinal Joy

Hi there, Shona here with you today to share my last 2019 DRU card!! I just don't know where this year went! Today I am highlighting Dee's Distinctively Cardinal Frame.


Here is the cardinal frame die cut:


I started with backing a piece of white cardstock with a piece of Super Adhesive Sheet. The die was placed face down on to the adhesive side, so that when I ran it through it only cut the adhesive sheet and not completely through to the cardstock.


I then ran the die cut through with red cardstock and fussy cut the two birds.


I picked off the protective backing from the cardinals and branches and placed the red cardstock cardinals in their appropriate spots. 


I then took Glistening Emeralds flocking and burnished it in to the remaining sticky surface.


The remainder of the protective backing was then peeled off and Sparkling Snow glitter was burnished in as a sparkly background.


I found the perfectly sized frame for my piece - the Cheery Lyn Celtic Square Boutique Stacker Frame. This particular one is not in the store, but there are other stacker frames. The medium sized frame was cut out of green cardstock.


This was layered to red cardstock and then to a white card base before adding the focal piece with foam tape for dimension. I added Nuvo Crystal Drops Ebony Black for the eyes.


The last step was to add the sentiment. I taped a piece of adhesive tape to a scrap of red cardstock. This time I put the "joy" die on the other side so that it would be sticky on the back of the word.


I took of the sticky backing from the die and stuck it on the top of the glittered panel.


It was a bit fiddly getting the adhesive off the back of the dot of the "joy", but I really liked the result. Hope you do too?


Here are the products that I used in my card today:


Memory Box Sketchblock Joy
Glistening Emeralds Flocking
Sparkling Snow Glitter
Nuvo Crystal Drops Ebony Black

Don't forget to come join in the fun at the Dies R Us Challenge Blog. There's a new challenge theme offered on the 1st and 15th of each month and one lucky randomly drawn winner will receive a gift voucher prize to the Dies R Us Store. For your convenience, all the important Dies R Us links are provided below.
https://blogger.googleusercontent.com/img/b/R29vZ2xl/AVvXsEjygNLxcuoMF0QGkWjeKFQy4lZE9xPm4QkjkK4ZIy3_i6CUH4dbIlD2GtvtJDSNeEyKsnkATkFOo0ED3Uqr_dYSKeke1onYgxnGYC_PyWMxI9FSEcJGEYbPSTfYFWjlWZZWcd5jnDd6RmiC/s1600/-logo+collage.jpg
click below for:


Wishing you all a wonderful, happy and healthy New Year!

See you again in 2020!

Shona

Dec 26, 2019

Happy New Year Card

Hello Crafty Friends - Annie here with a quick and easy New Year's card.

Can you believe it's almost here! 
A new year filled with new experiences, memories, 
birthdays, anniversaries, and so much more! 

This card is so quick to create you can still make them and get them out to all the family and friends!

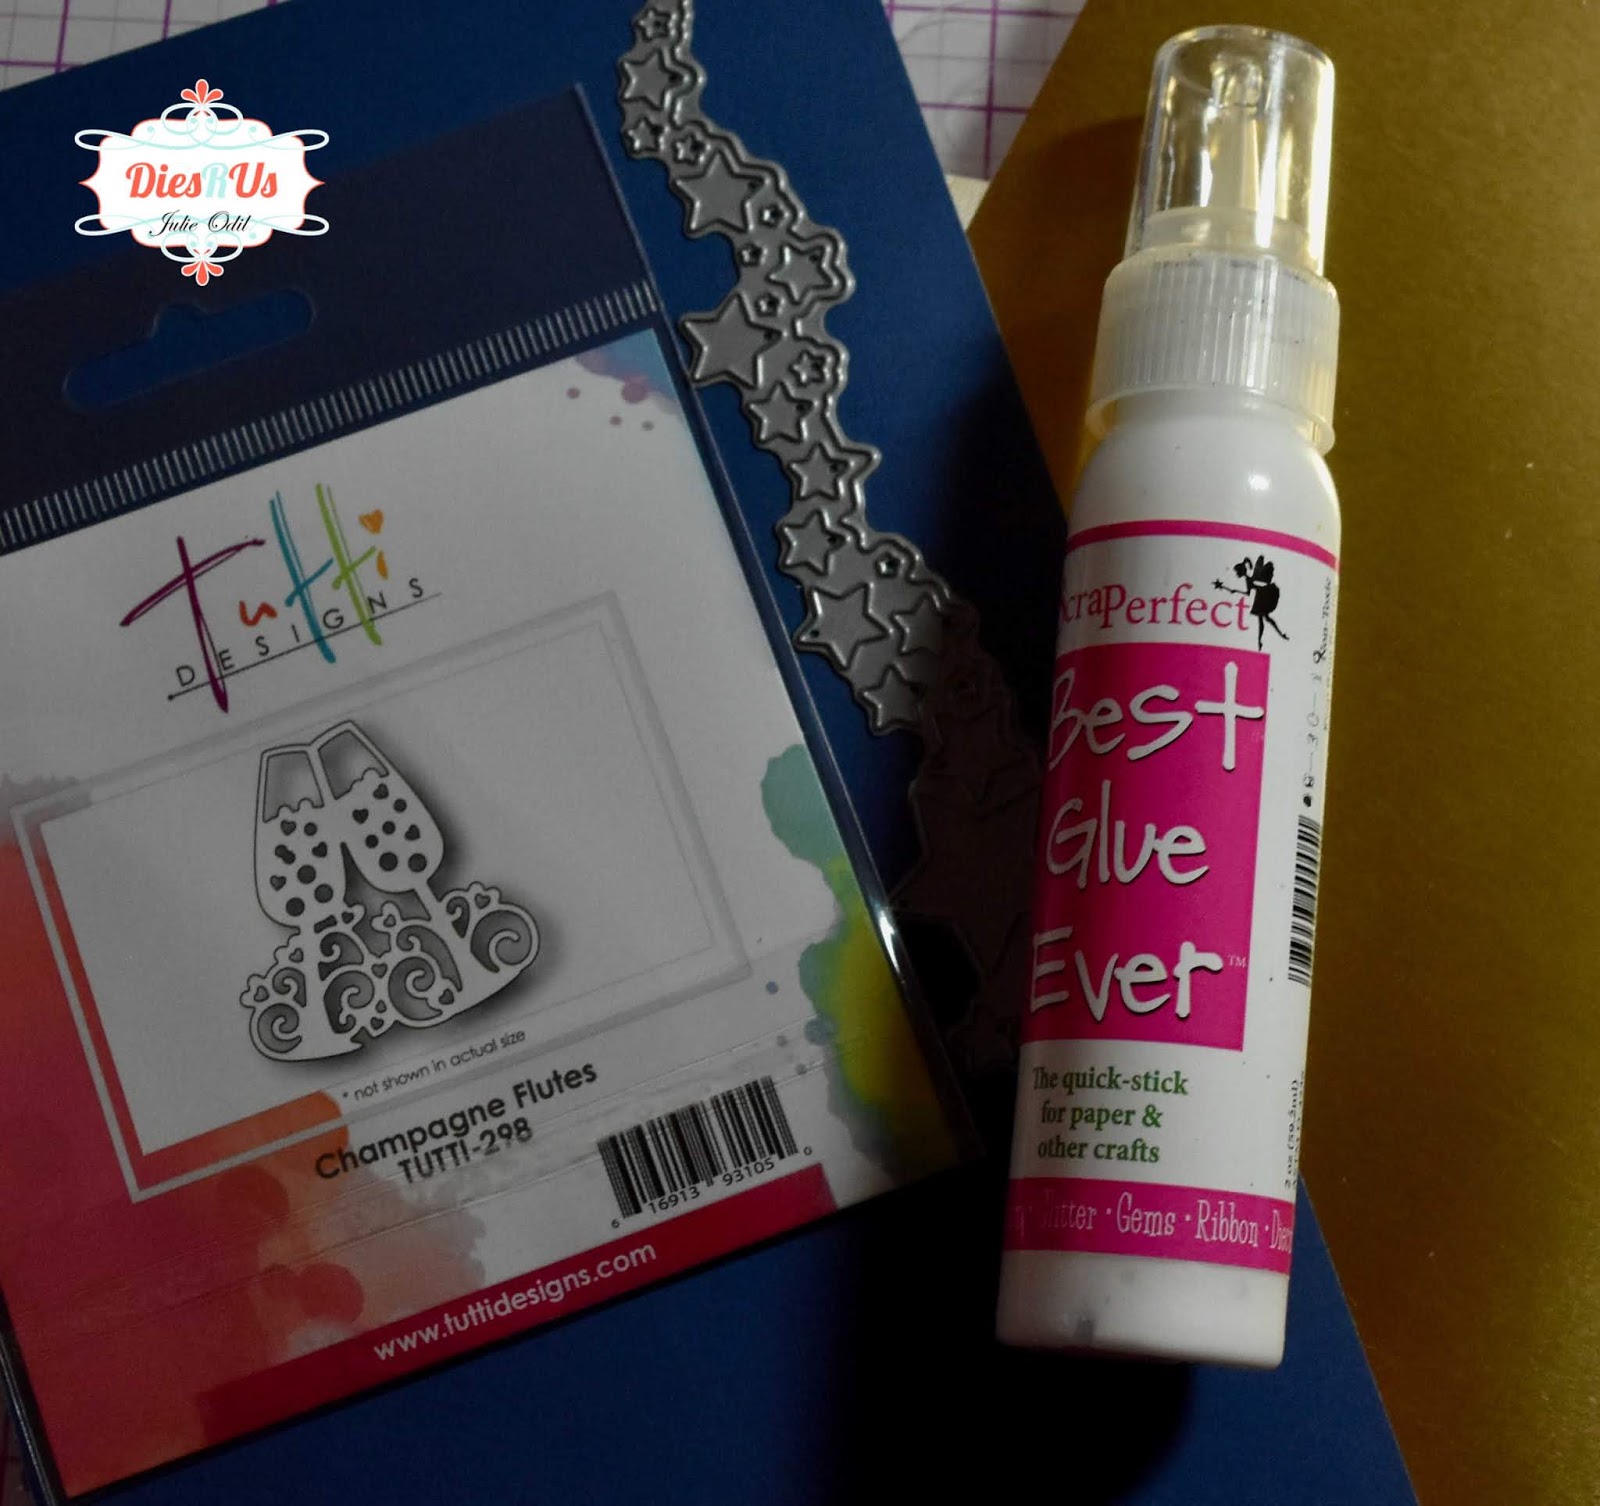
I gathered all the supplies. The die, Rinea Foil paper for some shine and some Doodles Paper Playground Sparkle Blend called Celebrate along with some cardstock.

I die cut all the pieces from the foil paper. I die cut the leaves in Rinea Foil paper Starstruck Ebony and Starstruck Silver. The champaign bottle I cut from Rinea Foil paper Starstruck Ebony and I cut and an extra one from Rinea Foil paper Glossy Gold for the inlays of the labels. I then cut the glasses from Rinea Foil paper Starstruck Silver. I also die cut the label banner from Rinea Foil paper Starstruck Silver. Finally, I die cut the sentiment from Rinea Foil paper Starstruck Ebony.

I start by assembling the champaign bottle. I put some low profile foam adhesive on the back of the bottle and then turn it over to place the small label piece into place.
  

Next, I adhered the leaves to the bottom of my white card front panel. Starting with the black leaves first then the silver. Then, I adhered to the bottle and the glasses just above the leaves.
 

Then, I adhered the sentiment onto the banner and added some low profile foam adhesive to the back of the banner and place it on the card panel making sure to center it. 
 

Next, I added some sequins to the card front panel. I created a small cluster at the center between the leaves and two other clusters on the sides of the bottle and glasses. I finished with a final cluster by the sentiment. 
 

Then, I adhered the card front panel onto the card base and the card is complete!

Materials Used:
Amy Design - Dies - Christmas Wishes - Champagne

Elizabeth Craft Designs - Dies - Happy New Year

Elizabeth Craft Designs - Dies - Banners

Rinea Silver/Silver Starstruck Foiled Paper


Jot Brand: Low profile Foam Adhesive
Recollections Brand 65lb Cardstock: White
Recollections Brand 110lb Cardstock: White
Crafter's Edge Crossover Die Cutting Machine
Imagine Crafts: On point Glue

Thank you for stopping by the blog today. I hope you found some inspiration!

Don't forget to come and join in the fun at the Dies R Us Challenge Blog. There's a new challenge theme offered on the 1st and 15th of each month and one lucky randomly drawn winner will receive a gift voucher prize to the Dies R Us Store. For your convenience, all the important Dies R Us links are provided below.