
“Our Friendship” Galaxy Background Card
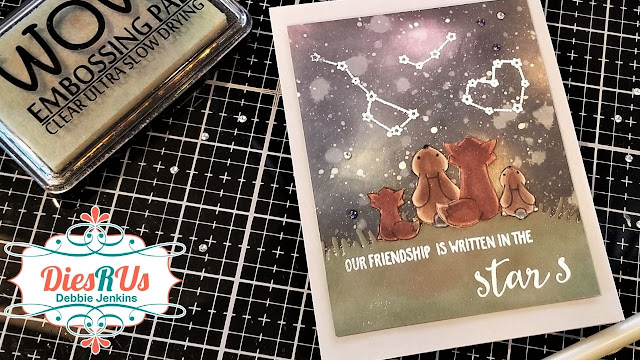
Hi Guys! I'm Debbie from Debbie J’s Crafting Corner, here today sharing how I created this card with a galaxy background and images from the “Upon a Star” stamp set from Lawn Fawn.
I love showing the process when I’m creating. I hope my tutorial and video help you see that, if I can make it, You Can Too!
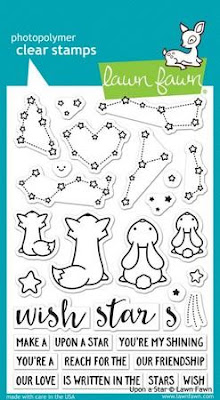
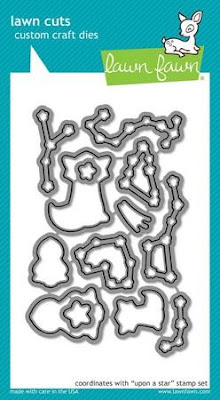
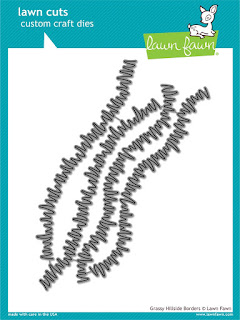
I used the following stamps and dies from Dies R Us:
Lawn Fawn - Upon A Star Stamps
Lawn Fawn - Upon A Star Dies
Lawn Fawn - Grassy Hillside Borders Dies
Check out the video showing how I created this adorable card!
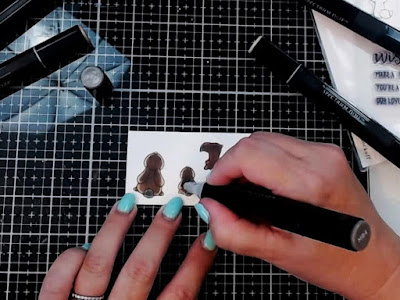
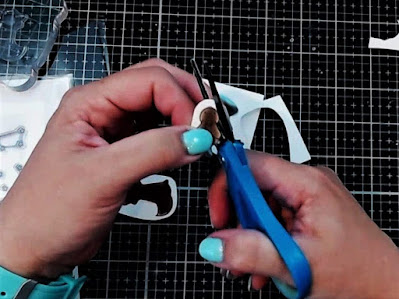
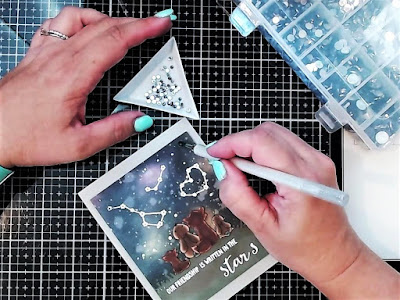
I used my Spectrum Noir Markers to color in the adorable fox and bunny images and fussy cut each of them out.
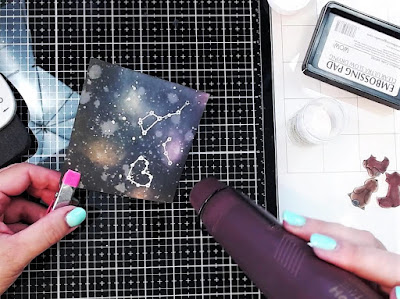
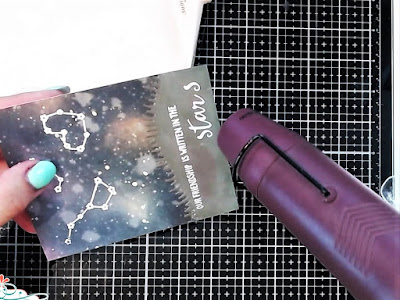
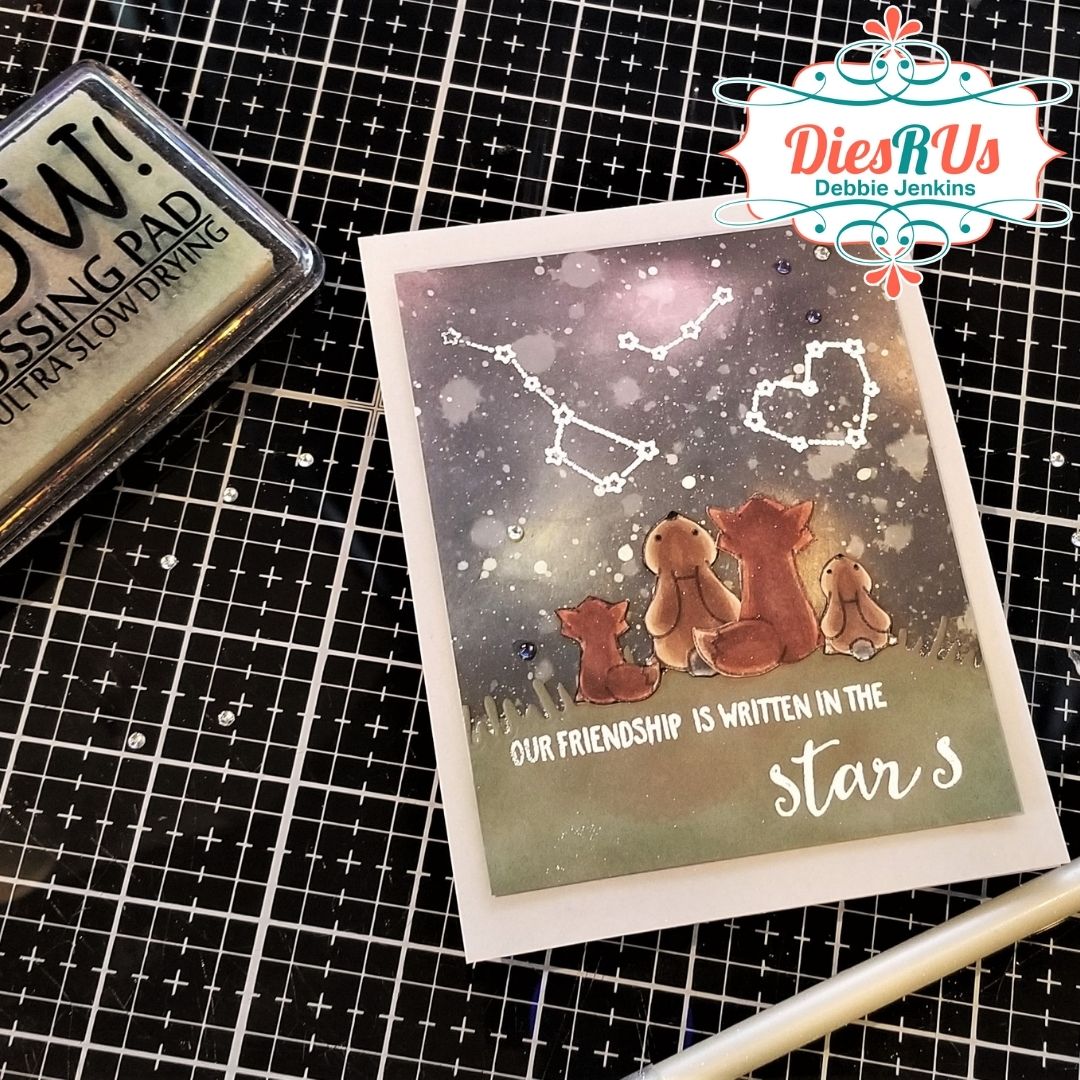
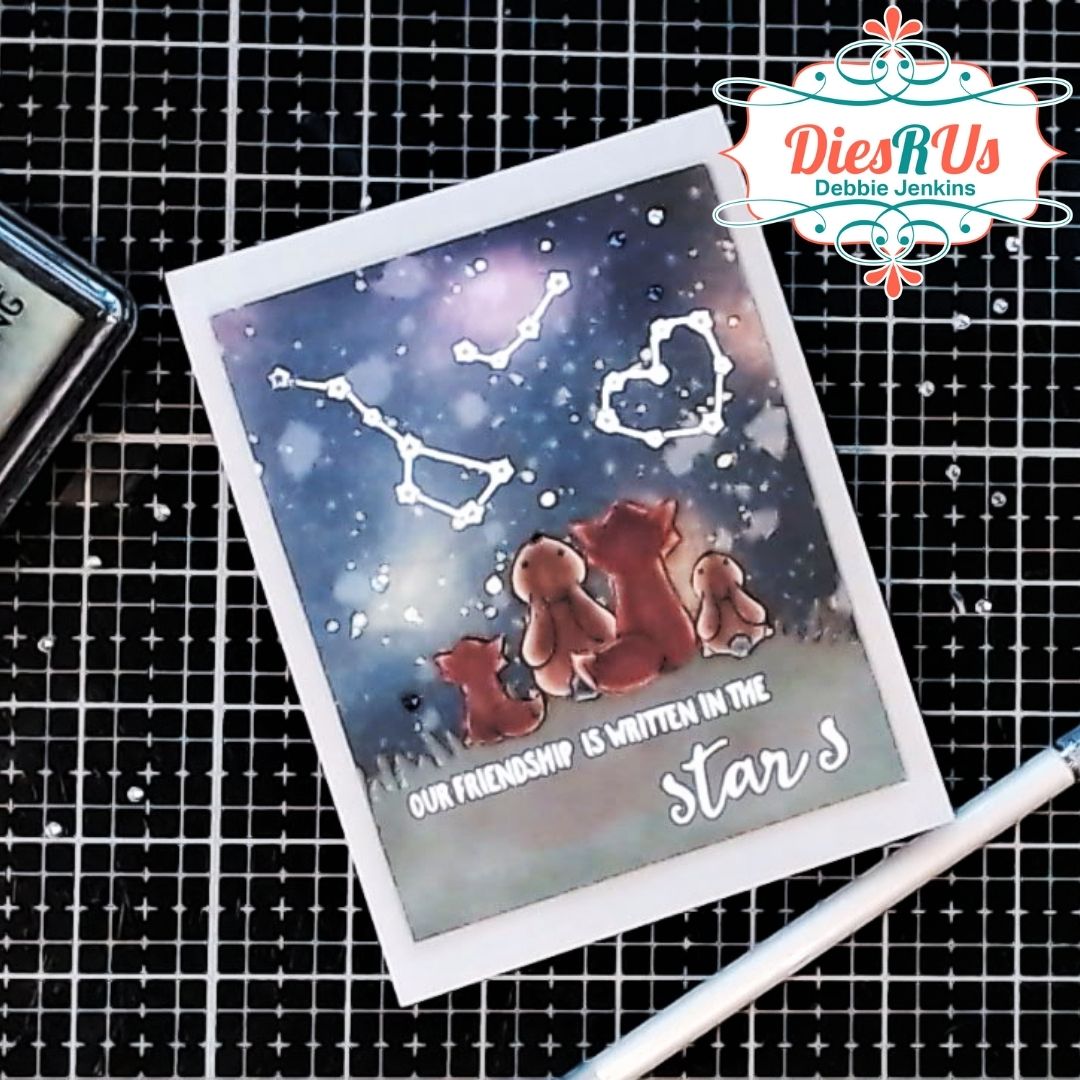
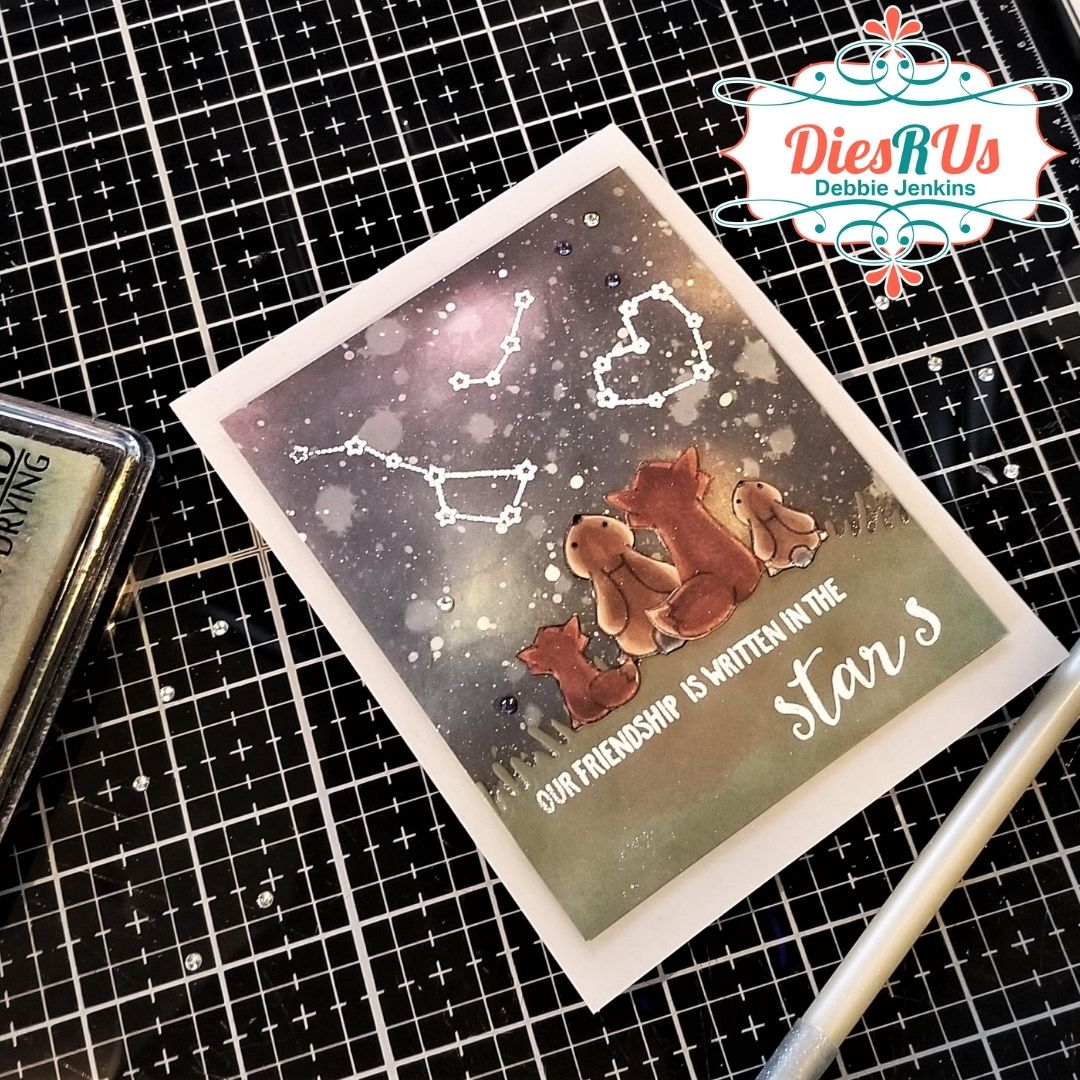
Then I heat embossed some fun constellations onto a galaxy background that I made earlier this week for a LiveStream on my YouTube channel.
I used WOW Embossing ink and White detail embossing powder from Recollections.
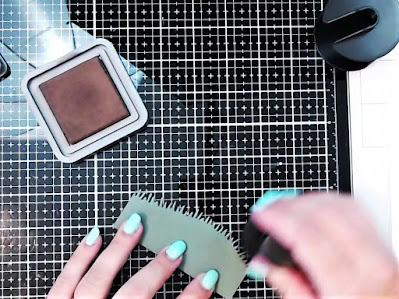
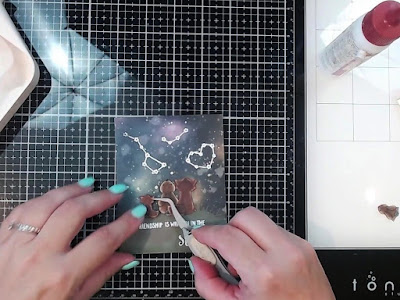
The little family needs something to sit on, so I cut a little hill using one of the dies from the Grassy Hillside Borders Dies set from Lawn Fawn, and added a little texture to the hill with Walnut Stain Distress Oxide Ink.
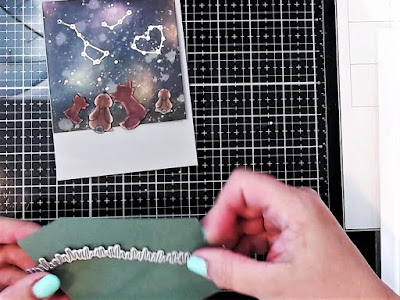
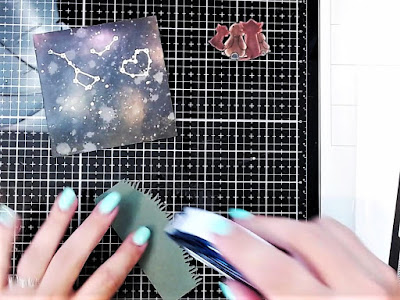
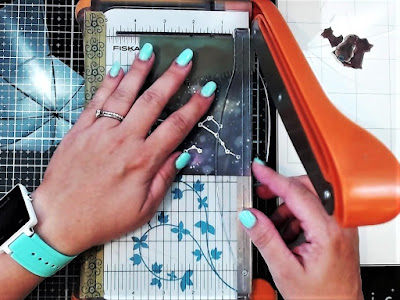
I adhered the grass to the galaxy panel with a tape runner and trimmed the entire panel down to 3 ¾ x 4 ¾. This will leave a nice border when it’s added to a card base.
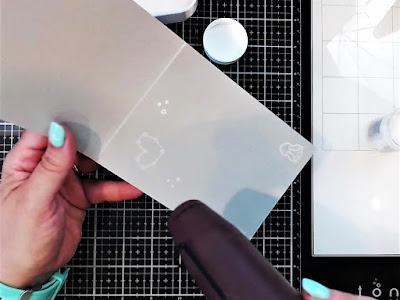
Next, we need a sentiment. I placed the panel in my stamp platform and positioned the characters where I thought I’d add them later. Then I lined up the sentiments on the grassy hillside using one of the tools in the Misti Creative Corners set.
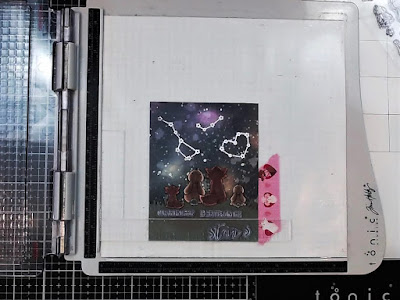
After using my anti-static tool again, I stamped out the sentiments in Wow Embossing ink and added the same white embossing powder as before.
I love how the white pops once it’s heated.
Then I adhered the little family to the front of the panel with Art Glitter Glue.
Before adhering the front panel, I also heat embossed some of the constellations and one of the bunnies onto the inside of the card.
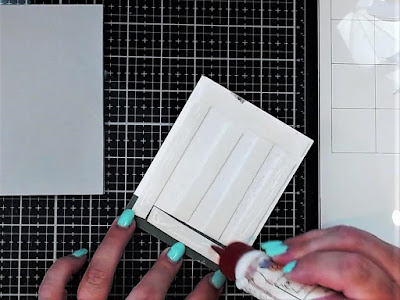
Then I adhered the front panel with foam tape for dimension.
💥Quick Tip: use liquid adhesive on your foam tape to make it easier to position your panel.
As a finishing touch, I added a few crystals from my stash.
Here are some photos of the finished card.

Thank you so much for dropping by. I hope you enjoyed this project and would love to hear what you think of this card.
Please leave me a comment down below!
Be sure to check out my YouTube Channel, Blog, Pinterest, and Instagram for more inspirational projects. I also have a fun Facebook Group where you can share your projects with other fantastic creators. We would love to see what you create, so come join us!
Head back to the Dies R Us Blog tomorrow for more fabulous inspiration from the DRU Inspiration design team.
Be sure to check head over to Dies R Us Challenge Blog. We love to see what you create, and this is a perfect place for you to share your creativity.
PLUS, there is a new challenge theme offered on the 1st and 15th of each month, and one lucky randomly drawn winner will receive a $10 gift certificate to the Dies R Us Store.

Thanks so much for stopping by. And remember, if I can make it, YOU CAN TOO!

No comments:
Post a Comment
Note: Only a member of this blog may post a comment.