

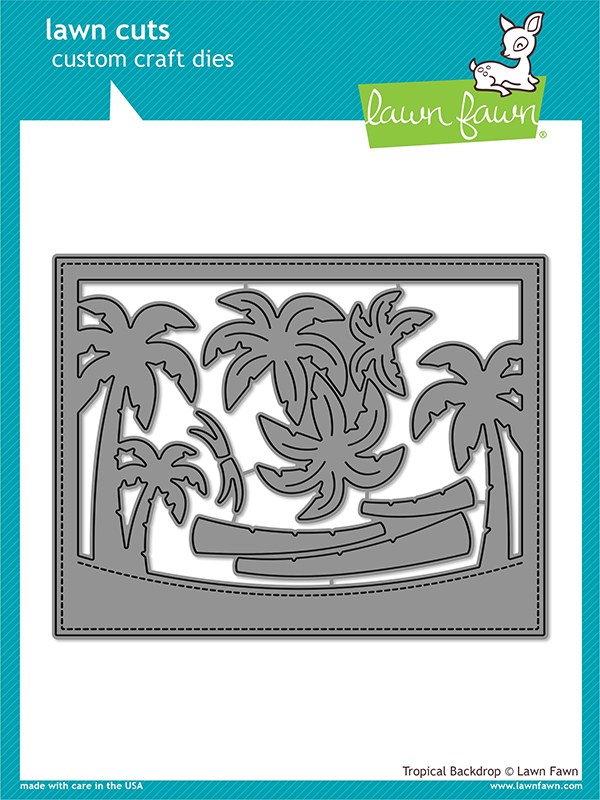
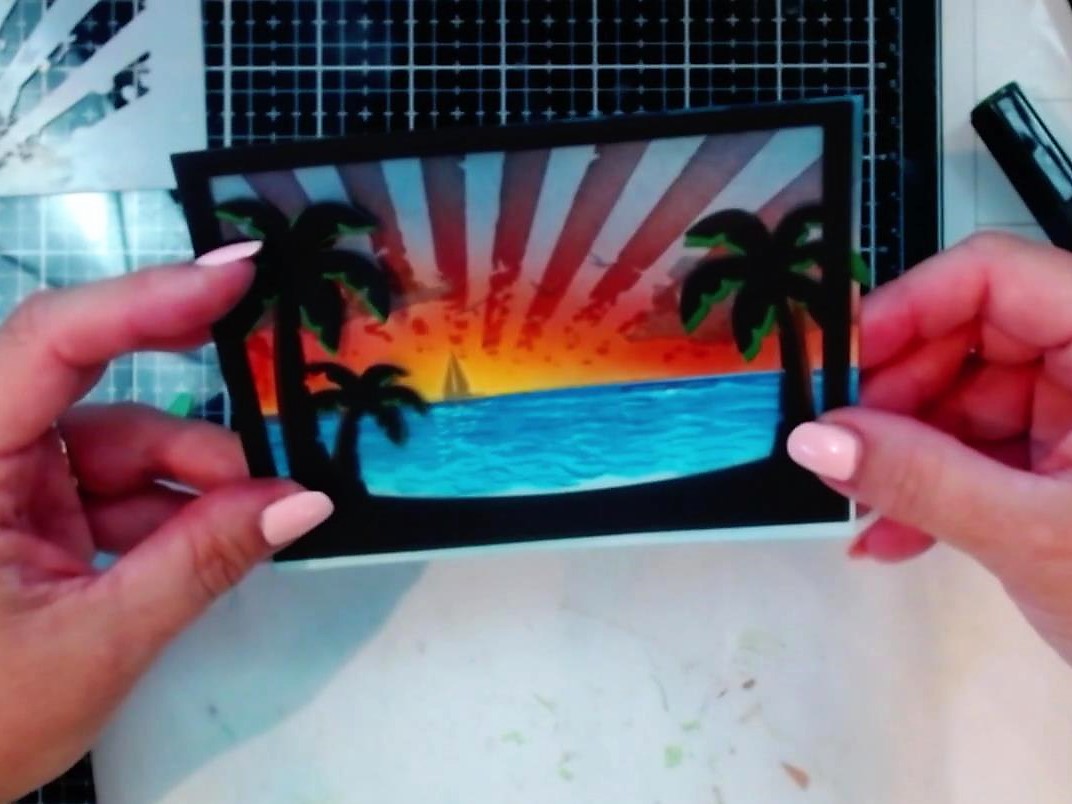
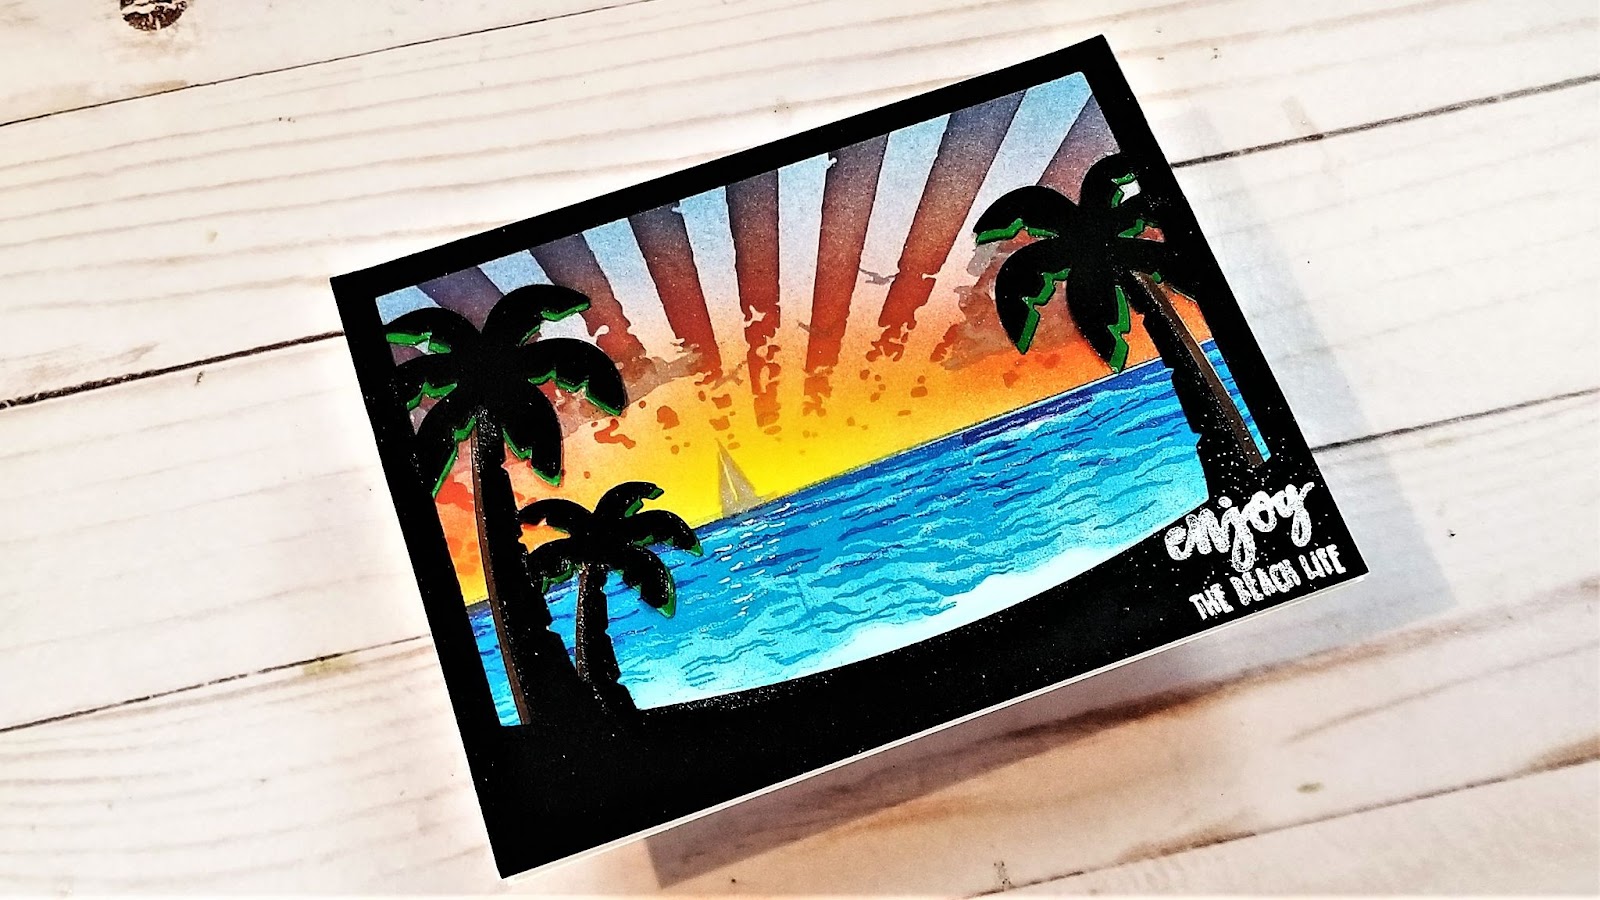
Hi Guys! I'm Debbie from Debbie J’s Crafting Corner, here today sharing how I used the Tropical Backdrop Die from Lawn Fawn to frame an ocean sunset background on my card.
I love showing the process when I’m creating. I hope my tutorial and video help you see that, if I can make it, You Can Too!
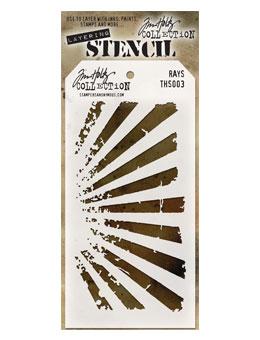
I used the following stamps and dies from Dies R Us:
Check out the video showing how I created this fantastic card!
I’ve been wanting to use this frame die for a while but never found the right idea to create. Then I thought, “What if I made a sunset view from the beach?” (I think “what if” are every crafter’s last words. LOL )

Anyway, this card design is pretty simple and would work with ANY tropical scene card… I think this would even work on a ‘Congrats on your new home’ card… I live in Florida, and we have LOTS of palms… I can’t get my hubby to stop planting them. We are starting to have a jungle… hmmm… that’s another idea! A jungle card!
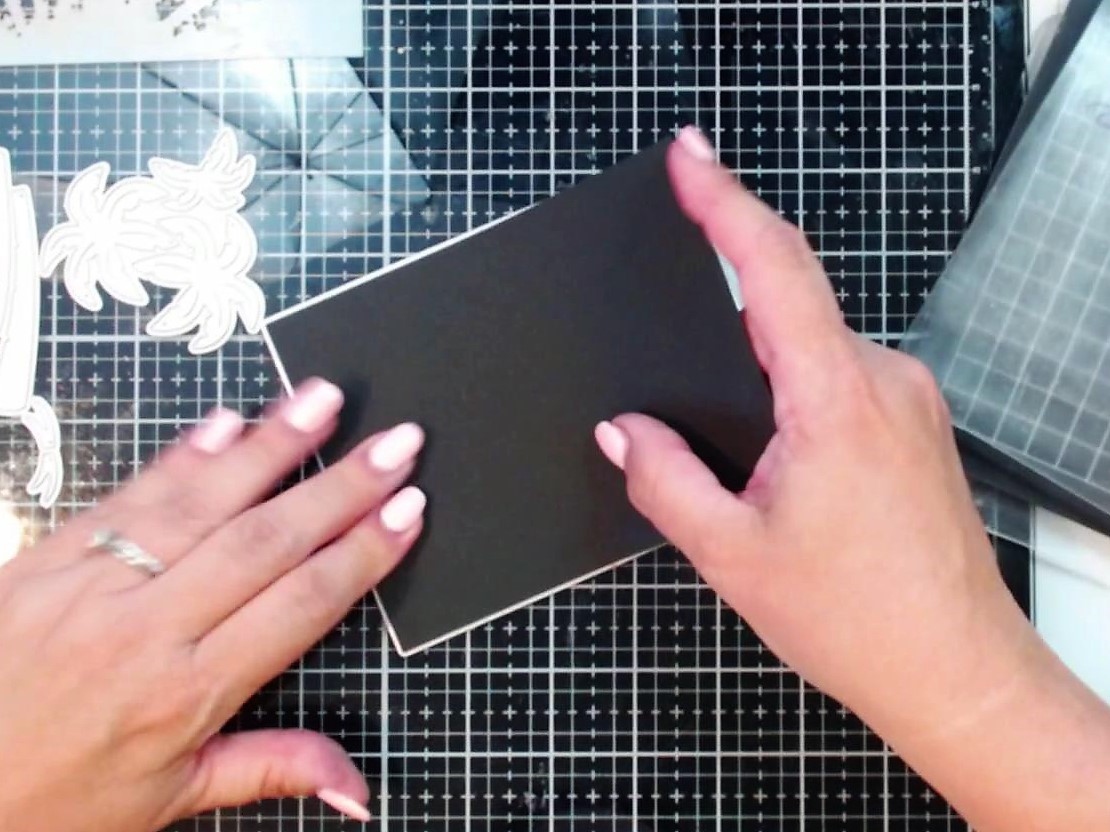
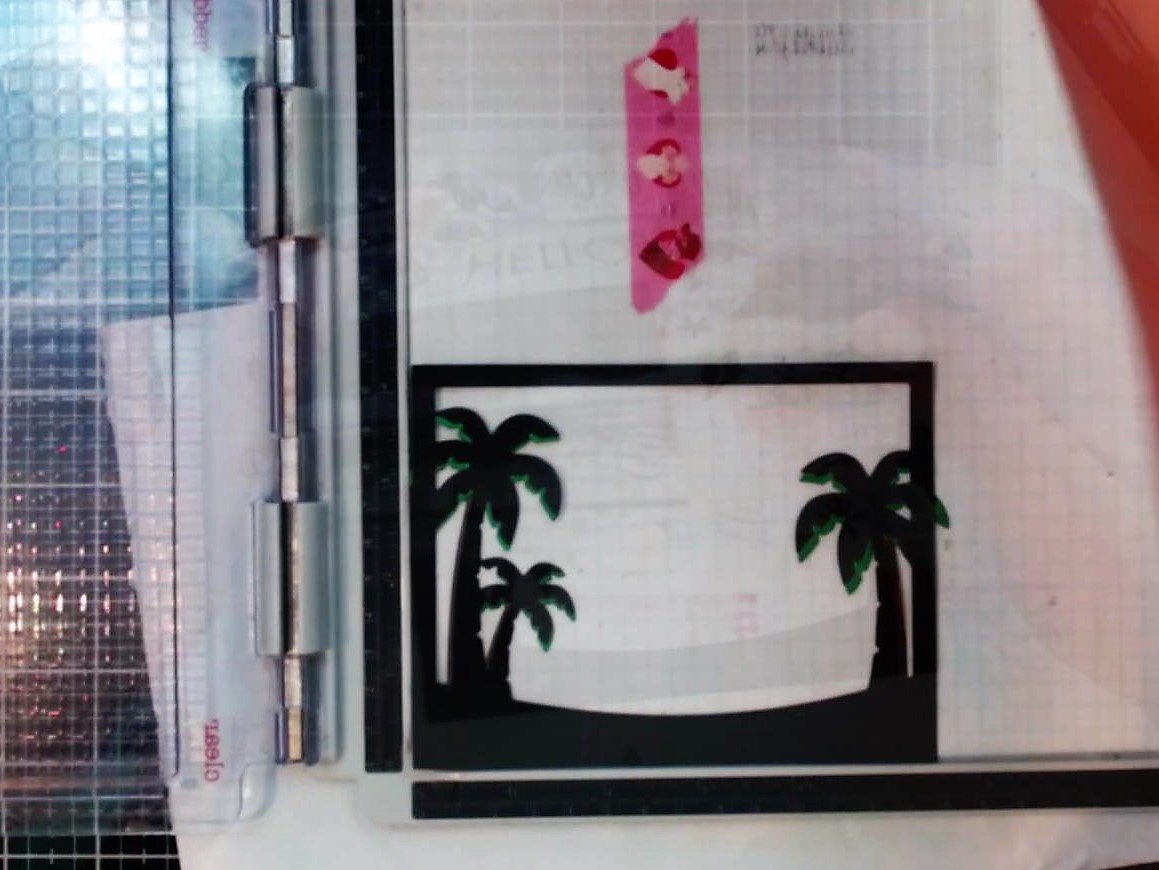
I started by cutting the frame from some black cardstock.
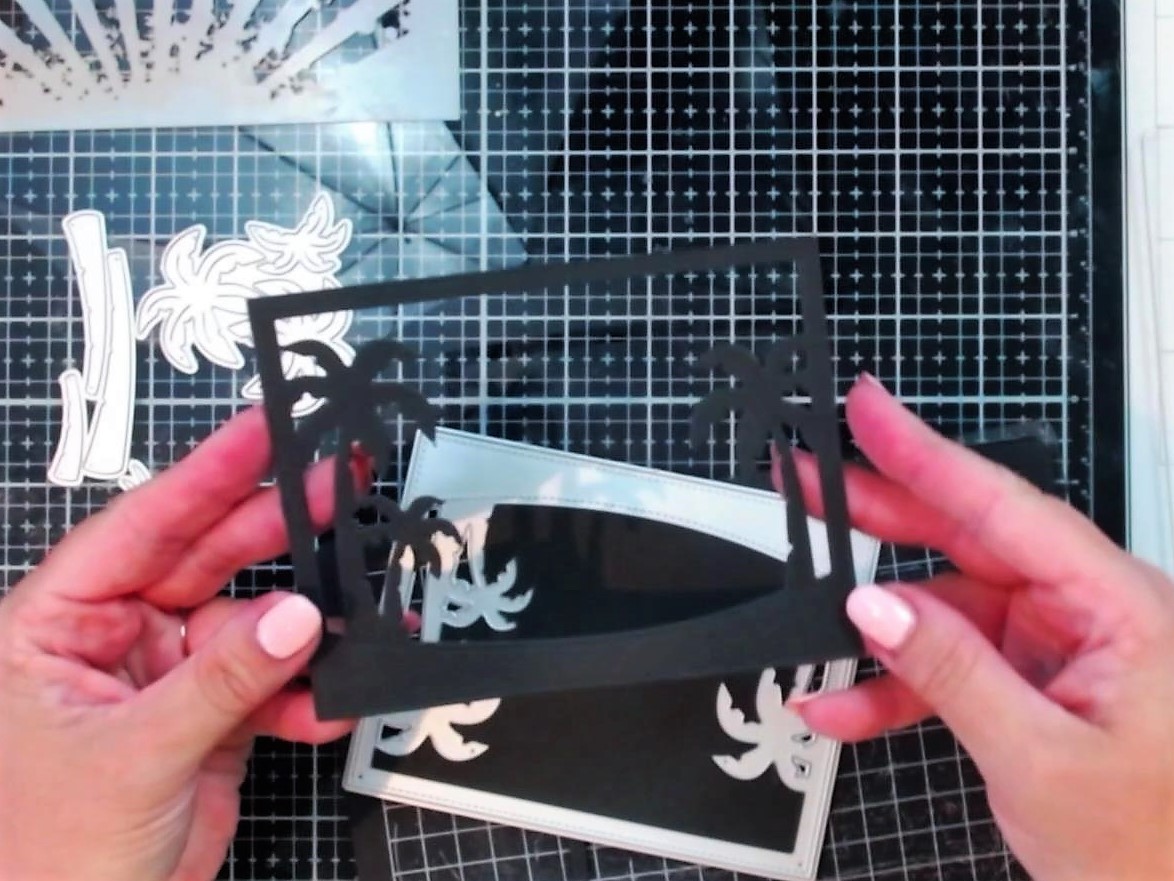
Then I “tested” it with a sunset card panel that I’d done earlier. (if you want to see how I’m creating these cool ocean scenes, check out this video.
I have to admit, this new one is my favorite… so far.
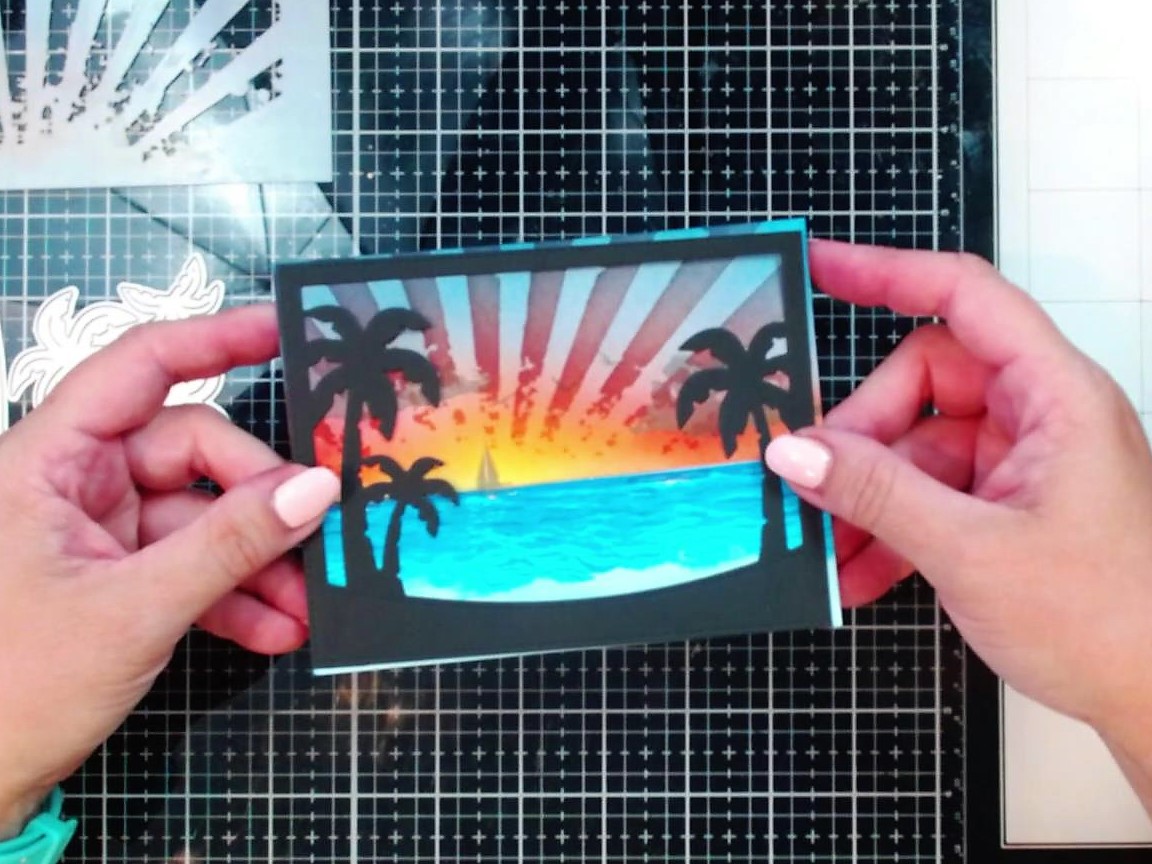
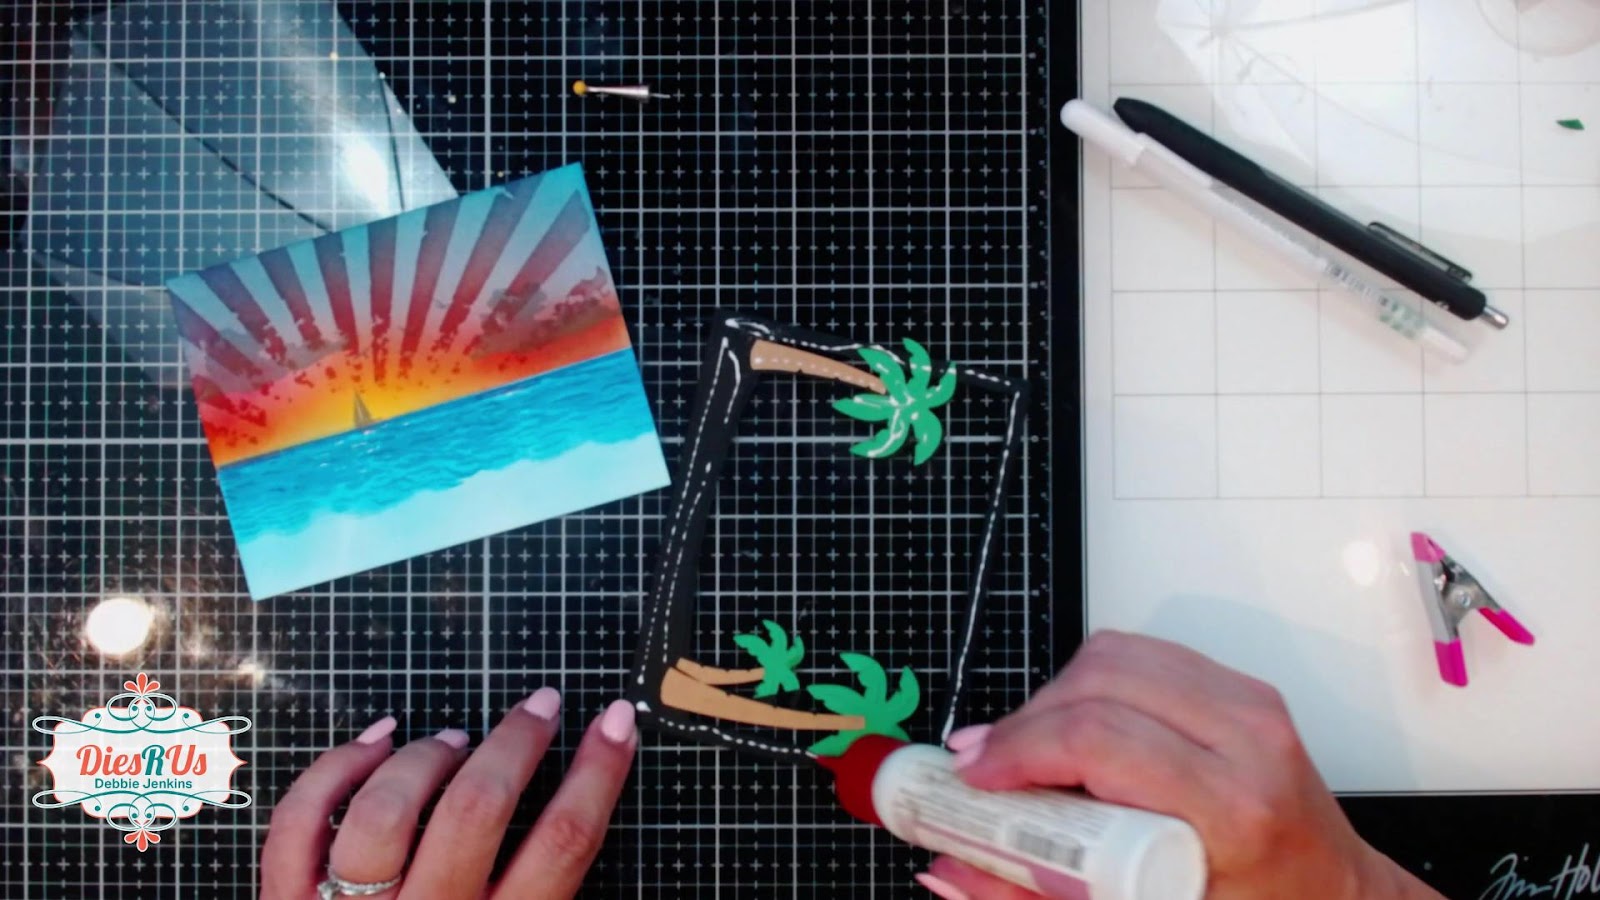
I want it to look as if we are watching the sun go down from on the beach. And I think the trees look a little 2 dimensional… Let's fix that!
I used the other dies in the set, the ones for the trunks and for the fronds, and cut them out of brown and green cardstock respectively.

But they weren’t dark enough for a sunset scene.
Easy Fix! I just grabbed a dark green and a dark brown marker and colored the edges.
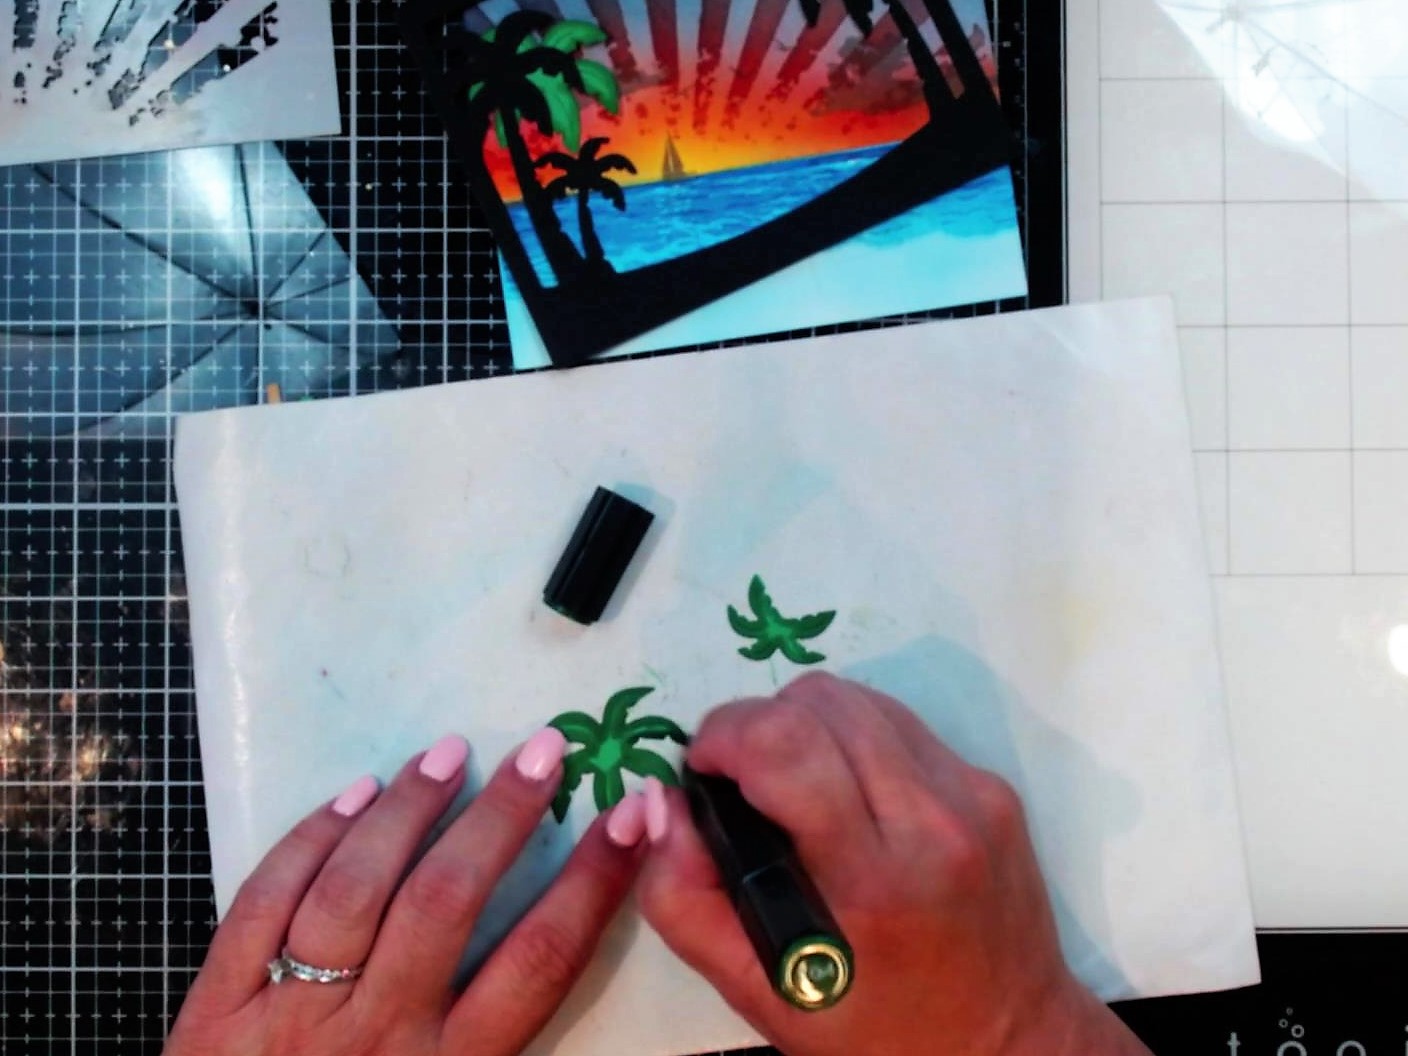
Perfect! It gives the illusion of dimension.
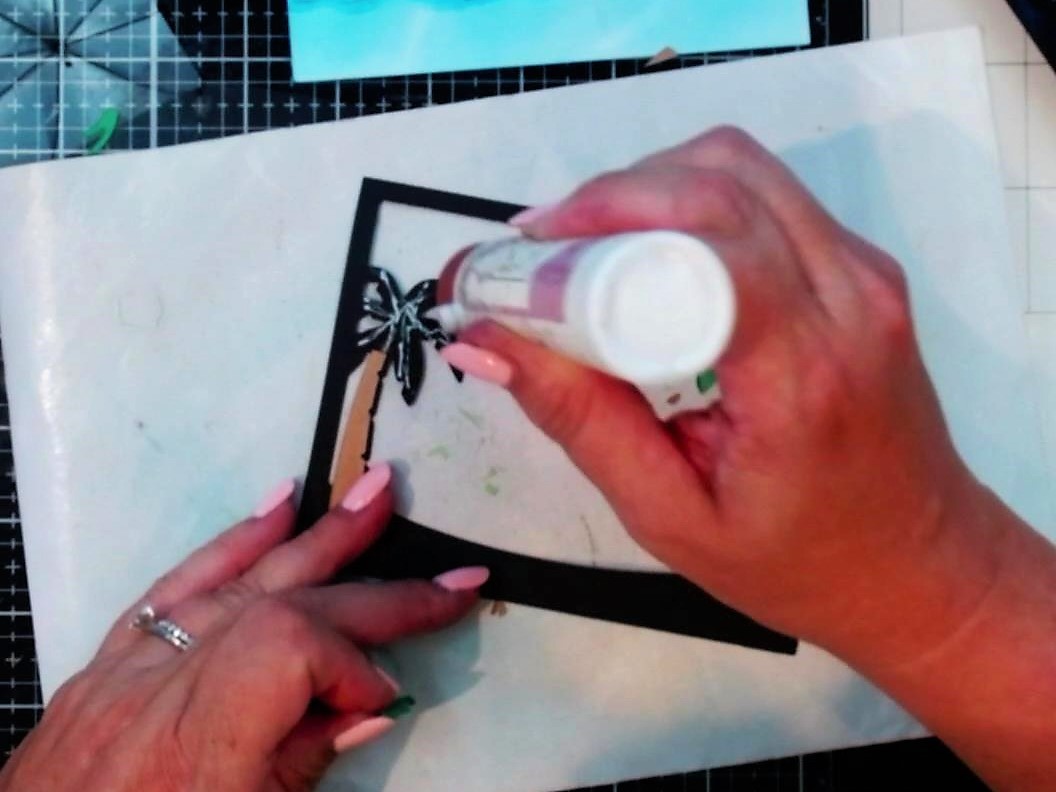
After testing it out on the first set of leaves, I colored the rest of the pieces and adhered them behind the trees with Art Glitter Glue.
OK… one more test…
Fantastic.
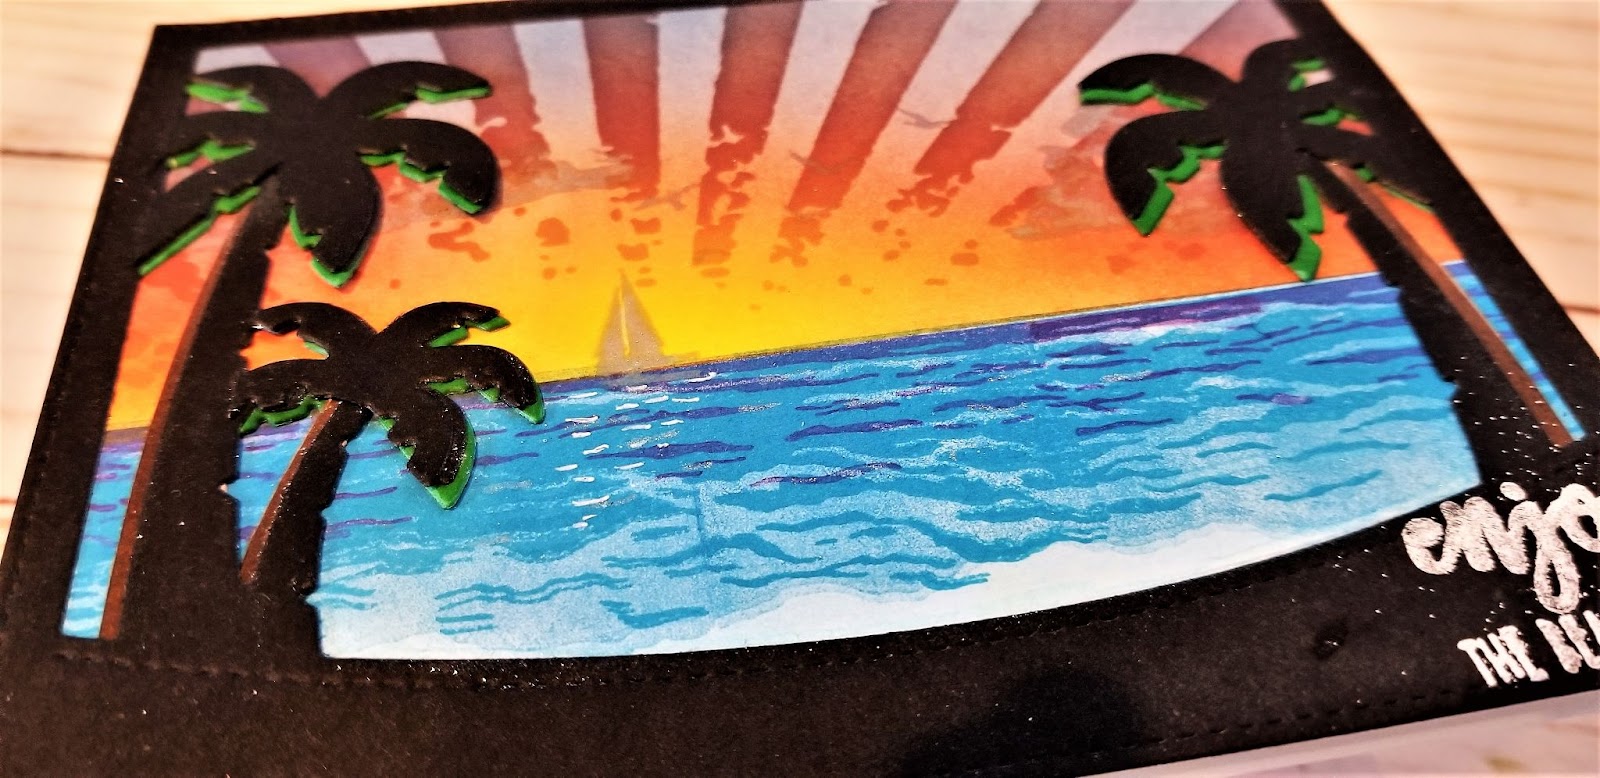
Before I start adhering everything together, I’ll add a sentiment. I took the “Enjoy the beach life” sentiment from the Color Layering Waves stamp set (from Hero Arts), and heat embossed it below the trees on the right side.
This is where the fun (NOT) started.
I got it stamped with no problem. (I used Versafine Onyx black ink for this… I’ve been having issues with my clear embossing inks)
Then I accidentally covered that with WOW! Clear Embossing Ink!
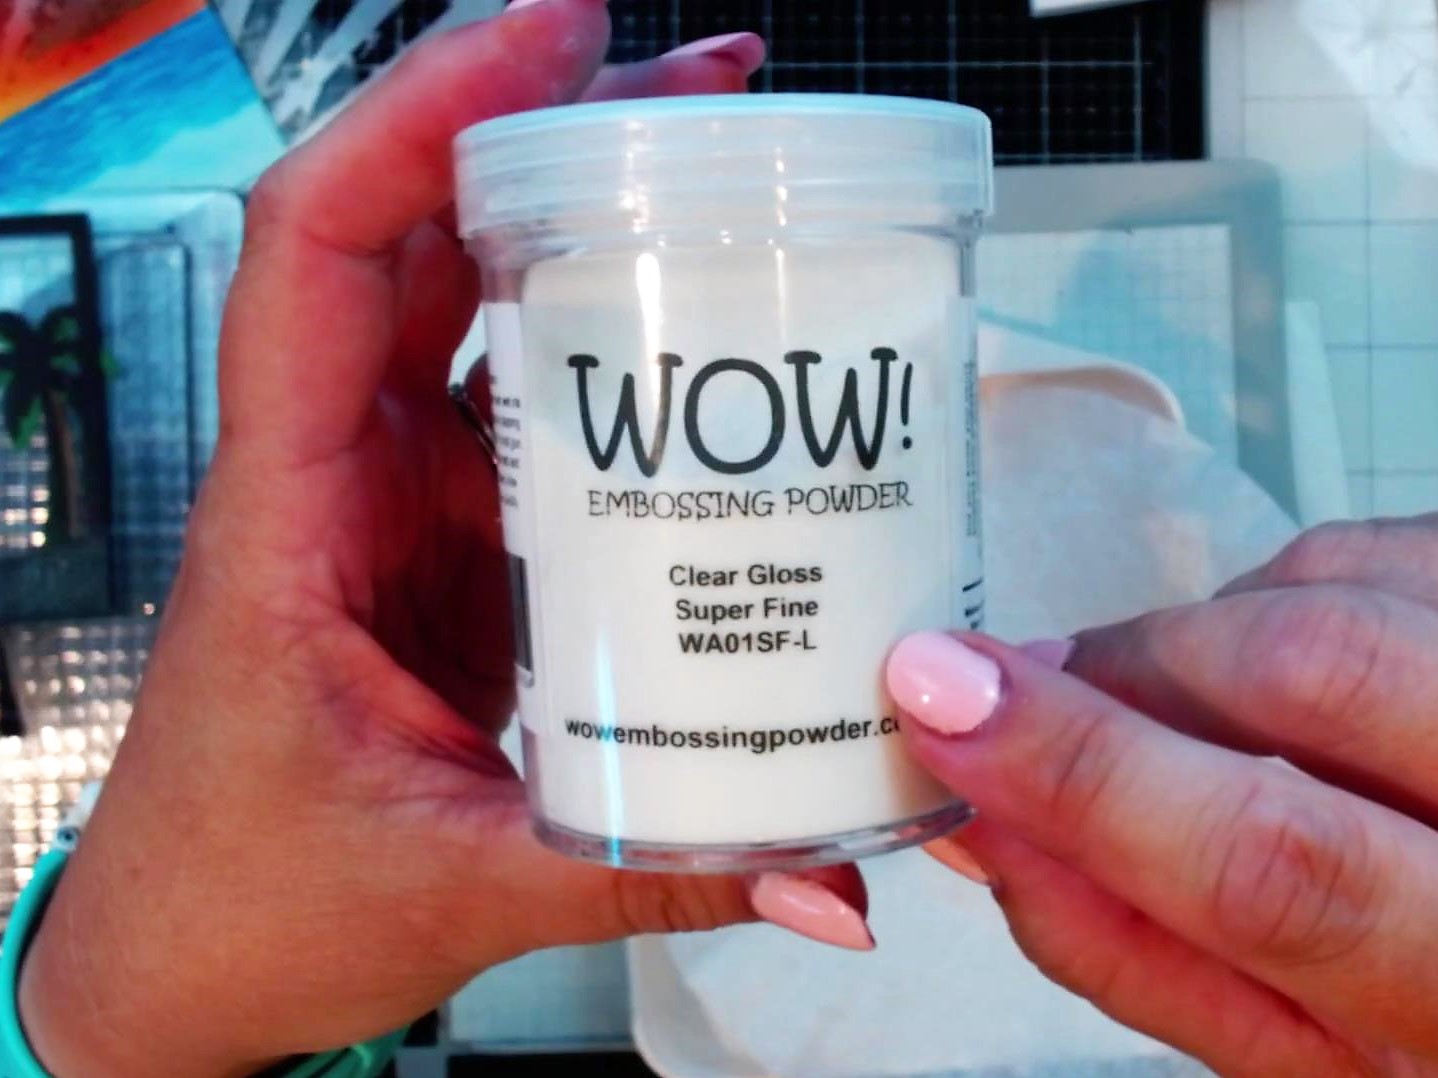
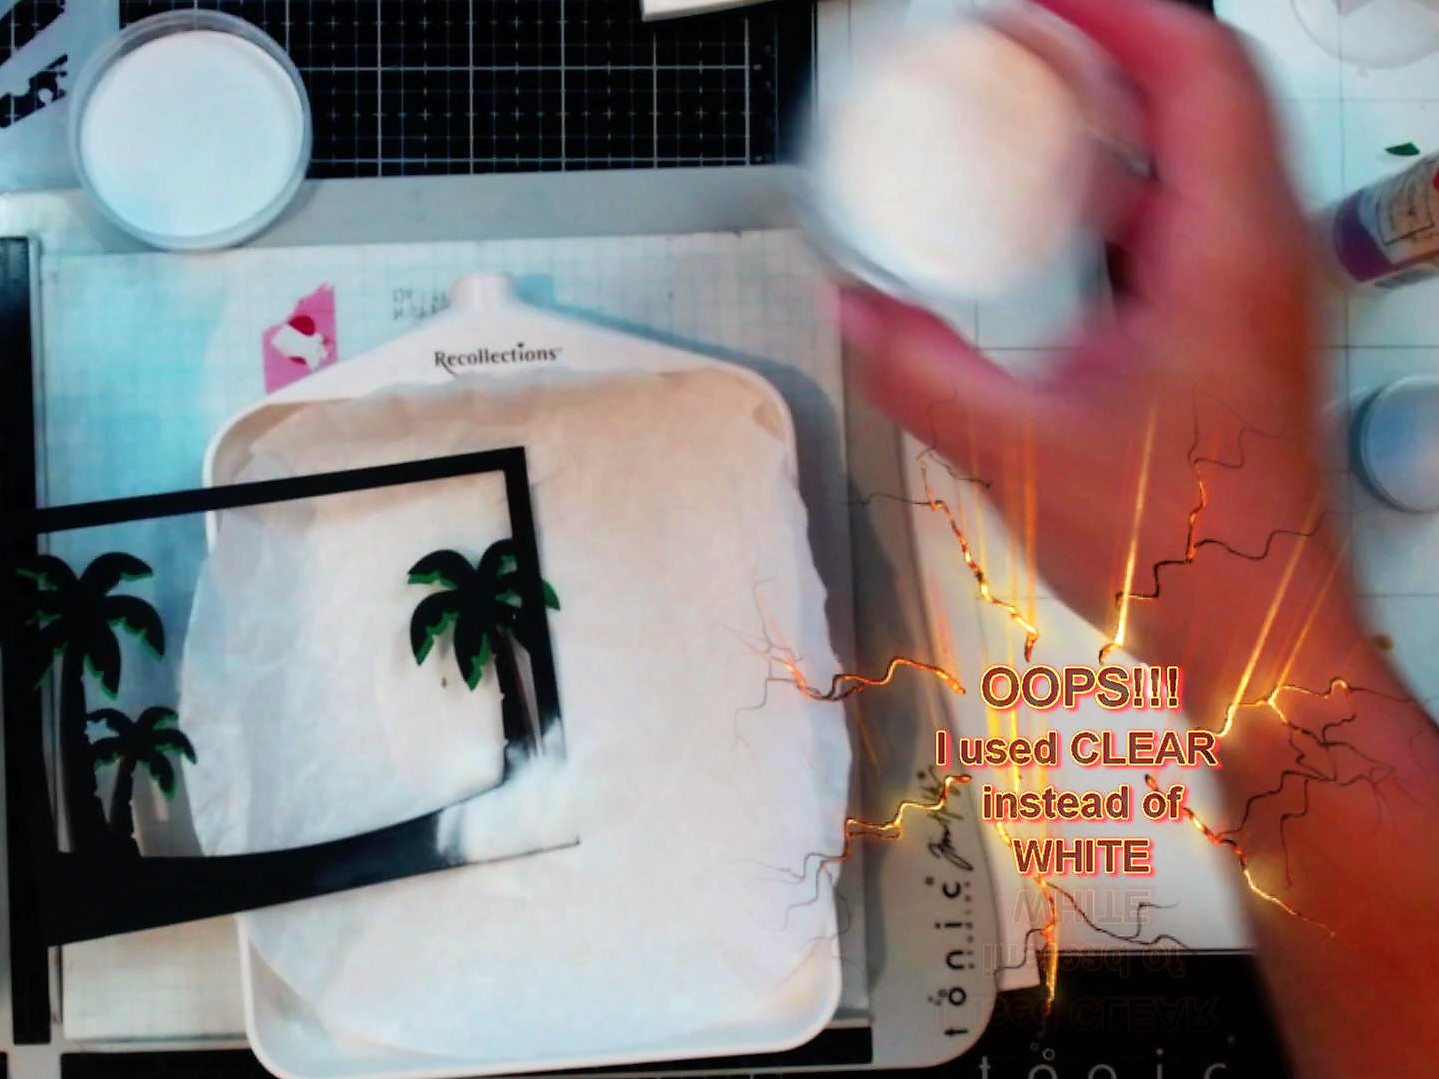
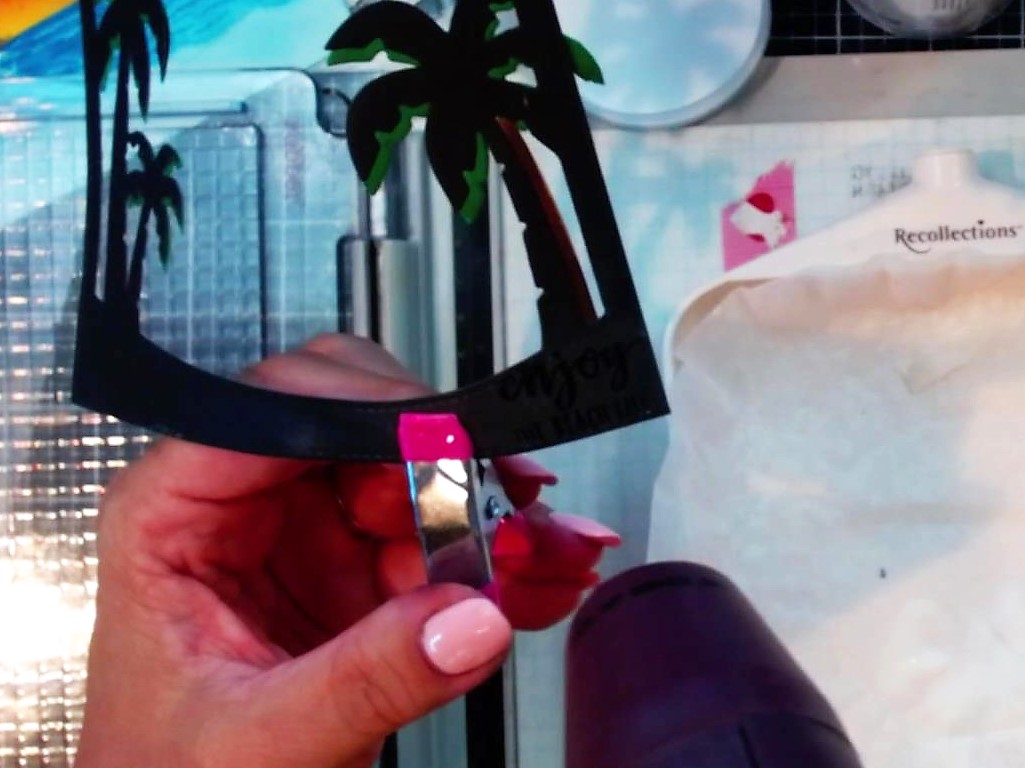
I had intended to use White detail embossing powder from Recollections.
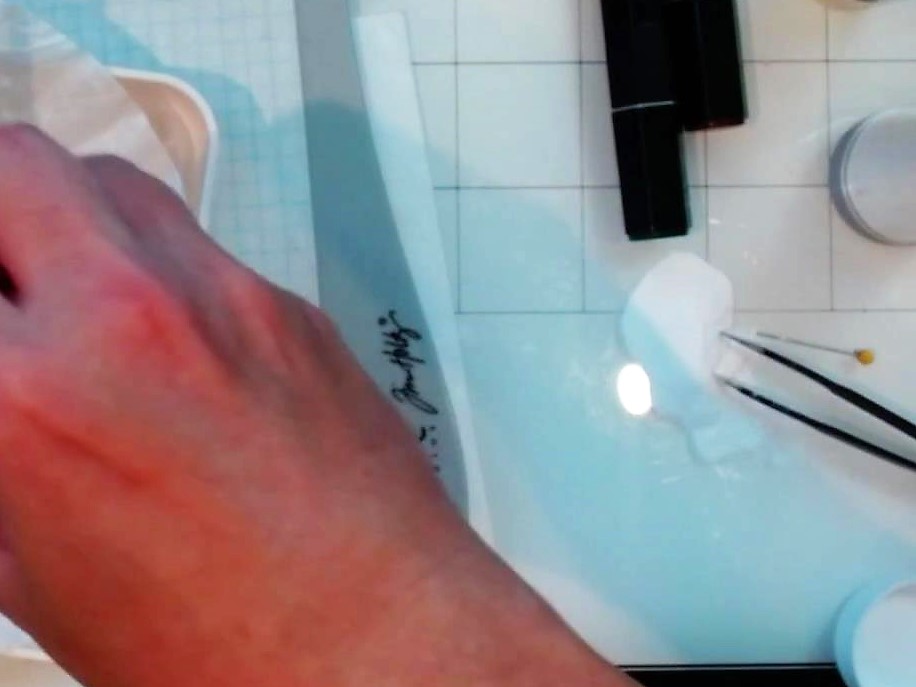
It’s fixable.
Since I had already heated it, I just re-stamped and used the correct powder… It took a few layers, but you can now see the sentiment.
Oh… and of course, I spilled my white embossing powder in the process.
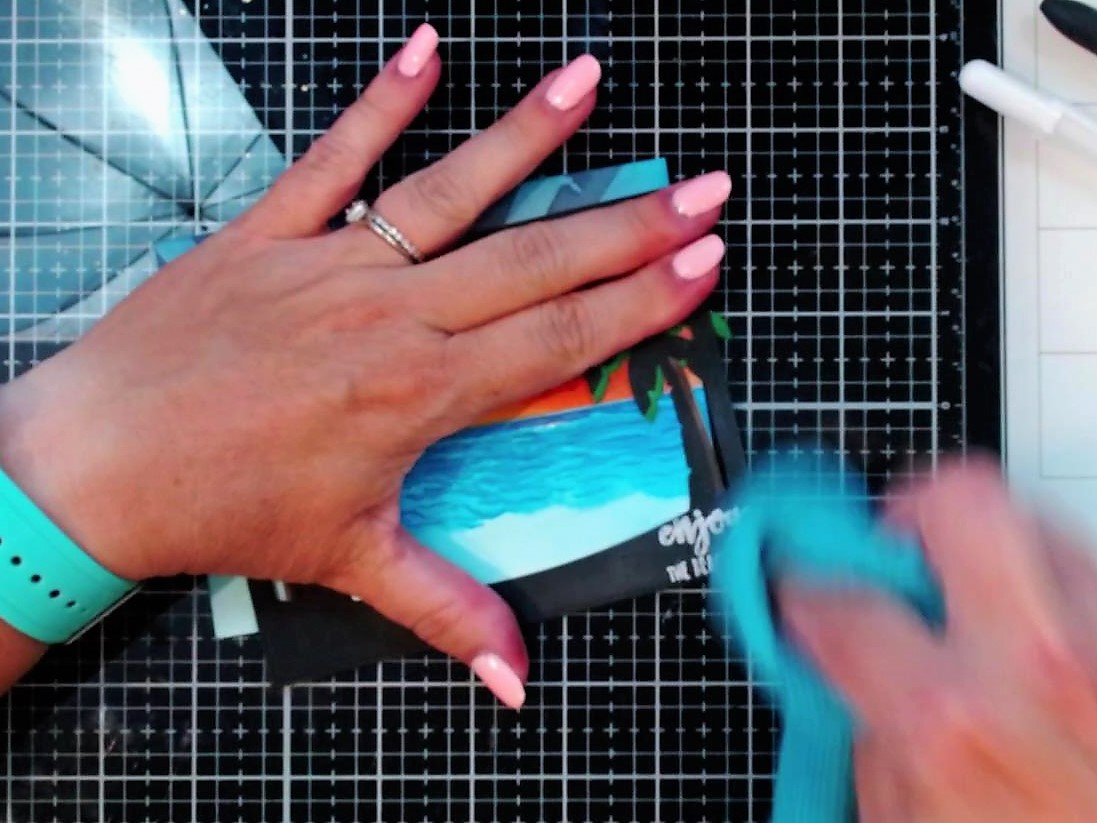
Next I adhered this frame to the front of my sunset with Art Glitter Glue, making sure to keep as much sky as possible… I love the sky at sunset! Don’t you?
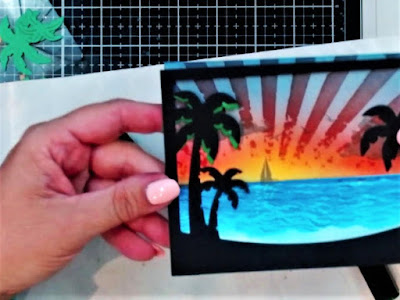
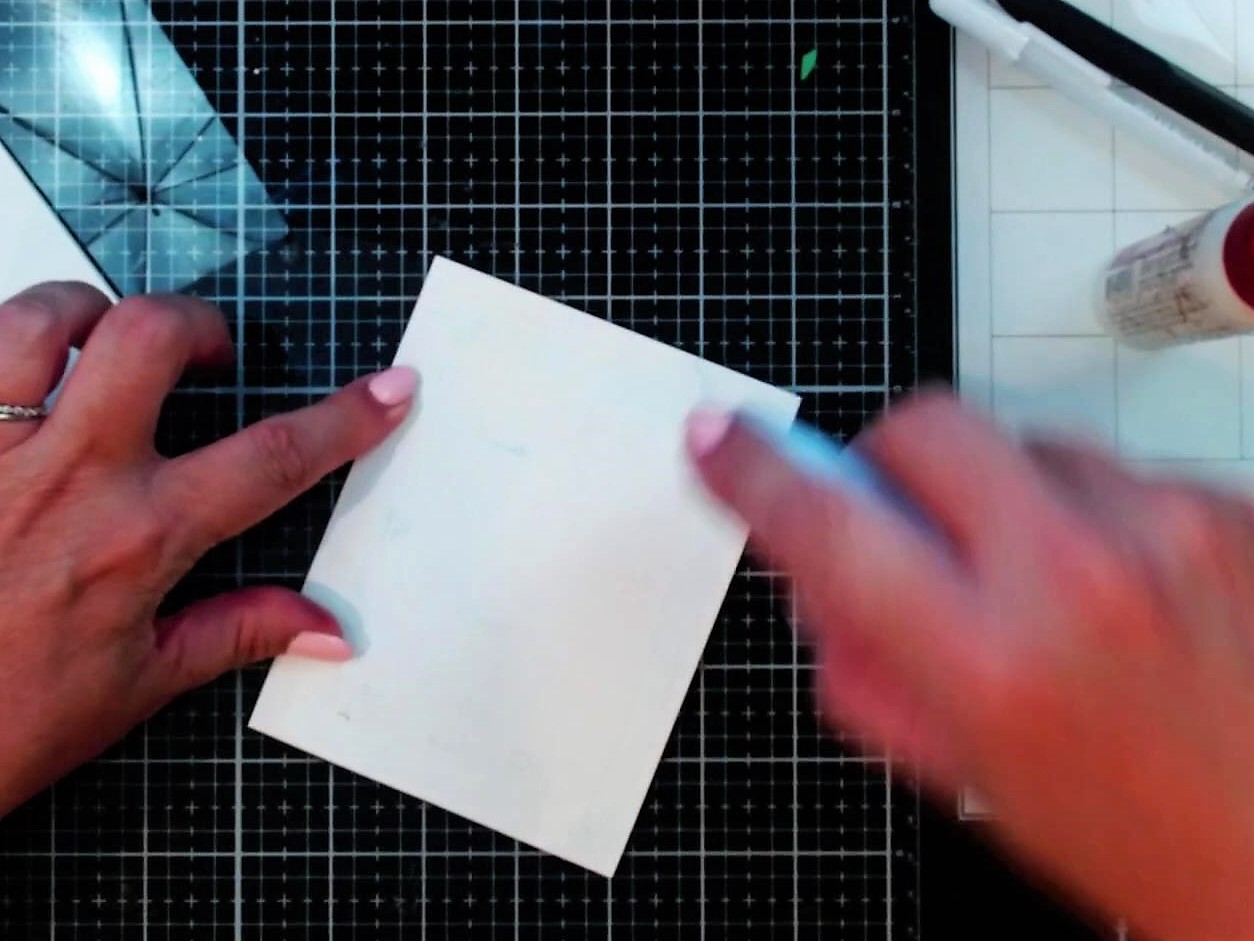
The sunset panel is a little larger than my frame, so I trimmed it down with my Fiskars paper trimmer and added it to the front of an A2 card base.

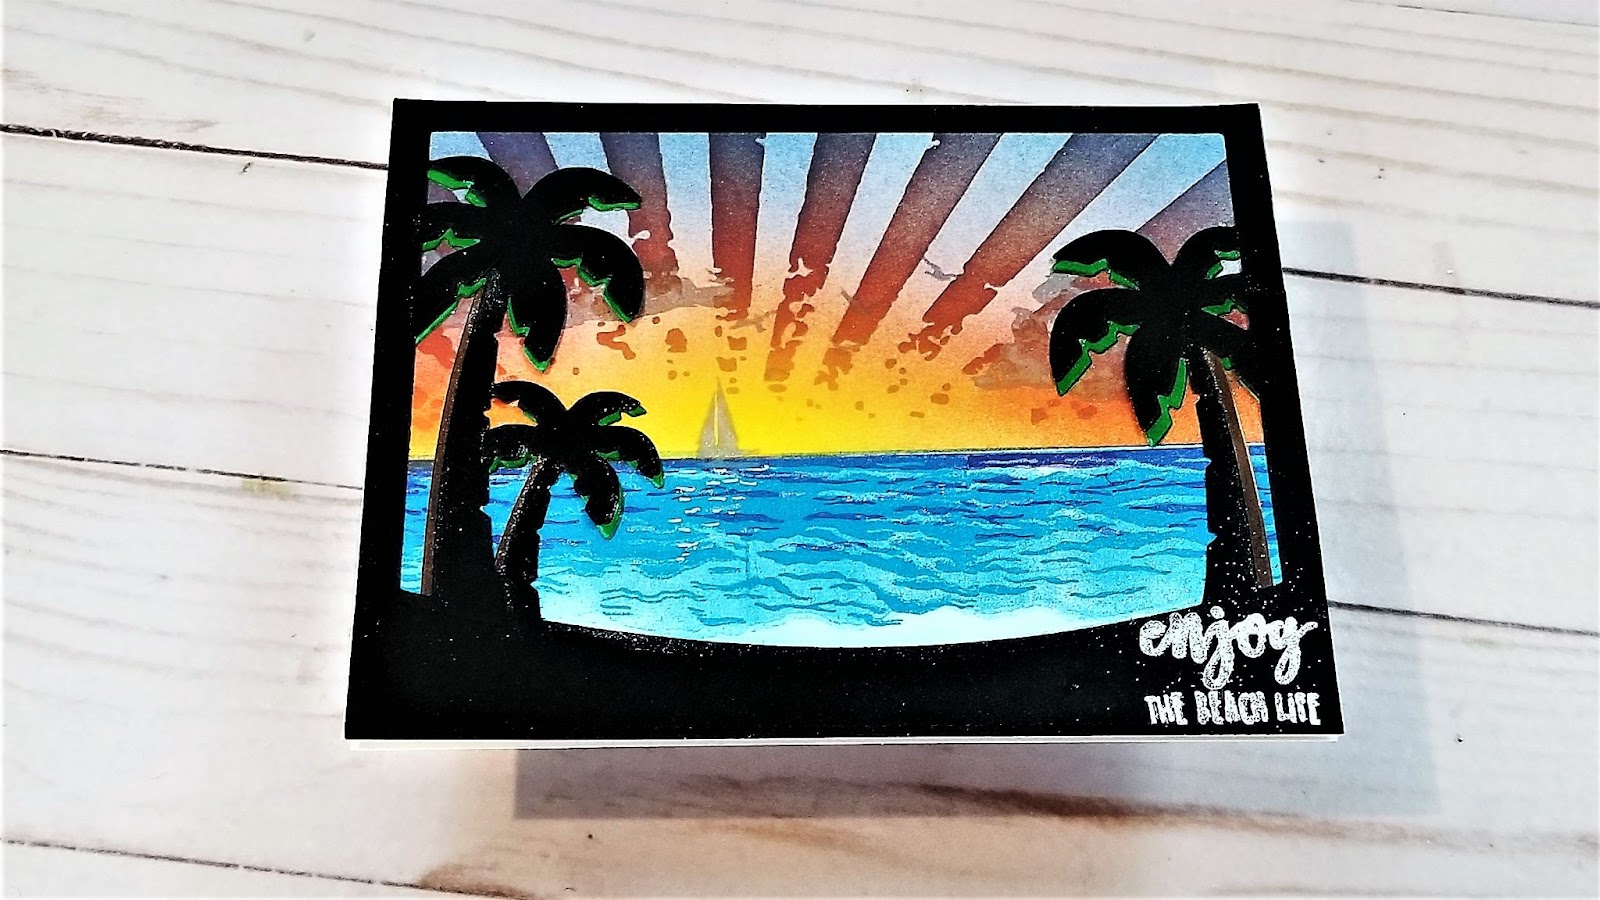
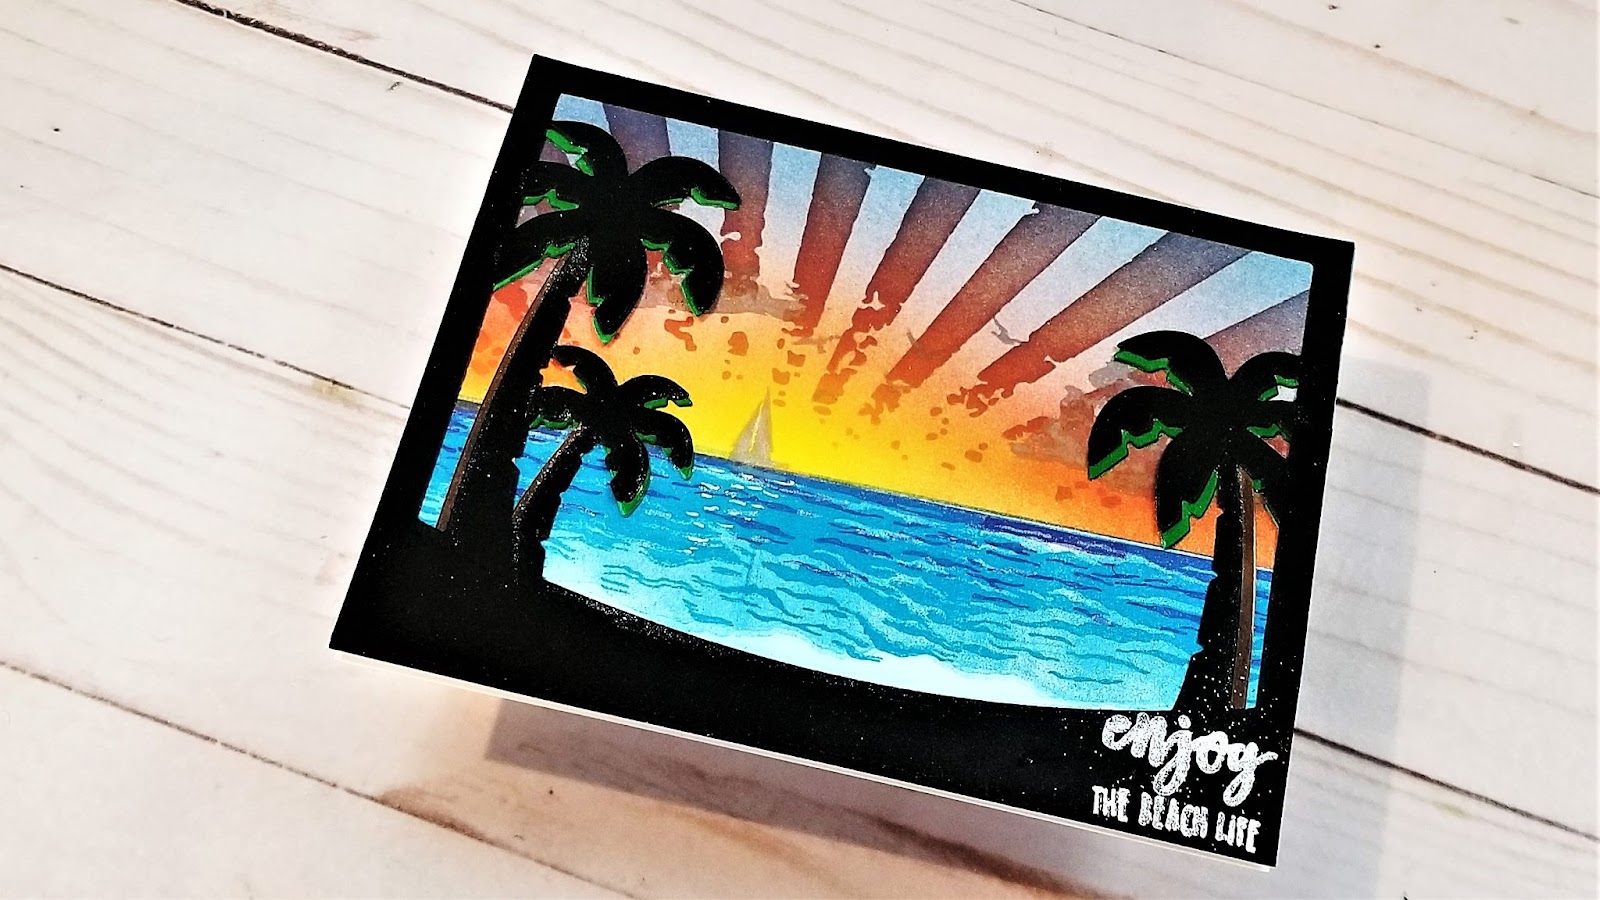
Here are some photos of the finished card.
Thank you so much for dropping by. I hope you enjoyed this project and would love to hear what you think of this card.
Please leave me a comment down below!
Be sure to check out my YouTube Channel, Blog, Pinterest, and Instagram for more inspirational projects. I also have a fun Facebook Group where you can share your projects with other fantastic creators. We would love to see what you create, so come join us!
Head back to the Dies R Us Blog tomorrow for more fabulous inspiration from the DRU Inspiration design team.
Be sure to check head over to Dies R Us Challenge Blog. We love to see what you create, and this is a perfect place for you to share your creativity.
PLUS, there is a new challenge theme offered on the 1st and 15th of each month, and one lucky randomly drawn winner will receive a $10 gift certificate to the Dies R Us Store.

Thanks so much for stopping by. And remember, if I can make it, YOU CAN TOO!

No comments:
Post a Comment
Note: Only a member of this blog may post a comment.