
Hi, it's Sandy Diller here with my very first post for Dies R Us. I'm thrilled to have been chosen to join this fabulous team.
With Halloween "creeping" up on us I thought it would be fun to share this Spooky Halloween Luminary made with dies all found at Dies R Us.
 Be sure to use only battery operated tea lights -


Start by cutting two pieces of black cardstock that measures 6" X 9.5".
Score both pieces at 4.5" and 9". The 1/2" edge is going to be a tab so clip the edges if you like.

Using one of the rectangles from the Elizabeth Craft Designs (ECD) Fitted Rectangles die set, cut 1 window in each section making a total of 4 windows.

Cover black cardstock with clear double sided adhesive. I used ECD but you can use any double sided tape you may have, such as Score Tape. Four panels will be needed.
Using the same rectangle that was used to cut the windows - place inside the next larger size Fitted Rectangle or (as used here) the ECD Dotted Scalloped Rectangle, tape together. Cut with tape side on top. See photo below.

Set aside -

From the ECD Iron Fence die set, cut 4 fences using the center section from the frame that has the adhesive.
For the center of the luminary, cut four panels of vellum that measure 5.5" X 4.25". I colored mine with Alcohol Ink but you could also use any permanent ink. I colored the top half with orange and the bottom with green.
Peel the release sheet from the Iron Fence die cut and place it on the back side of the vellum panels.

Next you will need several scary things - here is what I used.
From the ECD Haunted House Set, cut the flying witch from black cardstock.
From the ECD Fitted Circles, cut one yellow circle for the moon, using double sided
adhesive on one side. When adding the moon to the panel, place it behind the vellum using the
adhesive side to hold it. This will make the moon appear to be behind the clouds.
From the ECD Ghosts Set, cut 2 ghosts from white vellum that has double sided
adhesive on the back.
From the ECD Halloween Scenery Set. cut 2 trees, several bats, and the spider from black cardstock and 4 graveyards from gray cardstock. I cut the graveyard scenes to fit in the windows and then did some coloring of the grass and the crow. Any marker can be used to do this.

Join the 2 window panels together. Add windows.
Add all panels with fences to black panels.

Decorate all the panels with the die cuts while luminary is still flat.

Peel the backing from the decorative panels to expose the adhesive and then add glitter.
Attach panels to frame and join with the tab to make the luminary.
Below is a look at each panel-


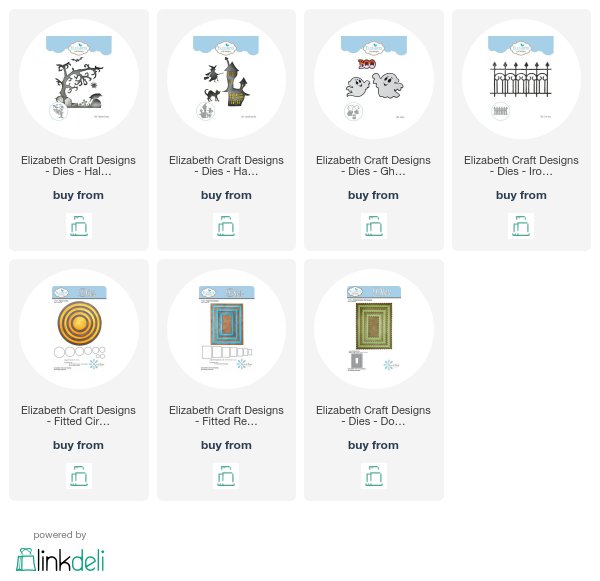
To shop for the dies used in this project simply click on the links below.
I hope you have been inspired to try a luminary of your own - thanks for stopping by,
S@ndy
Don't forget to come join in the fun at the Dies R Us Challenge Blog.

I hope you have been inspired to try a luminary of your own - thanks for stopping by,
S@ndy
Don't forget to come join in the fun at the Dies R Us Challenge Blog.
There's a new challenge theme offered on the 1st and 15th of each month and one lucky randomly drawn winner will receive a gift voucher prize to the Dies R Us Store.
For your convenience, all the important Dies R Us links are provided below
Super, super cute Sandy! What a clever use of all these dies. Welcome aboard the DRU team!
ReplyDeleteWelcome to the blog, you sure make a big impression on me with your first post. This luminary is so creative and thanks for the instructions. Nice job!
ReplyDeleteWOW! Again ... welcome to the team! You're off to a FABULOUS start with this amazing luminary. Thanks for all the tips & tricks! Awesome inspiration!
ReplyDeleteOh this is SPOOKtacular! How FUN and creative! I adore every part of your Halloween creation. Really, really cool! Congrats on the gig, yay YOU!
ReplyDeleteWelcome to the team,You have made a fabulous creation.xxx
ReplyDeleteLove this project!
ReplyDeleteWelcome to the team!!
ReplyDeleteFabulous project ! Love this !
Thanks for the tuto !
Just beautiful, well done.
ReplyDeleteAwesome post, and I really your project. You did a great job with the tutorial, LOVE it!!! So happy to be joining you on the team....great fun ahead.
ReplyDeleteGorgeous piece of home decor. Thank you so much for the great tutorial. I'm going to try my hand at making one. Love it, Sandy.
ReplyDeleteSandy, oh my! this is beyond fantastic! great pics to show the how-to! now I want to make one!
ReplyDeleteAlicia