Hi Friends, it's Sandy Diller with you today sharing a pop up cupcake card. This card features Karen Burniston's line of Pop-Up Dies that are fun, easy and gives you that extra surprise on the inside.
I kept the front rather clean and simple because, as I said, the fun is on the inside.
This festive card was such fun to put together - so let's get started.
This is an A2 card, 4.25" X 5.5".
Begin by cutting a panel for the cupcakes that measures 4" X 9". Score in the center (at 4.5"). Place the die on the fold lining the nibs up on the fold. Run through your machine. Fold on all crease lines that are made by the die.
You can see a video from Karen on how to cut and assemble a card using this die set by
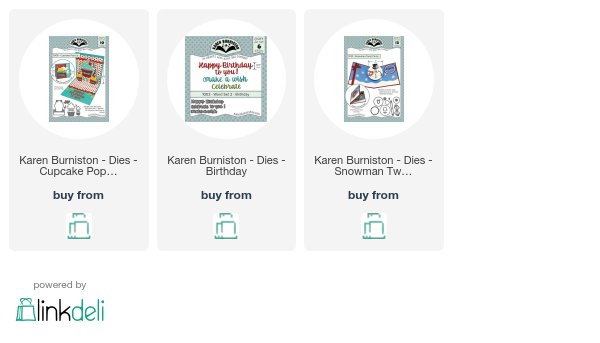
Cut the base of card that measures 5.5" X 11" and score in the center. Cut 2 large cupcake cups, shown in dotted paper. Two small cups, l large cupcake frosting, 2 small cupcake frostings, and 2 flourishes (not shown) from the Cupcake Pop-Up Die Set. Cut the words "Celebrate" and "Happy Birthday" from the Word Set 2 Die Set. Cut 1 circle (shown in white) and 1 larger circle (shown in blue) using the Snowman Twist Circle Die Set. Cut 2 lengths of ribbon for the front of card.
Put the front of the card together first because the ribbon raps around the edges and then the ends are covered by the inside panel. For this card I stamped the cupcakes from the "Just A Note" stamp set, designed by Karen Burniston for Elizabeth Craft Designs, all around the white panel, then colored them and added the word Celebrate across the center. The white panel was added to the blue and placed on the ribbon.
Place the cupcake panel on the inside of the card. If you haven't done this before the best way is to fold the panel in half and add adhesive to half the panel avoiding the open spaces. Place in card lining up the fold lines. Put panel in place and then add adhesive to the second half and close the cover. You will see exactly how it is done in the video HERE
For the large cupcake cup, pleat one panel and place on top of first one that has one panel removed, add frosting piece then add to card. Put small cupcakes together and add to card. Add all other decorations.
As a finishing touch - I added the cherries that come in the die set, cut from red and then colored the stems green. If you have Nuvo Drops - they make a great addition to the cherries adding depth and shine. If not, use sequins or glitter dots.
I added more Nuvo Drops all around to make the card feel festive but you could use any embellishments such as sequins, enamel dots or glitter to do this.
Have a great day,
Sandy

Have a great day,
Sandy

Don't forget to come join in the fun at the Dies R Us Challenge Blog. There's a new challenge theme offered on the 1st and 15th of each month and one lucky randomly drawn winner will receive a gift voucher prize to the Dies R Us Store. For your convenience, all the important Dies R Us links are provided below.
click below for:


This card is so much fun and love the surprise inside. These dies make it so easy. I really need them.
ReplyDeleteVery cute card.
ReplyDeleteWOW! This is fabulous! You're right the fun part of this card is that inside surprise! I struggle with this sort of die cut card (must be my Polish side showing ... lol) but you've inspired me to give these dies another try. Awesome inspiration! Thanks
ReplyDeleteA gorgeous card.x
ReplyDeleteSuper cute......what a wonderful idea, this cupcake is making me drool!!
ReplyDeleteFabulous card; love the inside!
ReplyDeleteKaren Burniston dies are the BEST!
ReplyDeleteSandy, this is so great! I love all the details!
ReplyDeleteAlicia
Beautiful pop up card !
ReplyDeleteWhat a fun card! Love the surprise on the inside and the beautiful papers you used.
ReplyDelete