
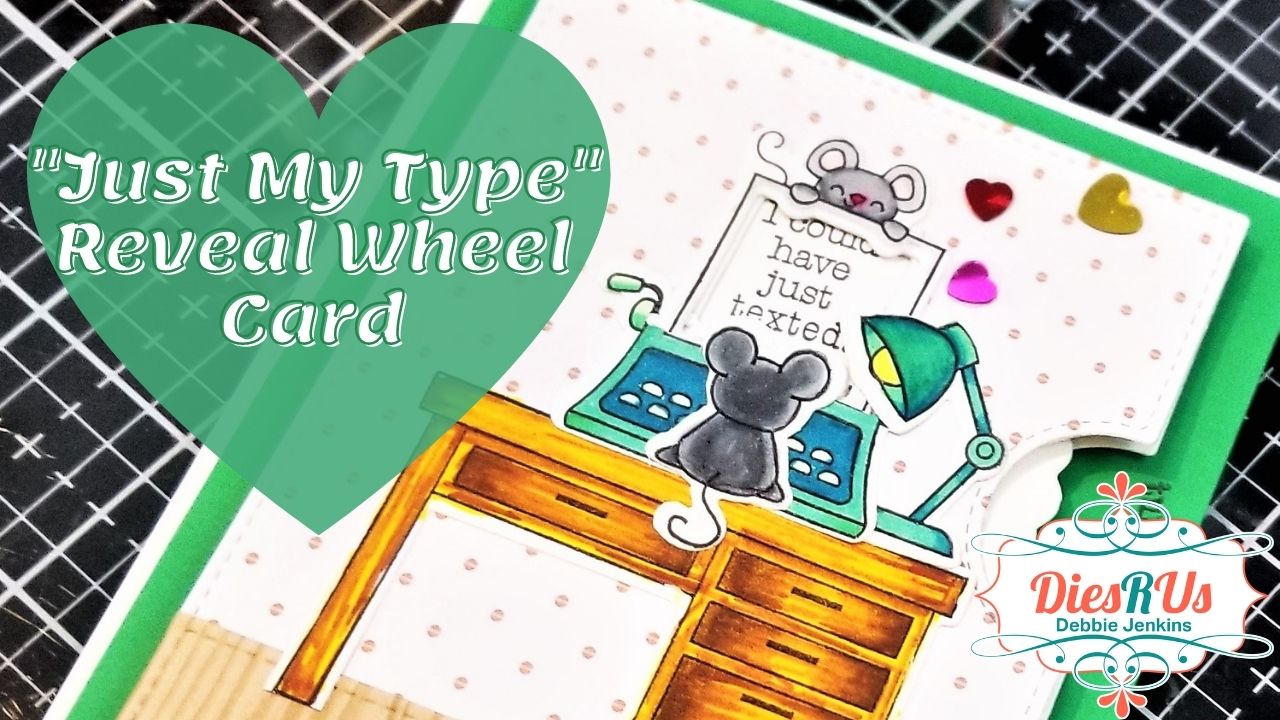
Hi Guys! I'm Debbie from Debbie J’s Crafting Corner, here today sharing how I used several stamp and die sets from Lawn Fawn to create this Reveal Wheel Card.
I love showing the process when I’m creating. I hope my tutorial and video help you see that, if I can make it, You Can Too!
I used the following stamps and dies from Dies R Us:
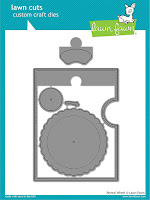
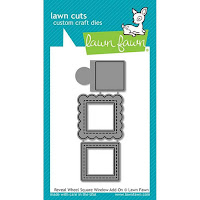
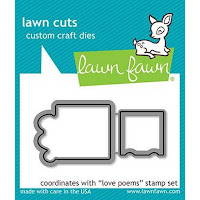
Lawn Fawn - Reveal Wheel Square Window Add-On Dies
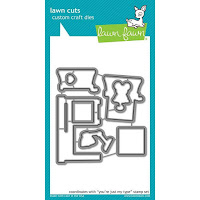
Lawn Fawn - You're Just My Type Dies
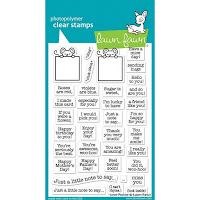
Lawn Fawn - You're Just My Type Stamps

Check out the video showing how I created this fantastic card!
Video Chapters
Introducing the stamps and dies: 00:33 Stamping: 00:46 Coloring: 01:00 Die Cutting: 08:35 Assembling the Scene: 09:48 Making the Reveal Wheel: 12:40 Putting it all together: 15:00
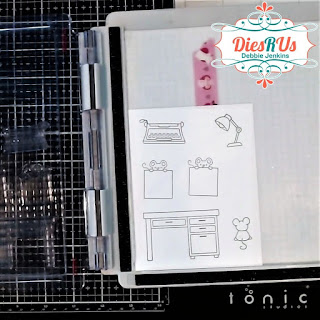
Introducing the stamps and dies
So many fun sentiments! Sometimes having too many choices makes it all that more difficult to decide. LOL
I guess it’s good that I started with the “Just My Type” Stamp set instead of “Love Poems” when creating my design.
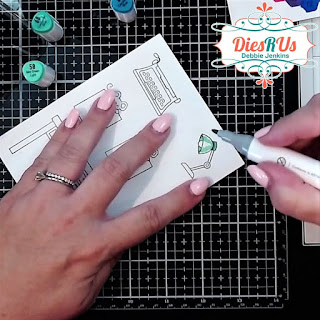
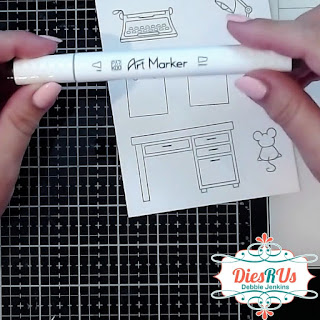
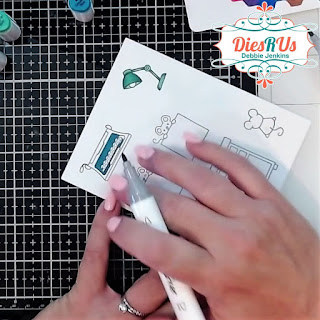
Stamping and Coloring
I stamped out a bunch of the cute images onto some Recollections White cardstock, and colored them up with my “new to me” Parkoo markers. (check out this video to see the unboxing)
The coloring is pretty simple, but takes a bit longer than my other (Spectrum Noir) markers because the colors are so saturated, not “watered down” with alcohol, and require a lot of layering in order to get a blend… but they are much more detailed and I’m able to add color in much smaller areas. (if you aren’t a fan of watching this type of coloring, feel free to skip to the next part of the video)
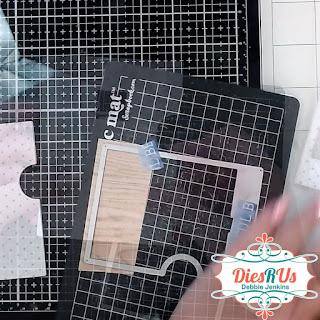
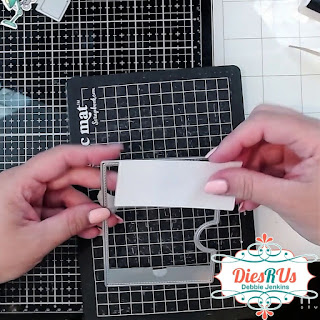
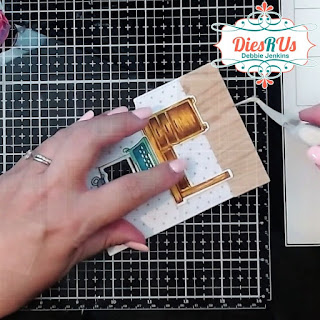
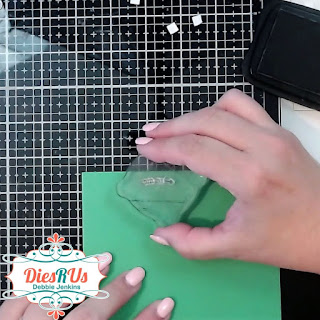
Die Cutting
Next, I cut all these pieces out using the coordinating dies and my Gemini Junior Electric Die Cutting Machine.
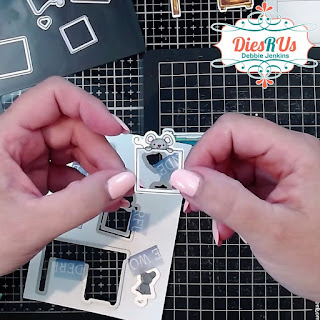
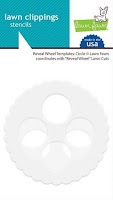
I also cut out some panels using a die in the Reveal Wheel Die Set.
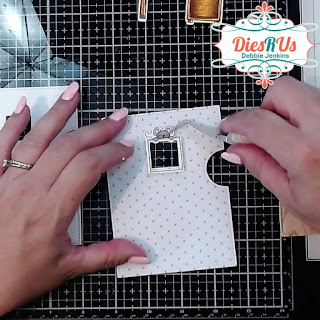
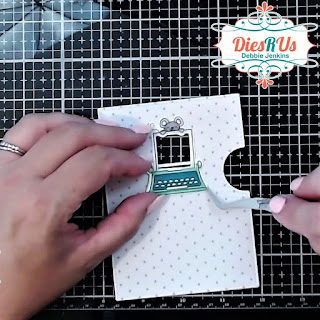
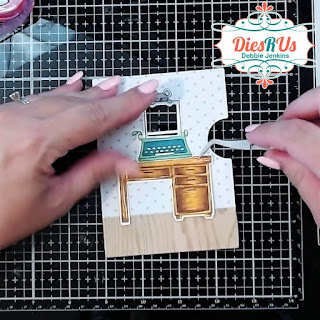
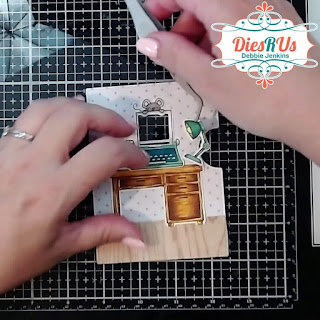
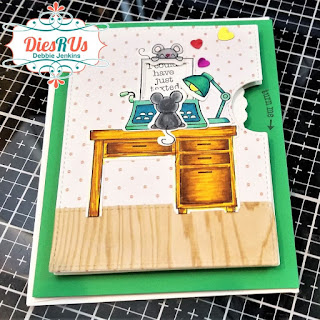
Assembling the Scene
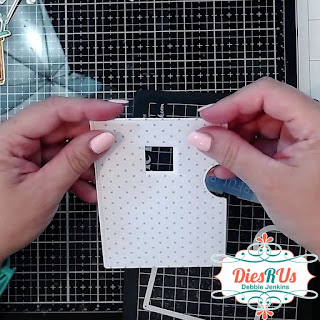
With all of the pieces cut out, I assembled a simple scene onto the front of the polka dot patterned paper panel piece. (try saying that three times fast)
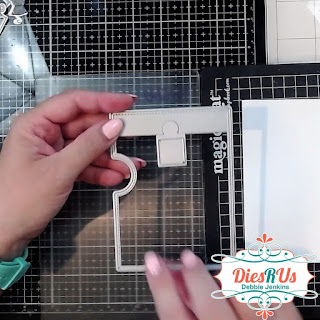
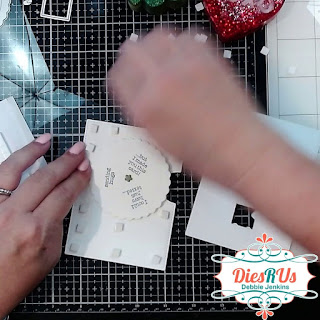
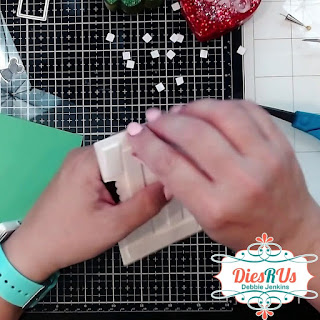
Making the Reveal Wheel
Now for the mechanism. I die cut one of each of the circle dies included in the Revel Wheel Die set.
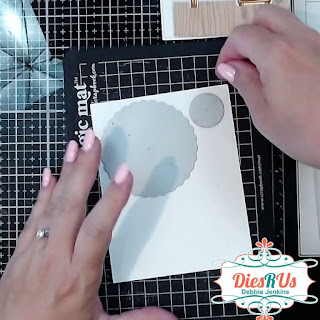
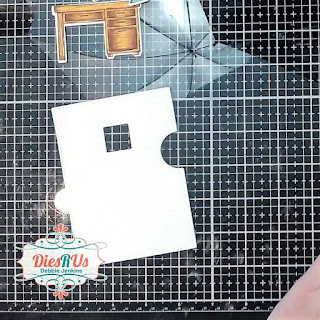
I also die cut another cover panel, without a window, from another piece of cardstock.
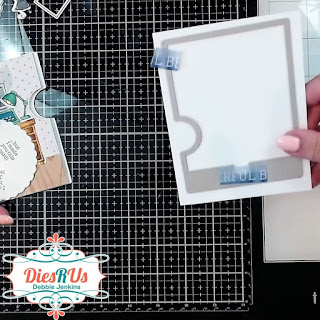
Then I used one of the reveal wheel templates from Lawn Fawn to help me know where my stamping should be. There is a square template that would work great for this card… but I don’t have that one. So I used the one I have for circle openings.

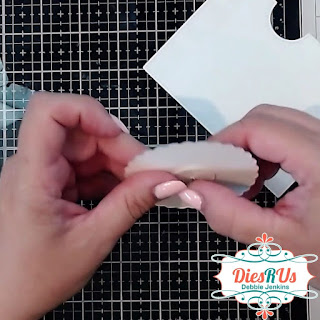
Because the shapes aren’t right, I just added a small pencil mark on my wheel at the top and bottom of each circle in the template. It’s not perfect, but I think it worked well enough.


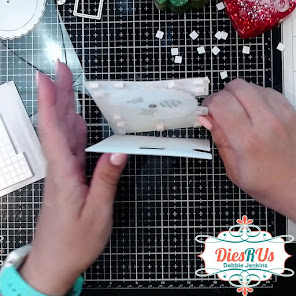
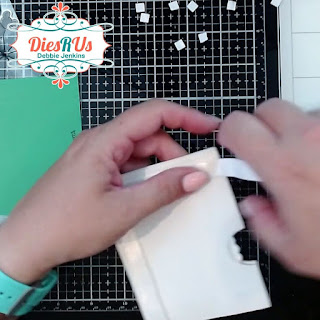
We also need a mini brad for this project. Insert the pointy end through the little hole in the center of your wheel die cut, from the printed side. Then insert it through the center hole in the other circle that we cut and open the prongs. This will create the spinning mechanism.
Just position one of the stamped sentiments in the window on your cover panel (I then taped it down with washi so it wouldn’t move) and add a couple of foam squares to the little circle on the back.
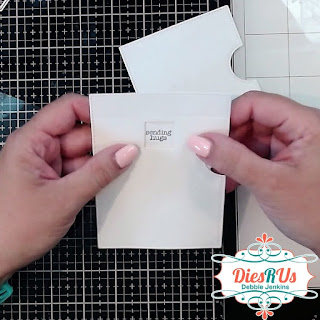
Then you just line up this front panel with the back panel, and your foam squares will attach the wheel to the back in the perfect place. Just remove the washi tape.
Putting it all together
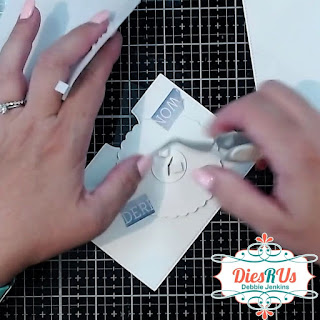
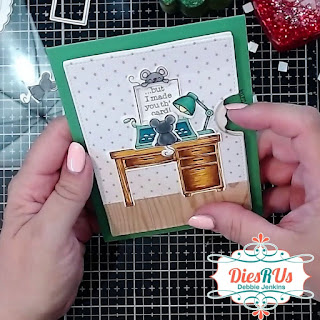
Next I added a bunch of foam squares to the back panel, being careful not to add any too close to the wheel… we don’t want adhesive to hinder the spinning of the wheel.
With that all done, just line up the back panel with the front panel and adhere them together.
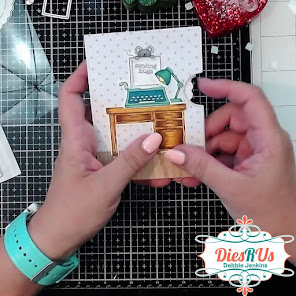
Now we need a card base. I stamped “turn me” onto a green cardbase in the notch that the cover die created, and adhered the whole panel with some more foam tape. This strong adhesive with make sure nothing falls apart, and it gives a little extra room to turn the wheel.
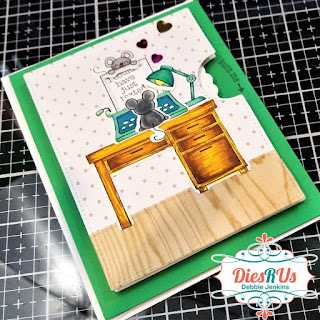
As a final touch, I added some small heart shapes to the front of the card.
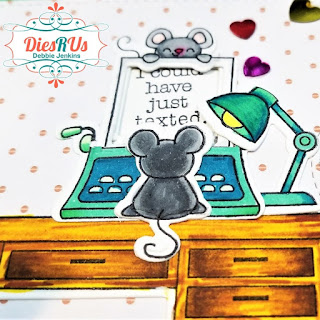
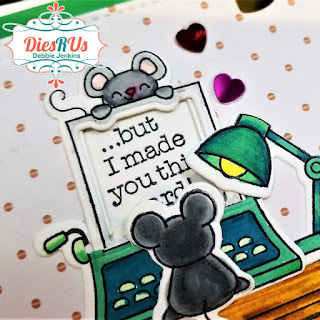
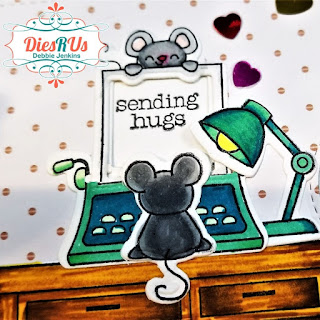
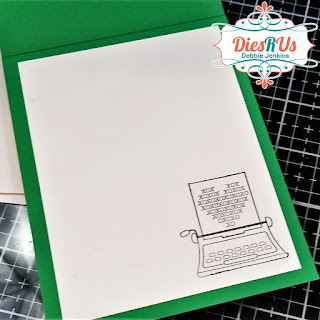
Here are some photos of the finished card.
Thank you so much for dropping by. I hope you enjoyed this project and would love to hear what you think of this card.
Please leave me a comment down below!
Be sure to check out my YouTube Channel, Blog, Pinterest, and Instagram for more inspirational projects. I also have a fun Facebook Group where you can share your projects with other fantastic creators. We would love to see what you create, so come join us!
Head back to the Dies R Us Blog tomorrow for more fabulous inspiration from the DRU Inspiration design team.
Be sure to check head over to Dies R Us Challenge Blog. We love to see what you create, and this is a perfect place for you to share your creativity.
PLUS, there is a new challenge theme offered on the 1st and 15th of each month, and one lucky randomly drawn winner will receive a $10 gift certificate to the Dies R Us Store.

Thanks so much for stopping by. And remember, if I can make it, YOU CAN TOO!
No comments:
Post a Comment
Note: Only a member of this blog may post a comment.