

Sometimes we limit our dreams without realizing the sky's the limit.


Supplies
Lawn Fawn - Blue Skies Dies
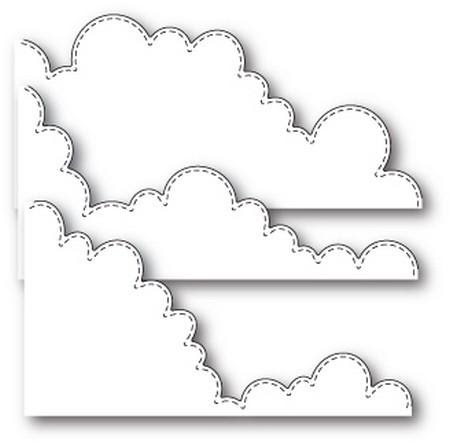
Poppystamp - Stitched Cloudline
Tutti Designs - Nesting Stitched Circles
A2 Card Base
4 - 4.25" x 5.5" White cardstock
Navy Blue Cardstock
Black Soot Distress Oxide
Blueprint Sketch Distress Oxide
Shaded Lilac Distress Oxide
White Embossing Powder
Liquid Glue
1/4" Foam Tape
Time to float through the skies!
Coloring:
Big Balloon: BG10, BG11, BG13, BG18, C00, C1, BG75, E33, E23, E47
Small Balloon: RV10, RV11, RV13, C00, C1, RV69, E33, E23, E47
Banner: RV02, RV06, RV09
Stars: Y000, Yoo, Y11

Once all of the images are colored in and die cut out, it's time to piece together the card. Using one of the 4.25" x 5.5" cardstock, die cut out a circle from the center in order to make a mask. Tape the mask over a second 4.25" x 5.5" cardstock. Blend Black Soot, Sketchbook Print and Shaded Lilac Distress Oxide over the mask. Once you remove the mask you should have a circle blend to represent a night sky.


Here is what the end product will look like...

I hope that you enjoyed this project. I hope that you can make one of your own and share with me. You can tag me on Instagram @heartcraftpaper.
Until next time!
XOXO - HeartcraftPaper

Don't forget to come join in the fun at the Dies R Us Challenge Blog. There's a new challenge theme offered on the 1st and 15th of each month and one lucky randomly drawn winner will receive a gift voucher prize to the Dies R Us Store.

For your convenience, all the important Dies R Us links are provided below.
click below for:
Cute card! Love the hot air balloon stamp.
ReplyDelete