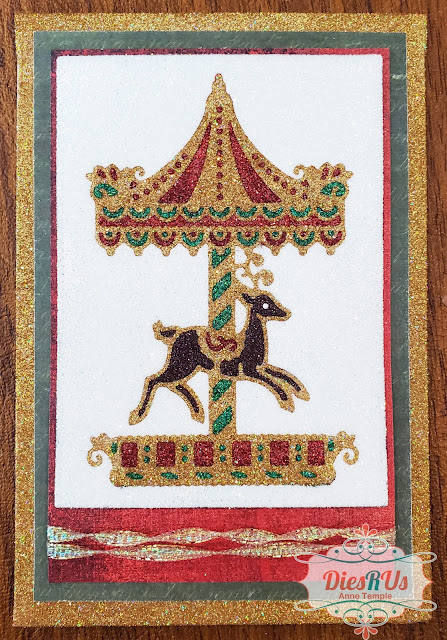
Hey everyone, Anne here from Anne-Made and today I'm sharing a gorgeous Christmas card I created for the Dies R Us Inspiration team using one of the newly released dies from Tutti Designs.
The following dies were used to create this glitter inlay card:
 |
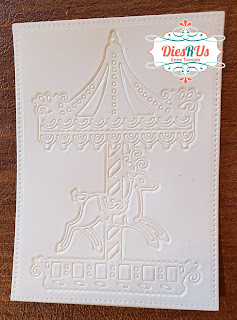
Today's card is a bit time consuming, but well worth the effort. It looks stunning in person. To start out, you need to add a piece of double sided adhesive sheet to a thick cardstock. This will allow the detailed die to cut through the protective covering on the adhesives sheet, but not all the way through to the back. It does allow the straight edges of the Rectangle die to cut through. If it doesn't quite cut all the way through, use a pair of scissors or xacto knife to cut through the areas that didn't get cut. On the flip side, if your decorative die does cut all the way through to the backside, just add a piece of regular tape to the back to hold it in place
The next step is to decide what colors of glitter you want to use and where you want them to be.
Once you have your glitters ready, begin by weeding off specific sections of the protective layer to expose the adhesive. I began with the reindeer. If you look carefully, you can see that the exposed adhesive is shinier than the rest of the piece.
Add your glitter to the adhesive and burnish it in with your fingertip.
The final step in the glitter inlay process is to remove the protective sheet around the design and add your background color. I decided to use a holographic white color that has undertones of blue in it.
For the edges of my card base, I wanted to bring in the touch of gold, so I added some 1/4" double sided tape to the edges of my cardstock.
The red mat was cut longer so that I could add a couple strands of twisted ribbon to the back. This was then adhered to the green mat and card base.
Here's one final look at the completed project.
I hope you've enjoyed today's project. Head back to the Dies R Us Blog tomorrow for more fabulous inspiration from the DRU Inspiration design team.
Don't forget to come join in the fun at the Dies R Us Challenge Blog. There's a new challenge theme offered on the 1st and 15th of each month and one lucky randomly drawn winner will receive a $10 gift certificate to the Dies R Us Store. For your convenience, all the important Dies R Us links are provided below.
 |
click below for: |


Wow! Simply stunning! Love the carousel die cut and how you've made it so colorful!
ReplyDelete