Showing posts with label Creative Expressions Dies. Show all posts

Aug 11, 2021

Seychelles Card

 Hello Friends,

Today I have an elegant pink and white "thinking of you" card to share.  This card was created using papers from Michaels and dies from Dies R Us.  The focal die is from Creative Expressions by Sue Wilson and it's called Seychelles (kind of like Sea Shells).  It's from the Indian Ocean Collection. 

 Come take a look!


Card Tutorial:

I began with a card base.  White 110 lb cardstock measuring 4 1/4 X 11, score it in half at 5 1/2.

Next decide on the colors to use.  I chose metallic pink, metallic vanilla and white cardstock from Michaels's Art & Crafts Store.

Next cut out the dies using Creative Expressions; Indian Ocean Collection - Seychelles.  I used the largest two and the smallest two dies, cut them out in pink metallic papers.  Then the middle two dies, cut them in vanilla metallic paper.


Using the outline dies, I cut the shadow layers from 65 lb white cardstock.


In this photo you can see each layer, the white shadow to the pink large die cut, the white to the inner vanilla die cut, and the white shadow layer to the smallest decorative die cut.


Adhere each metallic layer onto the white shadow layer.  As seen above.

Next stack each layer using foam squares or dimensional dots, placing the smallest die onto the next larger die until you have a Seychelles medallion for the focal of your card.


Next cut your background papers from the two colors you chose from. 
Cut them a slight bit smaller than your base card.


Then add foam to the smallest layer.  This will add additional dimension to the card.
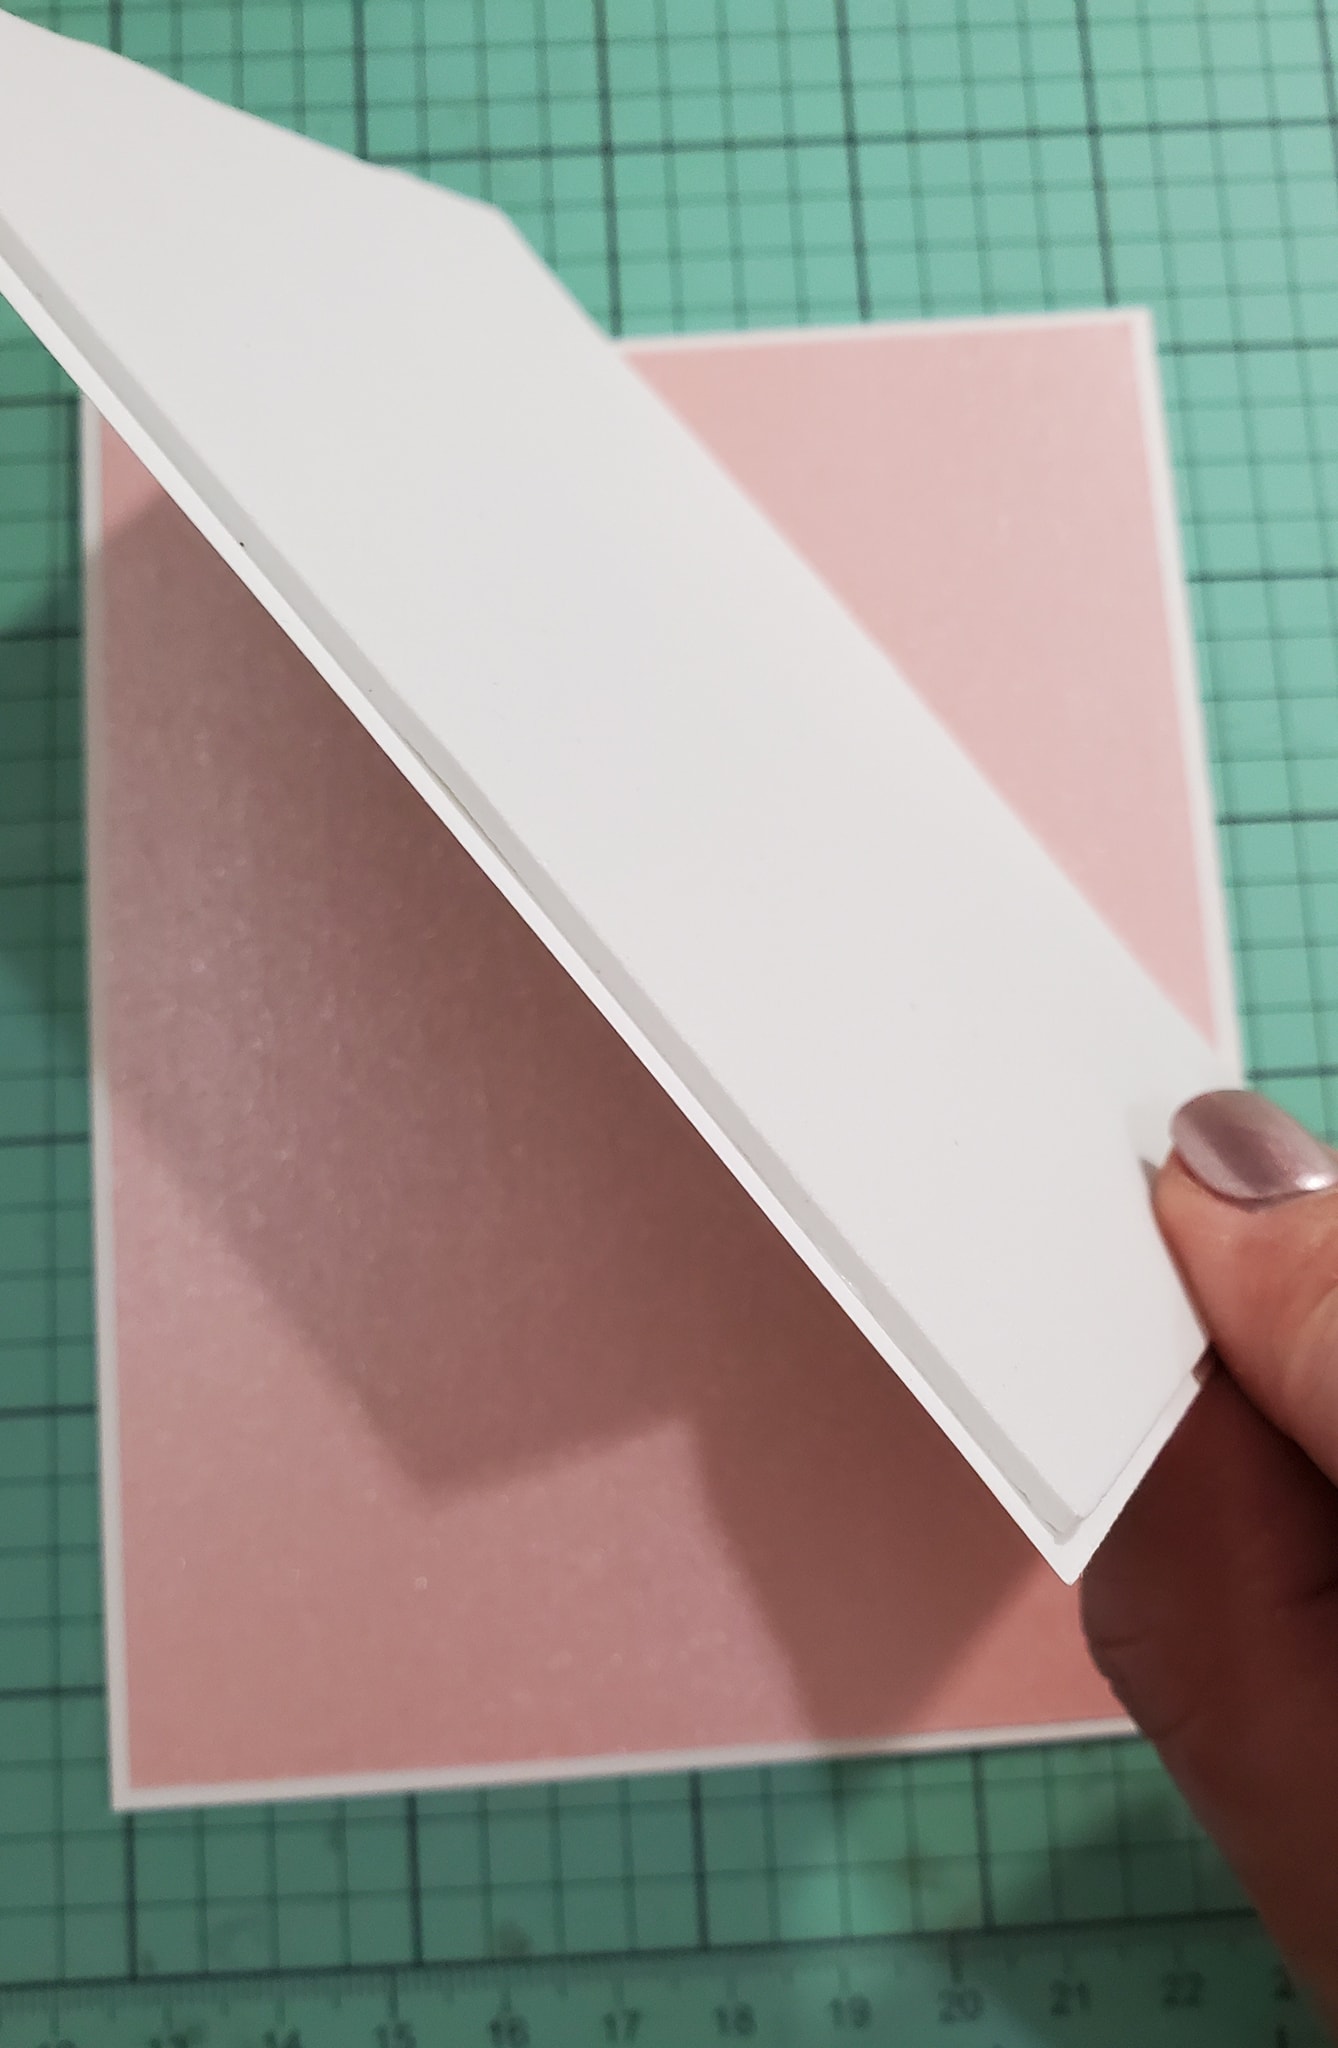


Next cut out the flowers using the Elizabeth Craft designs, #1029-Bunch of Flowers 3 die using 65 lb white cardstock.  Then cut the leaves out of white cardstock using Karen Burnistion #1059-Autumn Elements.


In the photo above, you can see the Seychelles die all put together, the base layers and the white die cut flowers.

Adhere the base layers together to your liking, then add the completed Seychelles die cut to the front of the card.

At this point you may shape the flowers and leaves with an embossing tool or leave them as is.
Set them aside. We will add them to the card soon.

Lets work on the sentiment:  You may add any sentiment you like.  The stamp set I used has many options to choose from.  I used the Scripty Sayings by Lawn Fawn.


Choose your saying and stamp your sentiment with VersaMark ink.  This is a clear ink that allows you to use embossing powder to stamp and enhance the look of your sentiment.  I used a stamping platform in case I wanted to stamp my image multiple times for a more bold appearance.


Here I am adding the white embossing powder by Zing.


Below, I am using a heat tool to warm up the embossing powder.  This leaves a raise image and adds additional texture to the card.


Next, cut the sentiment into a strip.  I added fish tails to the right hand side of mine.


Putting it all together:  


The next step is adhering all the elements together onto the front of the card.   Add the sentiment strip using pop dots and glue.  Add leaves and the flowers using additional pop dots for more dimension.  Add rhinestones or pearls into the centers of the flowers for more bling.

Here is another look at the finished card.  I hope you are inspired today.  Thank you.


Products used:
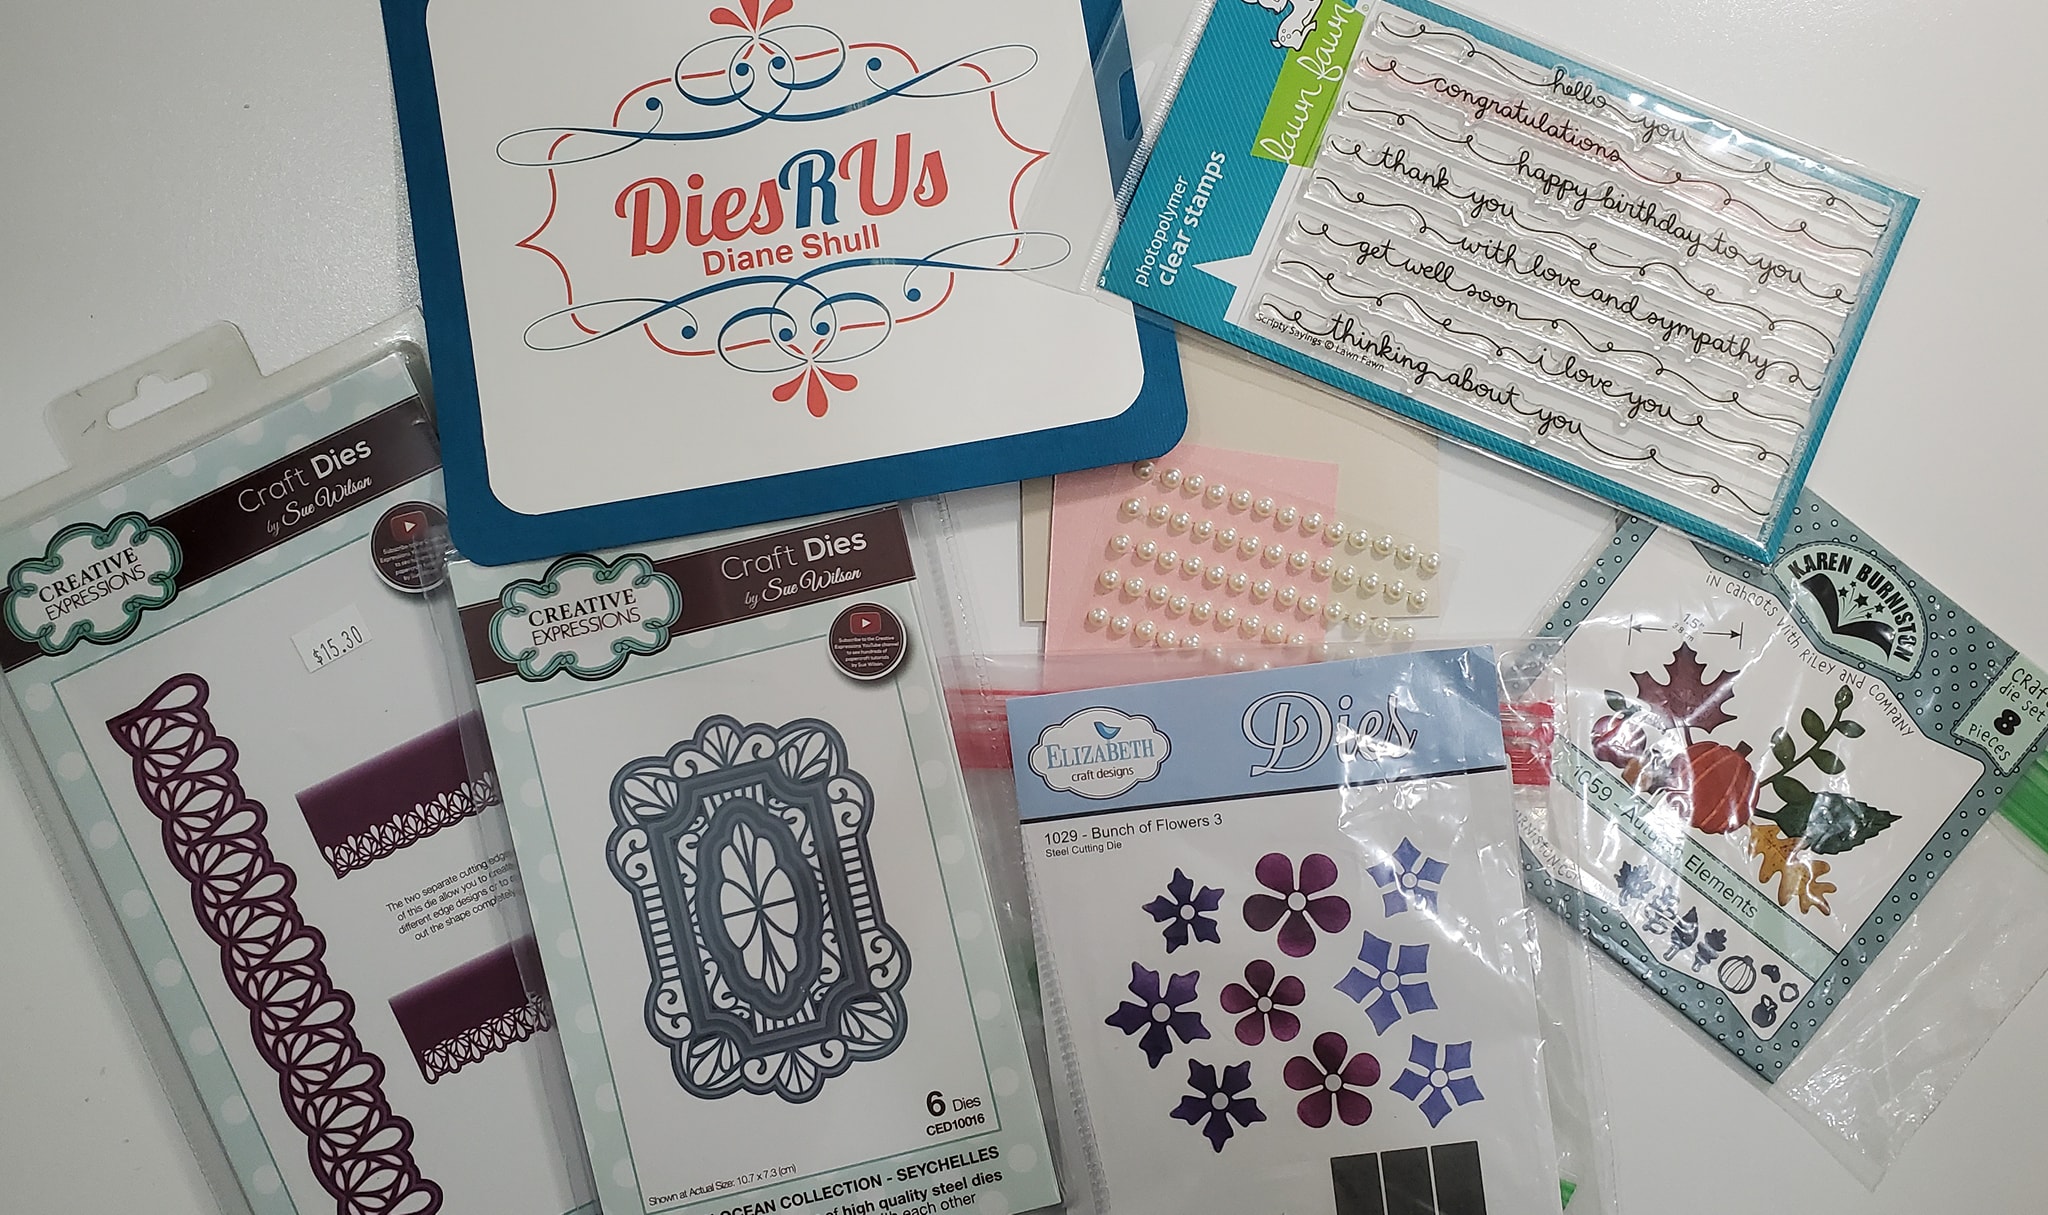

This was such a Fun project.  I hope that you will give it a try. Be sure to visit Dies R Us for this and many more fantastic dies and stamps for all your crafty crestions.


Don't forget to come join in the fun at the Dies R Us Challenge Blog. There's a new challenge theme offered on the 1st and 15th of each month and one lucky randomly drawn winner will receive a gift voucher prize to the Dies R Us Store.  


For your convenience, all the important Dies R Us links are provided below.


click below for:

STORE

CHALLENGE BLOG

FACEBOOK

INSPIRATION BLOG

FRIENDS OF DIES R US PINTEREST PAGE


Aug 4, 2021

Colorful Love Card

 I have SO many patterned paper pads; I buy them with good intention, but then they end up sitting in my stash, forgotten.  It was actually the background paper that inspired me to get a bit tropical for this card, I hope you like it!

What I Used to Make my Card:
White Card Base
Sue Wilson Caribbean Island Collection, St. Kitts, #CED5204
Impression Obsession Love Die, #DIE385B
KaiserCraft Fly Free 6.5" x 6.5" Paper Pad #PP975
Teal Blue Card

One of the best things about Sue Wilson dies is that you get so many options in one package! Using the St. Kitts die I started this card by cutting out the background in the patterned paper, then the outline in the teal blue, I continued with the patterned paper and then layered the teal blue onto that.  There is also

a pink paper in the paper pad that has epoxy detail and it since it's from the same pack, it matched the patterned paper so that is what I cut the sentiment out of.

You may not know that the Dies R Us challenge is always Anything Goes with a die that they carry - and they carry LOTS of dies so it should be easy to enter! All of the links are below so you can easily find the store and then the challenge! Thanks so much for stopping by! Christi


 For your convenience, all the important Dies R Us links are provided below.

 click below for:

STORE

CHALLENGE BLOG

FACEBOOK

INSPIRATION BLOG

 FRIENDS OF DIES R US PINTEREST PAGE

Jul 28, 2021

A Doodle Rose Wreath Background with Dies R Us!

Hi Dies R Us friends! Did you know you can make a cool background using almost any die? I decided to give it a try using this cute Doodle Rose Wreath from Sue Wilson.  It's been hot here (and probably where you are, too) so I felt like a nice tropical aqua would be a nice, cool color to use.  I hope you like my card:


What I used to Make my Card:
White Card Base
White Card
Doodle Rose Wreath Die from Sue Wilson
Simply the Best Die from Sue Wilson
Dimensional Dots
Aqua Card

In progress

 The background was fairly simple; I just started cutting on a 5 1/2" x 4  1/4" sheet of white cardstock, once I was done, I trimmed it down to 5 1/4" x 4".  Some of the edges "lost" the flowers, so I took some of the cut out swirly pieces and glued them where the flowers would of been.  I put the aqua paper on the back, attached the panel onto the card base.  The sentiment was cut from the same aqua card and attached to a white back, trimmed down, which was then adhered to the card using dimensional dots.  The most important part was letting the back panel dry completely prior to trimming it so the flowers I added it didn't get torn off when I trimmed the card.  I think it came out really nice!
 

You can see the exact products I used in the picture on the right. There are SO many dies you could do this with, the possibilities are endless! You can visit the Dies R Us Inspiration Blog daily to learn all types of new and inventive ways to use your dies; my fellow teammates are very creative!  Thanks so much for stopping by and I will see you next time ~ fondly, Christi 


Don't forget to come join in the fun at the Dies R Us Challenge Blog. There's a new challenge theme offered on the 1st and 15th of each month and one lucky randomly drawn winner will receive a gift voucher prize to the Dies R Us Store.  


https://blogger.googleusercontent.com/img/b/R29vZ2xl/AVvXsEigH2GGoJoFs6II1zex4FdZdwVk2kJQnNOQ_YzIT7kIzE16OSkctnbyFphdKZFyY_DaIX3CSkXaqnBa6CptmLms89KP2vAPdAmQVGn_Kz9CBfHrwHZBO1czkl9Mcl1uhjZnSwOloY84byM/s1600/41787084_10155963671007297_5873524281593298944_n.jpg


 For your convenience, all the important Dies R Us links are provided below.


click below for:

STORE

CHALLENGE BLOG

FACEBOOK

INSPIRATION BLOG

FRIENDS OF DIES R US PINTEREST PAGE

Jun 9, 2021

Dies Two Ways with Birch Press Designs

Hello everyone!

I hope this post finds you well! I've made these two cards using Birch Press Design dies that can be found at Dies R Us to show how different two cards can be using the same dies, just different colors. I love the simplicity of Birch Press dies and Dies R Us has a wonderful selection; please take a look when you have a chance!


What I Used to Make Both my Cards:
White Card Base
Birch Press Designs Grandiose Dies, Bundle of 3, #56102

After making both the purple and grey layered piece I just customized each card using the items linked below. In addition to showing how colors can change a card completely, I was also going for one feminine card and one masculine card. Here is the information on each card:

Missing You {grey card}
Simon Says Stamp Floral Garden, #SSS202304 {sentiment}
Tutti Designs Stitched Nested Rectangles, #TUTTI-217 {out of stock, but other options are TUTTI-414 and TUTTI-410}
Distress Ink in Hickory Smoke
Shades of Grey Card


Once the panel was made for this card, I made a frame using the rectangle dies, to go around it. As you can see from the picture, it's very easy to do as long as you have some low tack tape to hold the dies in place. I attached the frame to the panel, the panel to the card base and then adhered the sentiment, which was stamped and trimmed. 

Just for You {purple card}
Creative Expressions by Sue Wilson, Just for You, #CEDME028
Shades of Purple Card


All I needed to make this super easy card was a sentiment, which I cut out of the darkest purple I used in the panel. I attached that to the card and it's ready to send off!

Thank you so much for stopping by to see my cards! Remember, the challenge at Dies R Us is always anything goes using a die that they stock; that leaves you with plenty of options to play! I hope that you are inspired by our creations and join the challenge, all the links you need are on the right hand side of this blog :)


Fondly, 

Christi


Mar 31, 2021

Spring Floral Get Well Card

 Hello Friends,

Diane here on the Die R Us blog to share with you a pretty Spring Floral Get Well card.  I know a lot of us struggle with sinus issues this time of year and sometimes we really don't feel that great.  Here is a quick card you can make for a friend or loved one who might need a little cheering up.  I hope this card will get those crafty mojos movin'.


Card Instructions:

Using 110 lb white card stock, cut a piece that measures 4 7/8 X 12, score at 6 and fold in half.  Here is your card base.  The patterned paper I used for this card is by Prima Marketing called "With Love".  I selected the printed puffy heart paper for bottom layer because it has a lot of different colors in it.  I used the die set below from Creative Expressions by Sue Wilson called Scalloped Lattice Frames - Set B to cut the bottom layer of my card.  I selected the second to the smallest frame die. I purchased this die set from Die R Us.  Here is a photo of this die set:


Run the die with your selected paper and adhere it to your card base.  Next take a piece of solid colored cardstock.  I used a pink shimmer cardstock from Recollections, but you can use whatever you choose.  I took the Lattice die and the smallest frame with my pink shimmer cardstock and ran it though my die cutting machine.  I adhered the panel to my card.  Next I cut out my flowers.  I selected the die set from Karen Burniston called 1026-Flowers and Bee available at Dies R Us.


Select multiple patterned paper and solid paper, cut lots of flowers and some of the leaves.  This way you can play with colors and sizes.  Shape your flowers and then adhere some on top of one another and others, just use a single layer.  I added flat backed pearls to the center of mine.  I played with the presentation of the floral bouquet until I was please and then adhered it to the front of my card.
Now it's time for the sentiment.  I selected the Lawn Fawn, Scripty Sayings stamp set and chose the get well soon sentiment.  


I simply stamped this in green ink and cut it out using my paper trimmer.  I popped it up on foam dots and added a tiny flower to one end of the sentiment strip.  That's it.  Card finished.


I hope that you will try this simple design.  Putting this card together was fun and easy and I know that you can do it too.  Thank you for visiting the Dies R Us blog today.  I hope I was able to inspire you with my card.  Hugs,  Diane


Don't forget to come join in the fun at the 
Dies R Us Challenge Blog.  There's a new challenge theme offered on the 1st and 15th of each month and one lucky randomly drawn winner will receive a $10 gift certificate to the Dies R Us Store.  For your convenience, all the important Dies R Us links are provided below.


click below for:


Thanks so much for stopping by.