
Hello Friends,
Today I have an elegant pink and white "thinking of you" card to share. This card was created using papers from Michaels and dies from Dies R Us. The focal die is from Creative Expressions by Sue Wilson and it's called Seychelles (kind of like Sea Shells). It's from the Indian Ocean Collection.
Come take a look!


Card Tutorial:


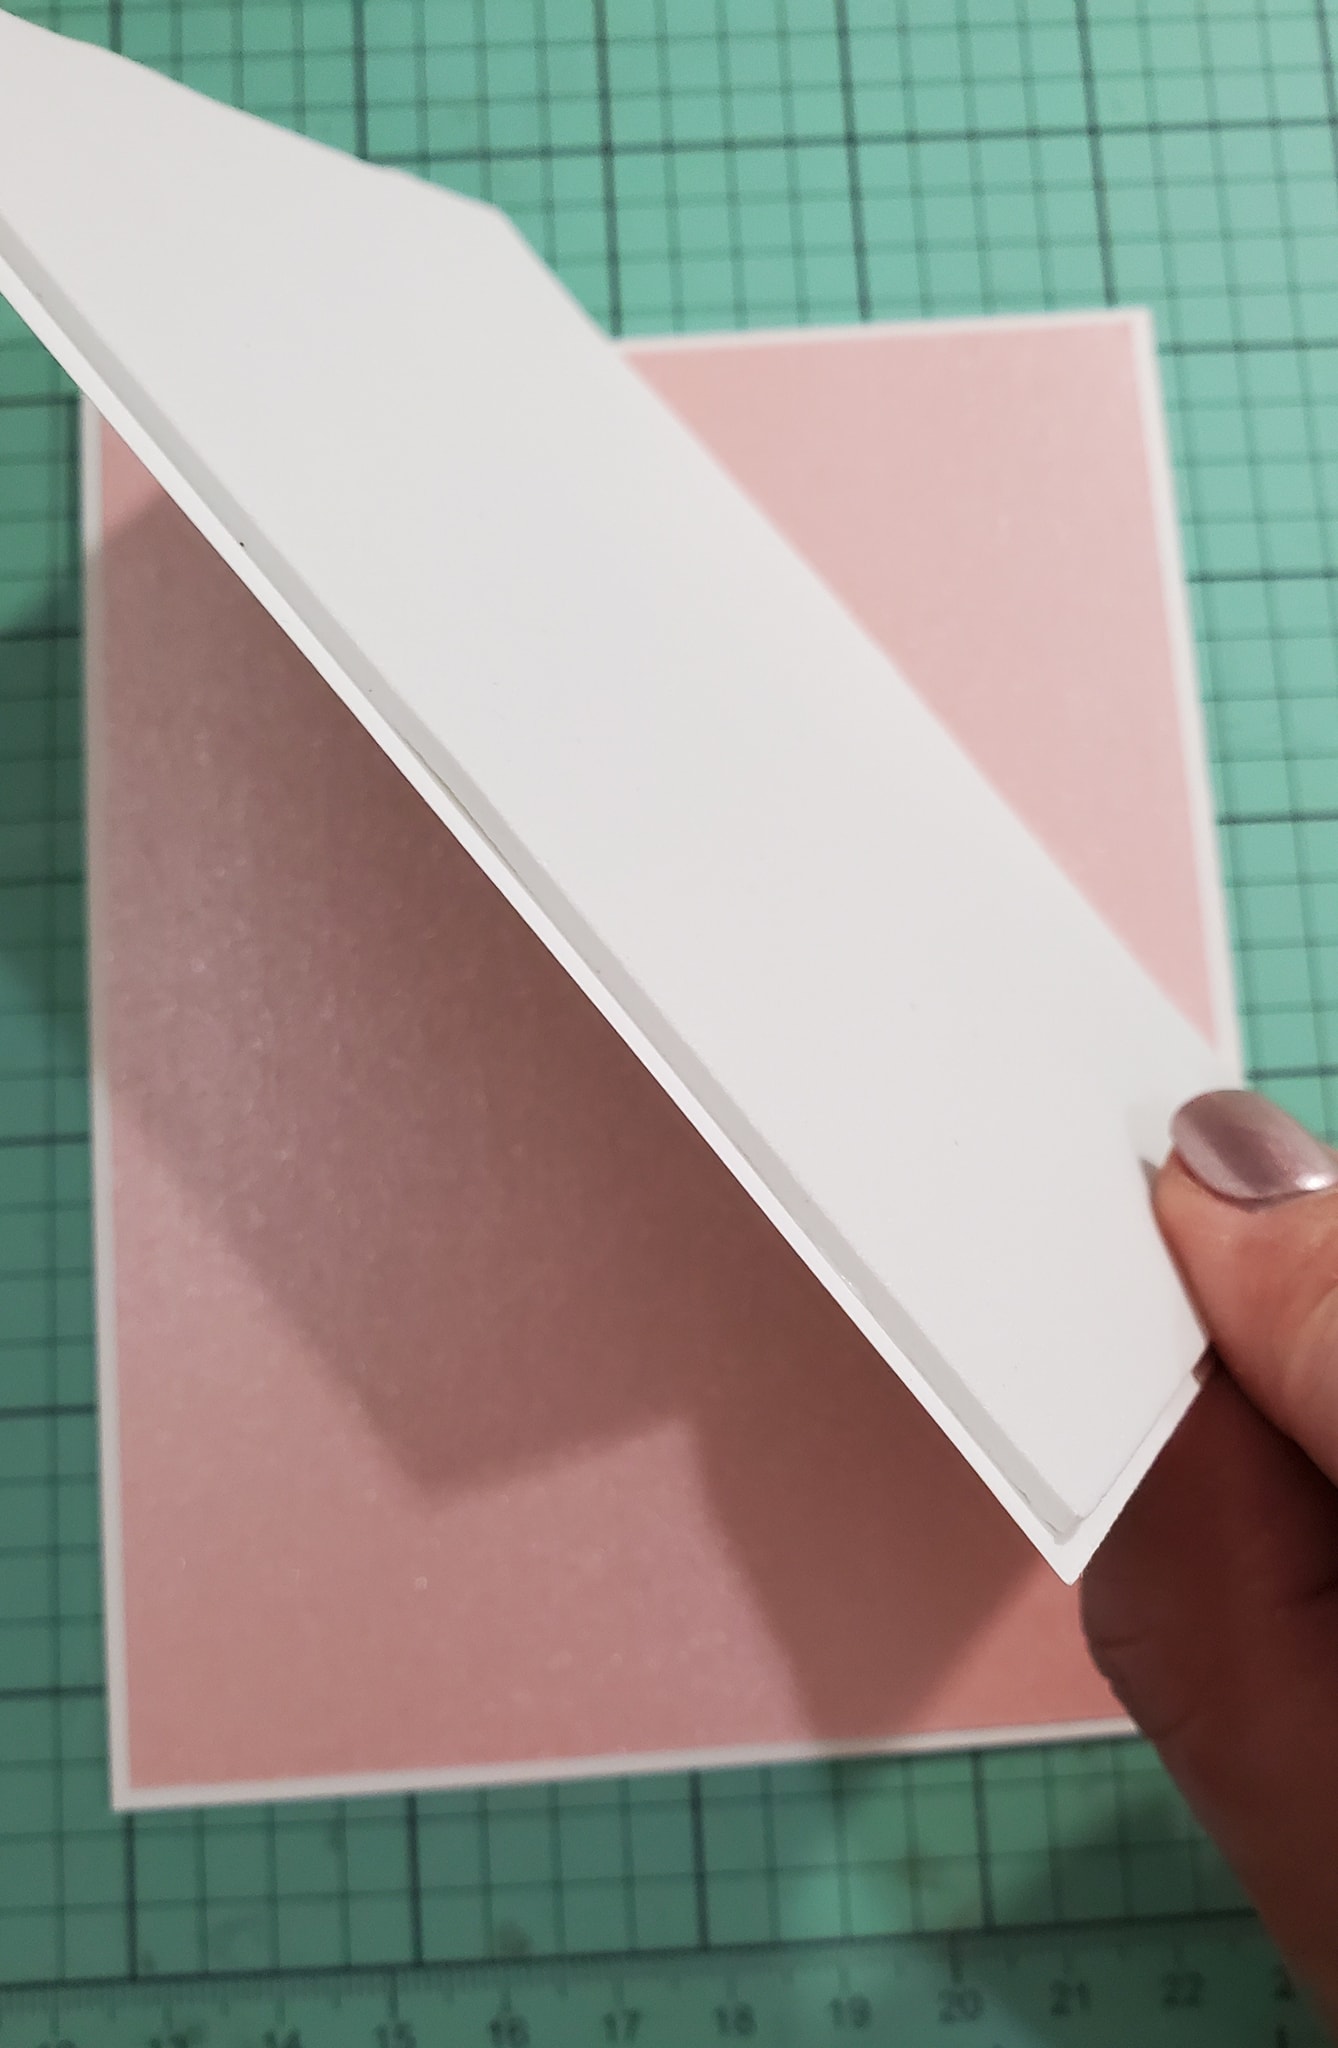
I began with a card base. White 110 lb cardstock measuring 4 1/4 X 11, score it in half at 5 1/2.
Next decide on the colors to use. I chose metallic pink, metallic vanilla and white cardstock from Michaels's Art & Crafts Store.
Next cut out the dies using Creative Expressions; Indian Ocean Collection - Seychelles. I used the largest two and the smallest two dies, cut them out in pink metallic papers. Then the middle two dies, cut them in vanilla metallic paper.


Using the outline dies, I cut the shadow layers from 65 lb white cardstock.


In this photo you can see each layer, the white shadow to the pink large die cut, the white to the inner vanilla die cut, and the white shadow layer to the smallest decorative die cut.

Adhere each metallic layer onto the white shadow layer. As seen above.
Next stack each layer using foam squares or dimensional dots, placing the smallest die onto the next larger die until you have a Seychelles medallion for the focal of your card.

Next cut your background papers from the two colors you chose from.
Cut them a slight bit smaller than your base card.

Then add foam to the smallest layer. This will add additional dimension to the card.
Next cut out the flowers using the Elizabeth Craft designs, #1029-Bunch of Flowers 3 die using 65 lb white cardstock. Then cut the leaves out of white cardstock using Karen Burnistion #1059-Autumn Elements.


In the photo above, you can see the Seychelles die all put together, the base layers and the white die cut flowers.
Adhere the base layers together to your liking, then add the completed Seychelles die cut to the front of the card.
At this point you may shape the flowers and leaves with an embossing tool or leave them as is.
Set them aside. We will add them to the card soon.
Lets work on the sentiment: You may add any sentiment you like. The stamp set I used has many options to choose from. I used the Scripty Sayings by Lawn Fawn.

Choose your saying and stamp your sentiment with VersaMark ink. This is a clear ink that allows you to use embossing powder to stamp and enhance the look of your sentiment. I used a stamping platform in case I wanted to stamp my image multiple times for a more bold appearance.

Here I am adding the white embossing powder by Zing.


Below, I am using a heat tool to warm up the embossing powder. This leaves a raise image and adds additional texture to the card.


Next, cut the sentiment into a strip. I added fish tails to the right hand side of mine.
Putting it all together:

The next step is adhering all the elements together onto the front of the card. Add the sentiment strip using pop dots and glue. Add leaves and the flowers using additional pop dots for more dimension. Add rhinestones or pearls into the centers of the flowers for more bling.

Here is another look at the finished card. I hope you are inspired today. Thank you.
Products used:

This was such a Fun project. I hope that you will give it a try. Be sure to visit Dies R Us for this and many more fantastic dies and stamps for all your crafty crestions.

Don't forget to come join in the fun at the Dies R Us Challenge Blog. There's a new challenge theme offered on the 1st and 15th of each month and one lucky randomly drawn winner will receive a gift voucher prize to the Dies R Us Store.
No comments:
Post a Comment
Note: Only a member of this blog may post a comment.