
Hi Friends, it's S@ndy Diller here today to help get you started on those, all important, gifts for the holiday season. My grandkids are all grown and I never know what they want so I make it easy on myself and give gift cards adding a little fun with a handmade card.
This card is from Karen Burniston who designs the most fun pop-up cards. She also spoils us when it comes to giving directions on how to assemble her cards because she has a video for each one as well as an Instruction Section where you can download a PDF with full instructions and photos. It can't get much better than that. I will be linking her videos later in this post so you have all the details but here is a link to all the videos. Each of these die sets are available at Dies R Us.


Let's get started--
Let's get started--
The finished size of this card is 5" square with a top fold.
Cut the card base 5" X 10" and score in the center.
Cut 3 panels that measure 5.75" square, shown in snowflake paper here. Two for the inside and one for the front of the card
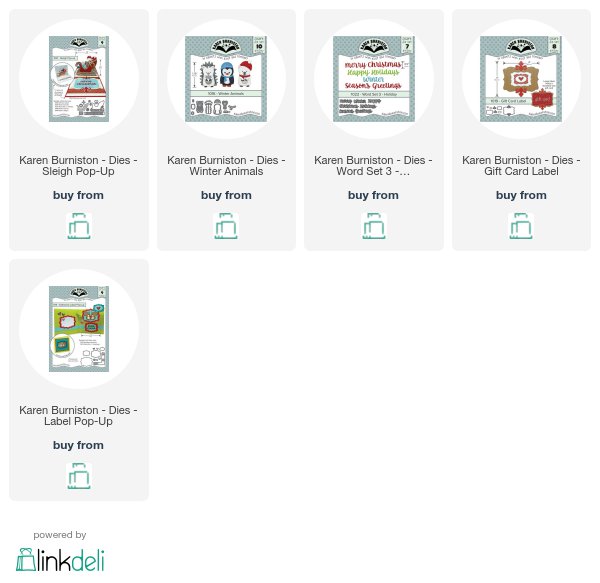
Using the Sleigh Pop-up Die Set - cut
2 sleighs
3 inside panels of the sleigh, shown in red.
Several snowflakes.
A few packages and ribbons and bows.
Wreath & bow
1 pop-up portion
Using the Winter Animals Die Set - cut
1 penguin
1 cap
1 scarf
Using the Gift Card Label Set - cut
1 gift card label
2 decorative flourishes
For card front:
Using the Word Set 3 - Holiday Set - cut
Season's Greetings
Using the Katherine Label Pop-up Set - cut
1 large label
1 stitched label
Cut one strip of paper that is approximately 1.5" wide by 11" for belly band.
Now is the perfect time to watch Karen's instruction video

Begin by folding and assembling the pop up potion so it looks like the photo above.

Add decretive panels to sleigh as shown above. For the sleigh that will be in the back, add decretive panels to both sides as it will show when card is opened and closed.

Add patterned paper to base of card. Optional, round edges.
Line pop up potion with center fold and attach. Glue sleighs to each side.


Now that the sleigh is in place, it's time for that adorable little penguin. To see complete video instructions for this - click here. Add penguin to card.

Decorate the gifts with the bows, add bow to wreath. Add gifts, snowflakes and wreath to sleigh as desired. You can add a little bling to the gifts as I did with a glue dot, enamel dot or rhinestone.
Add decorative flourishes to the Gift Tag Label then place on card making sure you do not put glue on the tabs that hold the gift card.
Note - you may want to add the gift card to the label before gluing to the card.
I find it is much easier to do it that way.
Card Front

Pop-up cards have a little bulk to them so I like closing them with a belly band.
Layer the two labels and add the words. Wrap the strip around the card leaving enough room for it to slide on and off the card - then attach the labels.
Thanks for joining me today,
S@ndy
Please don't forget to check out all the awesome dies available at the Dies R Us store.
Don't forget to come join in the fun at the Dies R Us Challenge Blog. There's a new challenge theme offered on the 1st and 15th of each month and one lucky randomly drawn winner will receive a gift voucher prize to the Dies R Us Store. For your convenience, all the important Dies R Us links are provided below.

click below for:
Wonderful card ! awesome ! I love also Karen Burniston dies !
ReplyDeleteWhat a great card, love it.
ReplyDeleteWell that's just so FUN!
ReplyDeleteOMG! This is so stinkin' cute! Fabulous, fun card and awesome, helpful tips! Thanks for amazing inspiration Sandy!!
ReplyDeleteWonderful card and tutorial!
ReplyDeleteA fabulous card.x
ReplyDeleteSuper cute!
ReplyDeleteSuper cute, love that little penguin!!!
ReplyDeleteSuper cute and festive way to present a gift card. Love Karen's dies too :-) Great tutorial Sandy!
ReplyDeleteSandy, this is amazing! I know Karen's dies make it easier but you still put a lot of work into this gorgeous card!
ReplyDeleteAlicia
adorable and to cute
ReplyDelete