
Welcome back DRU friends. Lena here today to share a few Christmas gift tags with you.


I placed the shapes and sizes I wanted on my magnetic shim. Next I took the Impression Obsession Christmas Circle Cutouts dies and placed them neatly centered inside the base dies. At times like these, I really find that the magnetic shim is wonderful as it keeps all the dies in place. If you don't have one, no problem, you can just adhere the two dies together with some removable tape and cut them as normal.

Next, I removed the circle cutout dies and cut the same base shapes again out of the same white cardstock. These will be used for the backing of the tags.

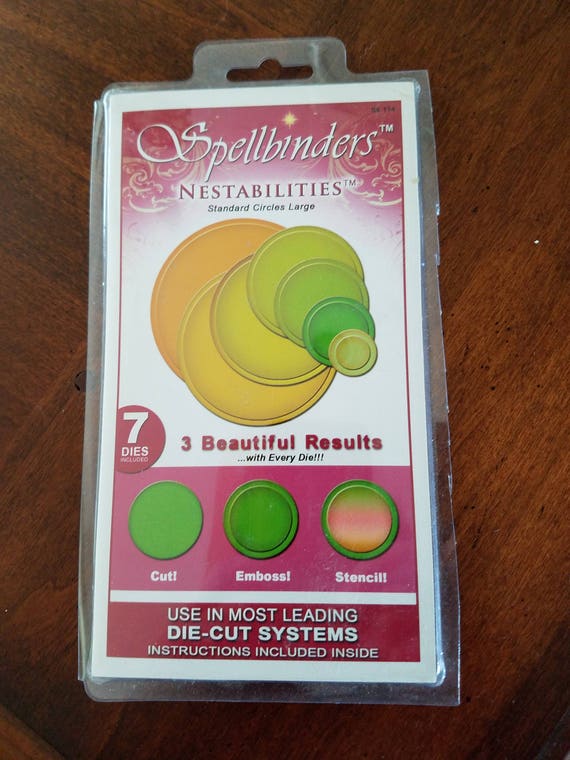
After deciding what colours I wanted to use as the background for the circle cutouts, I used a circle die from the Spellbinders Circle Dies set and cut out various circles in red, green, navy, sky blue and silver glitter cardstocks.

Once I had my backing pieces cut out, I stamped the "To" and "From" on the back of each using Versafine Black Onyx ink. I love the sharp crisp images you get with this ink, even if it does take a little longer to dry. Remember that this ink is not alcohol marker friendly. If you're going to use your copic markers or other alcohol based markers, you should probably use something like the Memento Tuxedo Black ink.
I've shared with you before, that I keep all my dies on the little pink bucket (you can see it on one of the pics above) in order to prevent them from getting lost amidst all the other supplies or even thrown away. Well, I do a similar thing with my cling stamps. I purchased a cheap acrylic photo frame and that is where I put all my stamps until I'm finished with my project. This helps me because I know that they won't get lost or damaged. It also helps that they're all in place when it comes to cleaning them before putting them away.

Once I had all my bits and pieces, I started assembling them. I glued the colour circle to the back of the cutout die and then the backing on top. When they were all done, I felt they needed a little more embellishing, so I cut out a few more of the shapes in glitter cardstock and used the little cut out pieces to paper piece some additional colour onto my tags. You can see this on the tags with the holly, the bells and the Christmas tree. The tag with the candy cane, I used red stickles to make it sparkly and give it dimension. On the bauble and snowflake tags, I simply added a few rhinestones.
Lastly, I took an assortment of ribbons and twine and finished off my tags.
These are very simple to make and the possibilities are endless. You can change shapes, colours, bling, ribbons, etc. to make them unique and fun.
Here is a quick recap of the dies I used:


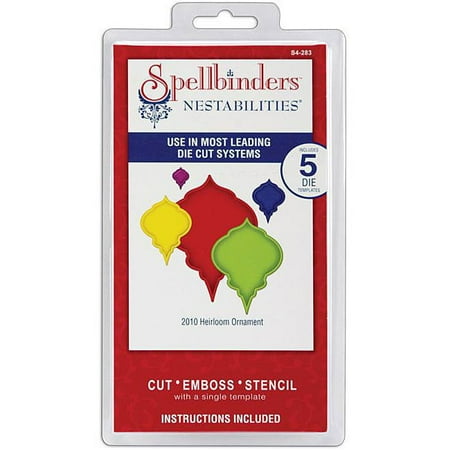

If you don't have the Heirloom Ornament dies, it's not a problem. All you have to do is visit our DRU store and enter "Ornaments" in the search bar. There are so many options that pop up, and these will all serve as a great background for your circle cutouts in addition to creating other beautiful ornament projects.
I hope I was able to inspire you to use your dies to create some Christmas tags for the gifts for those special people in your life. I hope you will come play along at the Dies R Us Challenge Blog for your chance to win a gift voucher to the Dies R Us Store. A new challenge begins on the first and fifteenth of every month. Be sure to Follow Us on Facebook too.
 |
Till next time,

Great idea to mass produce these cute and original tags. You are way ahead of your Christmas creating.
ReplyDeleteOh Lena these are just awesome! Each one unique and beautiful! Now you just need the Christmas packages to attach them too! LOL ... best start shopping! Great job ... thanks for wonderful inspiration!
ReplyDeleteThese are fabulous tags, Lena! What a great idea for an ornament die cut.
ReplyDeleteThese tags are adorable! Great inspiration for my Christmas tag making this year.
ReplyDeletewhat a wonderful set! love them all!
ReplyDeleteAlicia