Feb 23, 2018

Bee Happy

Hello friends ...
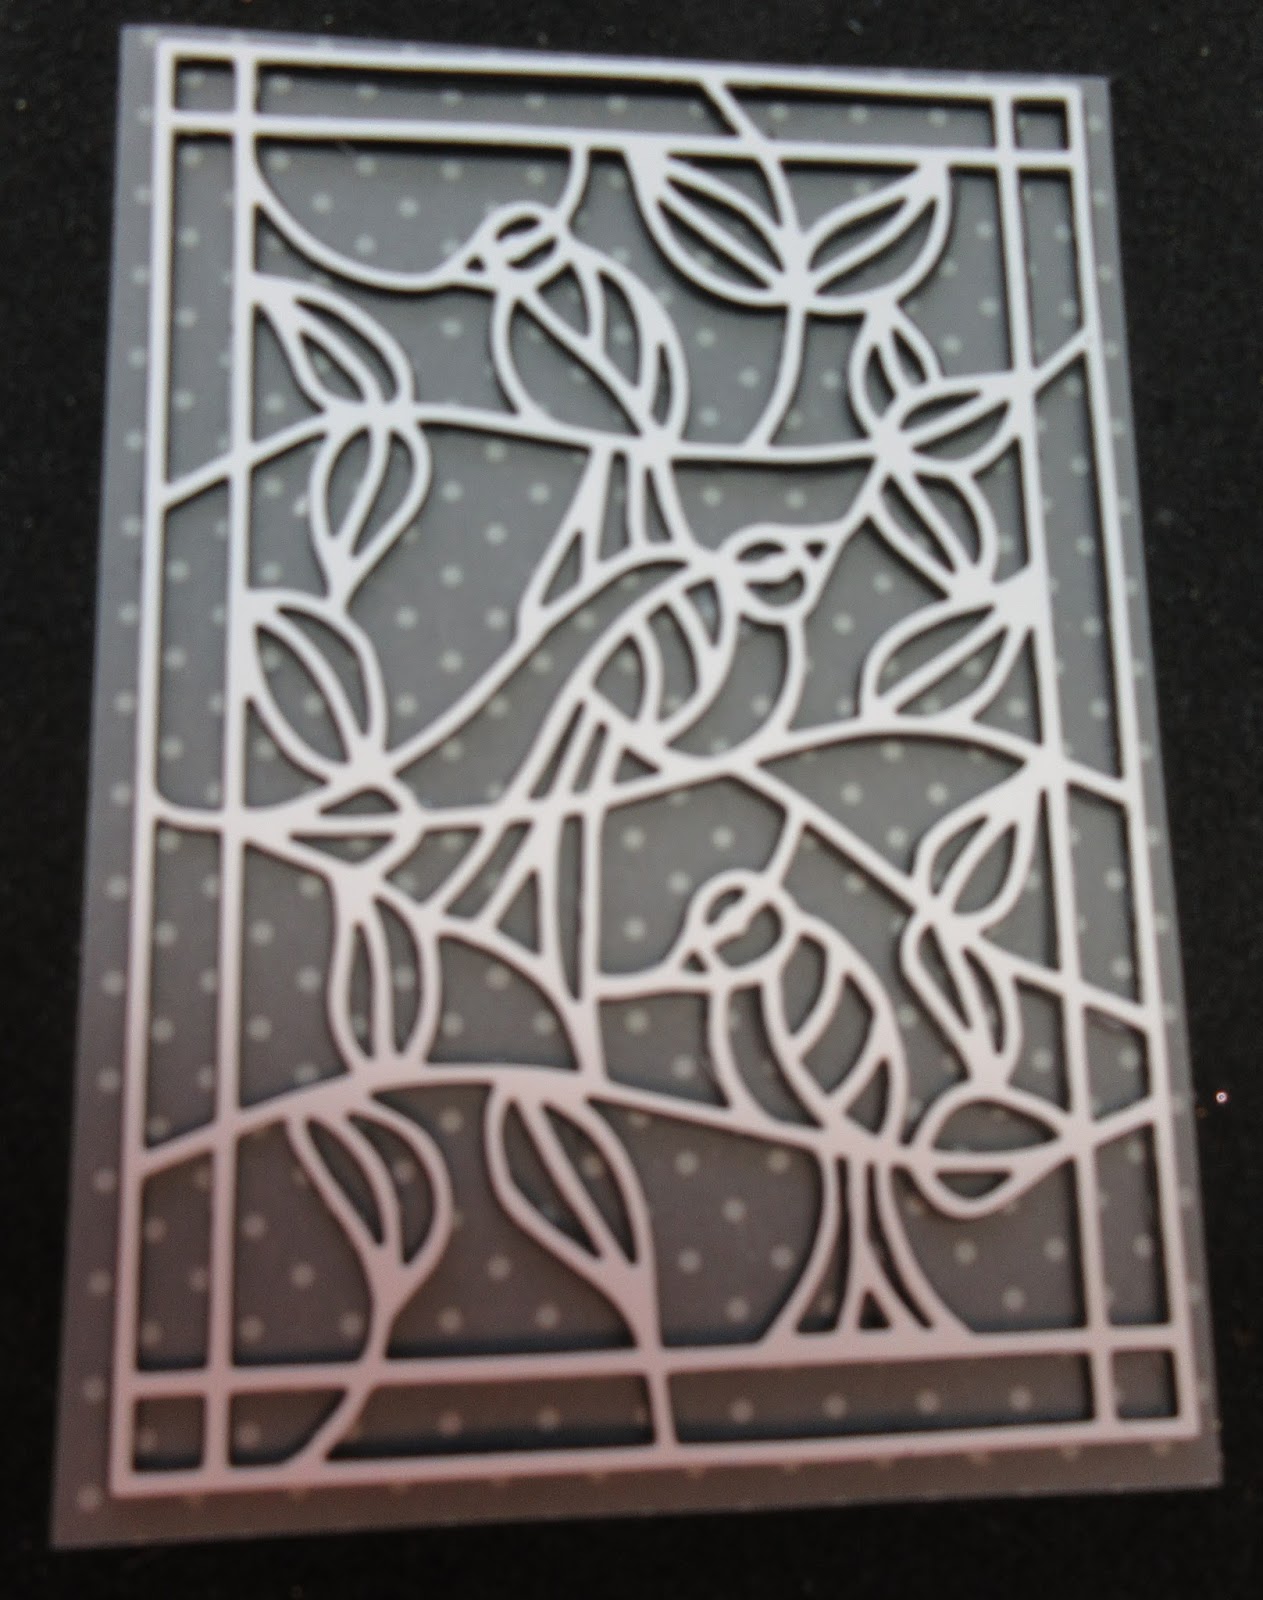
Darlene with you today and I had SO MUCH fun creating this card for you!
  I had this idea in my head when I purchased these dies and I'm very happy with the outcome!  
I hope you like it too!


The dies I have used are:

Memory Box - Dies - Honeycomb Square
Memory Box - Dies - Intricate Bee
Tutti Designs - Word Set - Happy
Memory Box - Dies - Classic Upper Alphabet

Remember, if you ever find the die you want is Out Of Stock ...
Click on the 'Put Me On The Waiting List', fill out the form and you will be notified as soon as that die is back in stock!

Now, here are a couple of tips on how this card was put together.
Distress Ink Pad - Fossilized Amber
I used yellow gingham designer paper as my background, but sponged the edges with Tim Holtz distress ink to add depth.  I die cut the honeycomb twice.  Leaving some of the area pieces in place and removed others, I glued (and linked them together) on my designer paper background.


I used this same paper for the wings & body of the bee.  Adding ink to only the body part of the bee ... not the sections used for the wings ... giving them more of a transparent look.


Here's another peek at the finished card . . .

I hope you've enjoyed what I've shared today! 

Please remember, each an every day of the month there's a new inspiration sample shared on the blog by this fabulous design team.  Please be sure to pop in regularly.

Also, don't forget to come join in the fun at the Dies R Us Challenge Blog.  There's a new challenge theme offered on the 1st and 15th of each month and one lucky randomly drawn winner will receive a gift voucher prize to the Dies R Us Store.

 For your convenience, all the important Dies R Us links are provided below.

click below for:

Thanks for stopping by!

Feb 22, 2018

Lighthouse Scene

Hello card makers!  Barbara Campbell back today with another beach inspired card for you.  If you saw my card last week, you may have notice that I cut some  dies and I didn't use.  Well, here they are for you now.
This is another layered die from Elizabeth Craft.  See the solid layer and the outline?  I actually colored it after gluing it together.  That way I could do some shading to make the lighthouse look curved.
                                         Elizabeth Craft Designs - LighthouseElizabeth Craft Lighthouse


I used some water colors on the sky and the water, using the brush to make the waves.  Next I tore another piece for the sand beach and also used the water colors for some texture.
Take a close look at the rock near the lighthouse, they are mushroom tops colored and shaded.  I think they make a great rock.  Then I just added the Shoreline Cattails and the sentiment to complete the scene. The sentiment is from Power Poppy Good thinking.  

 Here are the other dies that I used on this card. 

Have some fun with your stamps and dies, I hope that I have inspired you today.

Don't forget to come join in the fun at the Dies R Us Challenge Blog. There's a new challenge theme offered on the 1st and 15th of each month and one lucky randomly drawn winner will receive a gift voucher prize to the Dies R Us Store. For your convenience, all the important Dies R Us links are provided below.
click below for:

Feb 21, 2018

Pop Up Birthday Cake

Hi Dies R US Friends !

Maryvonne with you today for a fun Birthday Card!

               For  my post today I Share a Pop up Birthday card :


This is a very easy card to carry out and the instructions
In the video of Karen Burniston are very clear and simple:


To build the inside of the card .
The decoration was made with the Gorgeous 
The Sentiment is a Spellbinder die .


For the outside of my card I used
The center was made with the central cut


Here are the dies Dies R US used to make this card:


I hope that my card has pleased you 
and that it will inspire you for your projects,
I loved making this card!

Don't forget to come join in the fun at the Dies R Us Challenge Blog.  
There's a new challenge theme offered on the 1st and 15th of each month and one lucky randomly drawn winner will receive a gift voucher prize to the Dies R Us Store
 For your convenience, all the important Dies R Us links are provided belo


Click below for:


Feb 20, 2018

Stitched Blooms


Vickie Y sharing a black and white, with a splash of red card with you today.

I first die cut all the elements and used a stylus to shape the die cut flowers

Then, layered the red frame onto the diamond panel before adhering to the cardbase

Once on the cardbase I arranged one of the layered blooms and the die cut word to complete the card

Here's a close up of the stitched bloom

Dies used from the DRU online store:


Don't forget to come join in the fun at the Dies R Us Challenge Blog.  There's a new challenge theme offered on the 1st and 15th of each month and one lucky randomly drawn winner will receive a gift voucher prize to the Dies R Us Store.  For your convenience, all the important Dies R Us links are provided below.
click below for:

Feb 19, 2018

Stained Glass Inlay


Hello! Welcome to another Dies R Us Inspiration blog post.
It's Judy here with you, and today I have another inspiration for you. I decided to play with one of the stained glass dies from Tutti Designs. Here is my card:
And here's how I made it:
First I cut the die out 4 times. Once in white, and three times in black. I layered them all together to give a nice dimension.
I attached the die cuts onto a polka dotted vellum panel.

Then I set about cutting out all the birds and leaves in different colors. Mind you, these are teeny TINY pieces. I was beginning to wonder what I had gotten myself into.


Now comes the challenge. inlaying all those little pieces parts into the correct spaces. This is NOT for the faint of heart. If you don't have patience, I DO NOT recommend this technique. Was it worth it? I say yes, and I will be doing it again.....but not for awhile.


Next I cut myself a little sweet frame from the  Waffle Flower Lacy Layers 2 Die set.


Finally it was time to put it all together......whew!!!!

I love all the dimension this card has. I'm very happy with the result!

Here are the dies I used:

https://www.youtube.com/watch?v=XM33DkY4yDw 
 Image result for tutti designs bird stained glass die

Thanks for stopping by! I hope you like these awesome die sets as much as I do!! And do give the inlay technique a try. You don't have to do something as intricate as I did. Take a look at your dies and see what you have!
And don't forget to come and join in all of the fun at the Dies R Us Challenge Blog.  There's a new challenge theme offered on the 1st and 15th of each month and one lucky randomly drawn winner will receive a gift voucher prize to the Dies R Us Store.  For your convenience, all the important Dies R Us links are provided below.

click below for:


Feb 18, 2018

Let it Snow. . .Again

I've been using the border from Lawn Fawn that reads "Let it Snow" a lot recently.  I think this may be my third card this season, but nothing says winter to me quite like snow does.  So, get ready, 'cause here we go, a visit to a small mountain town. . .


What I Used to Make this Card:
White Card Base
Lawn Fawn Let it Snow Border, #LF992
Lawn Fawn Ready, Set, Snow Stamp Set, #LF973
Lawn Fawn Ready, Set, Snow Die Cuts, #LF974
Lawn Fawn Starry Skies Die, #LF1377
Hero Arts MMH Kit, October 2017 {sort of}
Water Color Paper
Distress Oxide Inks in Wilted Violet, Faded Jeans, Cracked Pistachio & Broken                                          China
Distress Sprayer
Wendy Vecchi Fern Green Ink
Alcohol Ink Markers
Dimensional Dots
Glitter Card in White

I've had this half of this mountain sitting on my desk since October - that was the inspiration for this card.  I had used the other half making a similar scene with the Hero Arts My Monthly Hero Kit from October; check it out here. And, of course, when I went to go find it to use it, poof, the gremlins were at play.  It literally took me two days to find it, but, as you can see, I was successful - ha ha ha craft room gremlins! I won!

Now I had my mountain, so I needed a sky.  I found this in my stash pile - luckily, I had written down the Oxide colors I used {and have you seen that Tim Holtz has released MORE colors?!!? LOVE IT; but now I need to buy another ink pad stand or two.  Heck, maybe three. . .} because I would have never remembered.  So this background was created using Oxides and the Distress Sprayer.  I attached my mountain and built from there.

I stamped my images on watercolor paper, as I wasn't sure how I was going to color them.  Since I wasn't going to blend, I knew that even alcohol markers would be fine to use if I chose. The evergreen trees were actually stamped with green ink, then die cut.  Everything else was stamped in black.   I cut them all out and I even cut a few extra houses but snipped off the first house and the last house. I wanted this to look like a neighborhood in the village.  I colored all my houses with alcohol ink markers and used dimensional dots to 
Dimension!
pop out a few of the homes and the trees on the card.

I cut the sentiment out of the same white glitter card as the mountain and I thought I was done.  I left the card overnight and the next day I felt that the card needed just a bit more something.  I looked at all the teeny tiny snowflakes included with my stamp sets but none of them were small enough for the look I wanted.  That's when I got the idea to use my Starry Skies die - I mean, yes, they are obviously stars, but I bet you didn't notice until I just told you and you looked at the card again! I cut the snow-stars {works for me!} out of the white glitter card and attached them to my sky.  I didn't use all of them but I used most, and even attached some of the dots that got die cut as well.  

I'm thrilled with my little scene.  When I was first stamping, it was nearly 
Another Look
impossible for me to stamp a scene; perspective is SO important to me and I just didn't have the funds to collect the really beautiful scene stamps that some companies specialize in or enough of all the things I wanted in the same scale.  Now, all the things I need are in one kit, easily obtained.  I hope you like my little scene as well.  Have you ever used something as something else, like I've done with the snow-stars? I'd love to know; please leave me a comment, with a link to your creation if possible, so 
I can share the love!  Thank you so much. ~Christi

PS: Have you been to the new store?? Dies R Us is now stocking all kinds of crafty goodies, and the prices are fabulous! Why not treat yourself to a some of the products Santa forgot? 


Don't forget to join in on all the fun at the Dies R Us Challenge Blog.  
There's  a new challenge theme offered on the 1st and 15th of each month
 and one lucky  randomly drawn winner will receive a gift voucher prize to 
the Dies R Us Store.  For your convenience, all the important Dies R Us 
links are provided below.


click below for:

Feb 17, 2018

Valentines to inspire you.... great for many other occasional also....


Hi .. Bev here today. How are you today? This DT project for Dies R Us showcases a Valentine cards made using lots of die cuts and super fun layers for depth and dimension...
 some plain and some more detailed. 
 I know it's after Valentines Day...but what a better time to be inspired to buy these fabulous dies all ready for next year.... and lots of inspiration too. They also could be used for birthday, love/ anniversaries..so many options besides just Valentines Day.... change out the sentiments and your all set.

I am starting off with some super fun, cute and easy kid types with the most fun images. View them all... super cute ....fab colour combos... perfect for those kids.... who will love them.


Supply List:
Machine/ tools: Big Shot Express, Misti
Other: ScraPerfect Best Ever Glue, Cardstock,

*********************************************************
I am also sharing some adult cards I made for another project but thought you'd love to see them too.


This first card has amazing layers of tags finished off with some fun colour print layers and sentiment ... super fun card.


Lots of die cut hearts and love sentiment,


Lots of hearts in paper and buttons... and great die cut sentiment.


I made a shaker valentine, add a corner cluster of pennants and stenciled hearts along with a flair button. What a fabulous fun card.

Thanks for stopping by... see you again soon.
Be sure to visit the store to view these amazing products  and so many others too.


**************************************************************


Don't forget to come join in the fun at the Dies R Us Challenge Blog.  There's a new challenge theme offered on the 1st and 15th of each month and one lucky randomly drawn winner will receive a gift voucher prize to the Dies R Us Store.  For your convenience, all the important Dies R Us links are provided below.
click below for:

Thanks for visiting... hope to see you again soon, Have a great day.