

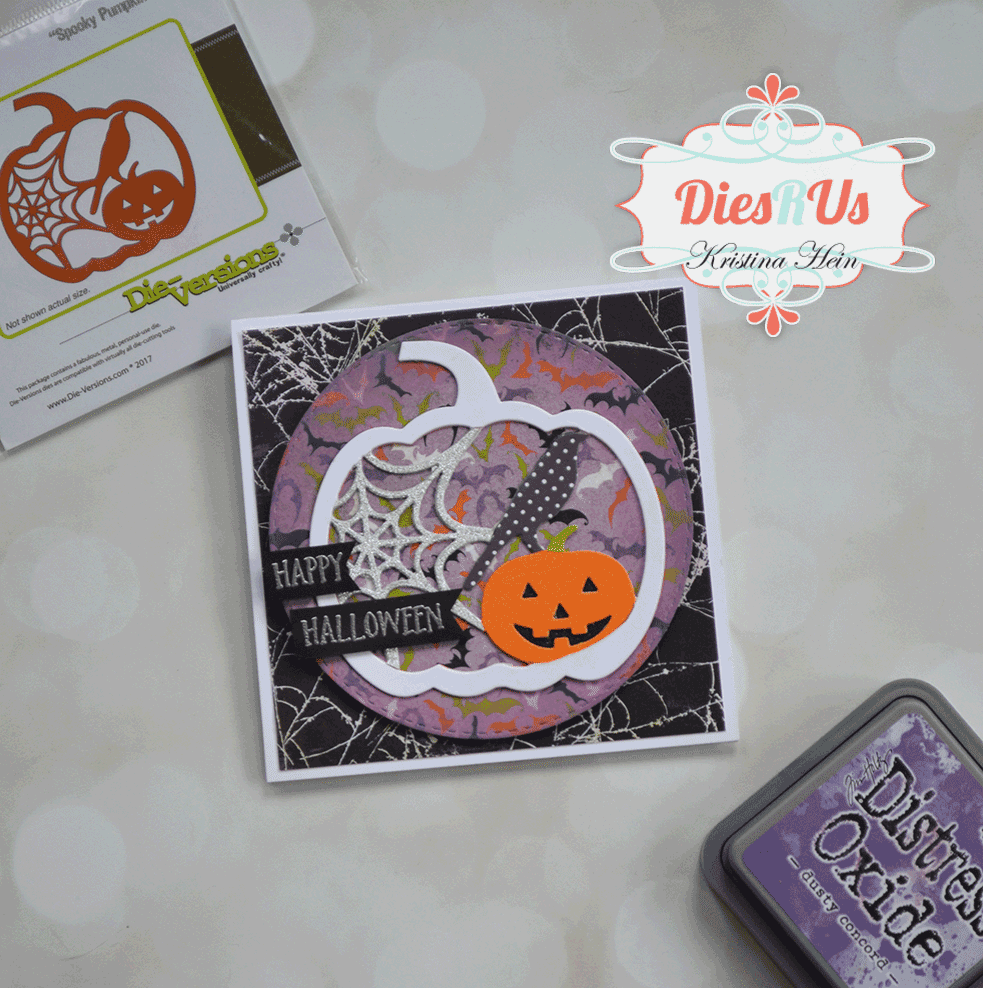
This card looks like a lot of work but it really is pretty easy to recreate. The main die I used for this card is Spooky Pumpkin by Die-Versions.
I first cut the die with an orange piece of cardstock. I then strategically placed the different pieces of cardstock on the die and ran it through my die cut machine. I did it with the polka dot paper (Lawn Fawn), the silver glitter paper, orange patterned paper (Doodlebug) and the green paper (Doodlebug). I then used a fine tip pair of scissors and a craft knife to cut out the pieces that I needed.
I used the Zig 2-way Glue Pen and adhered all of the layers onto my base piece cut from the orange cardstock. I had a scrap piece of black cardstock that I added a little shimmer to it and put it behind the pumpkin. I needed this to look like one cohesive unit so I went back and cut another whole piece out of white cardstock. I carefully trimmed out everything on the inside so I just had the pumpkin outline and glued it in place.
While the pumpkin die was drying, I turned my attention to the cardbase. I started with a 4 3/4" x 4 3/4" white cardbase. I found a couple different halloween papers in my stash. The black cobweb piece is cut to 4 1/2" x 4 1/2". The purple bat piece was first cut out using the largest die from Tutti Designs Stitched Nesting Circles set. I highly recommend this set because you will use it a lot! I'm currently trying to collect several of the other stitched die sets by Tutti Designs. There are TONS in the store. Check them out HERE.
Next I sponged Dusty Concord Distress Oxide ink all around the edges of the circle. I backed it with foam tape and adhered it to the black paper. Then I added the pumpkin die cut. Again I used the Zig 2-Way glue (love this stuff!)
As my final touch I used a sentiment from Lawn Fawn Pick of the Patch. I prepped the black paper with anti-static powder, stamped it with Versamark ink and applied silver embossing powder. I heated it up until the powder melted. I trimmed the pieces down and hand cut the banner edge on the right side. These were then adhered on top of the pumpkin with foam tape. Ta da!!

Supplies used:


I sure hope you enjoyed today's project! Be sure to check out all of our links below. See you soon!
~Kristina H

Come join in all of the fun at the Dies R Us Challenge Blog. There's a new challenge theme offered on the 1st and 15th of each month and one lucky randomly drawn winner will receive a gift voucher prize to theDies R Us Store. For your convenience, all the important Dies R Us links are provided below.

click below for:


