Showing posts with label Tracy Feeley. Show all posts

Sep 17, 2019

Winter Wishes

Tracy here with you and I've got another Christmas card to share with you today and show you another way to use your dies. It's never to early to start on your Holiday cards! 


I wanted the Poinsettias in this Tutti die cut to be red so I decided to emboss some red cardstock using the Poinsettia Corner die and then die cut it using some white cardstock.


I then fussy cut the poinsettias out of the red cardstock. It wasn't easy and they don't look very pretty by themselves.


Then, using some ScraPerfect Best Glue Ever, I glued the fussy cut pieces to the back of the white die cut.


To put the card together, I used a white card base and embossed some light blue cardstock with a snowfall embossing folder. It really made the Poinsettia Corner die cut pop. The sentiment, from Lawn Fawn's Winter Scripty Sentiments, was stamped and embossed.

Supplies Used


Tutti Designs - Dies - Poinsettia Corner


Lawn Fawn - Winter Scripty Sentiments Stamps


Best Glue Ever


Don't forget to come join in the fun at the Dies R Us Challenge Blog. There's a new challenge theme offered on the 1st and 15th of each month and one lucky randomly drawn winner will receive a gift voucher prize to the Dies R Us Store.


 For your convenience, all the important Dies R Us links are provided below.

click below for:

Thanks for stopping by!


Aug 27, 2019

Celebrate

Tracy here today with a celebration card. Everyone seems to be celebrating something lately,
 so I like to keep a few on hand for these special occasions. 


I decided to try something new with this buttercup frame from Precious Marieke. It's a large die so this is a pretty big card at 5 1/2 x 6". The die only cuts the flowers on one side and I wanted to cut them on both sides. This took some time and finagling.  I cut the first side and then had to line it up and position it so my die cutting machine wouldn't cut the straight edge. It took a while but I finally got it to work. 


Then it was time to cut the other oval die cuts.


To put it together I used a light purple cardstock for the card base that showed through the cut flowers beautifully. Using some ScraPerfect Best Glue Ever I glued the white flowered piece down and then decided I didn't like all the white so I added a strip of the purple cardstock down the middle. I stamped and embossed the sentiment and then added the two die cut stitched ovals along with a punched butterfly. I decided it needed something else so I broke out some Nuvo drops in crushed grape and carnation pink and added them randomly around the flowers.


Supplies Used

 Precious Marieke - Dies - Timeless Flowers - Buttercup Frame


Tutti Designs - Dies - Nesting Stitched Ovals


Best Glue Ever


Nuvo Crystal Drops - Gloss Carnation Pink


Nuvo Crystal Drops - Gloss Crushed Grapes

If you like working with dies then come and apply to be a Design Team member here at Dies R Us. This is a great team to be on! Check out all the details here.

Don't forget to come join in the fun at the Dies R Us Challenge Blog.  There's a new challenge theme offered on the 1st and 15th of each month and one lucky randomly drawn winner will receive a gift voucher prize to the Dies R Us Store.  For your convenience, all the important Dies R Us links are provided below.


click below for:

Thanks for stopping by! Have a great day!

Aug 20, 2019

Merry Merry

Tracy here today with a Christmas card. I thought I'd get a jump start on my holiday cards.


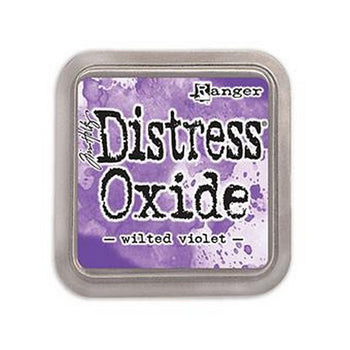
To start I took a panel of white cardstock and sponged some Distress Oxides in faded jeans, wilted violet and iced spruce all over it.


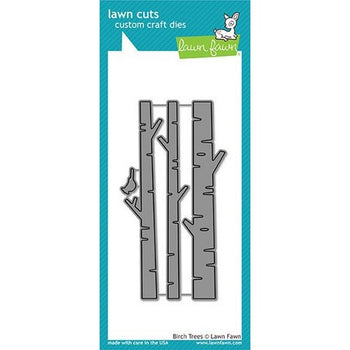
Then I cut out all my die cuts using Impression Obsession Hill Landscape dies and Lawn Fawn 
Birch Tree Dies.

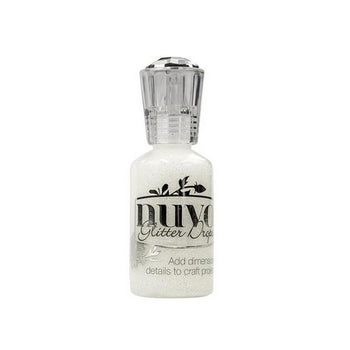
Once I got it all assembled I added the silver deer and tree which I've had in my stash forever and then stamped and embossed the sentiment strip and popped that up on the card. I also added some Nuvo glitter drops in white blizzard to give it some sparkle.


Supplies Used


Lawn Fawn - Birch Trees Dies


Impression Obsession - Dies - Hill Landscape Layers

Nuvo Glitter Drops - White Blizzard

Best Glue Ever

Distress Oxide Ink Pad - Wilted Violet

If you like working with dies then come and apply to be a Design Team member here at Dies R Us. This is a great team to be on! Check out all the details here.

Don't forget to come join in the fun at the Dies R Us Challenge Blog.  There's a new challenge theme offered on the 1st and 15th of each month and one lucky randomly drawn winner will receive a gift voucher prize to the Dies R Us Store.  For your convenience, all the important Dies R Us links are provided below.


click below for:

Thanks for stopping by!

Jul 30, 2019

Hummingbird Note Card

Tracy here today with a cute little note card.  I love to watch the hummingbirds in my backyard and when I saw this die by Memory Box, I knew I had to have it!
 

I started working on the hummingbird first with a piece of white cardstock and several different colors of  Distress Oxides. I just sponged the inks across the cardstock and then die cut the hummingbird out.


Once I cut the hummingbird out I colored over it with a clear Wink of Stella pen to give it some sparkle and shine. It gave it the iridescence that I've seen on some real hummingbirds.
 These photos don't do it justice.

Then I die cut all my other pieces.


I used a white card base and layered some pink cardstock on it and added the white floral background die cut on top. I popped up the pink stitched oval die cut to give the card some depth and added the hummingbird on top. I also added some flower shaped sequins around the stitched oval.


Supplies

Memory Box - Dies - Marvelous Hummingbird

Impression Obsession - Dies - Floral Background

Tutti Designs - Dies - Nesting Stitched Ovals

Zig - Wink Of Stella - Clear


Don't forget to come join in the fun at the Dies R Us Challenge Blog. There's a new challenge theme offered on the 1st and 15th of each month and one lucky randomly drawn winner will receive a gift voucher prize to the Dies R Us Store


For your convenience, all the important Dies R Us links are provided below.
                       FRIENDS OF DIES R US PINTEREST PAGE 

Thanks for stopping by!


Jul 23, 2019

Gate Fold Card

Tracy here with you today and I have an interlocking gate fold card for you. 


I saw a tutorial on this by Jennifer McGuire and thought some of the Creative Expression Sue Wilson dies would be perfect for these interlocking gate fold cards. You can see the tutorial here https://www.youtube.com/watch?v=Bwtv17b-Nmk&t=1034s.


I started with 2 pieces of purple cardstock 5 1/2 x 8 1/4 and scored them both at 5 1/2. I glued the two longer sides together to make the card base. For the die cuts, you need them to be pretty sturdy since they interlock, so I die cut each piece out 3 times and glued them together.


Here are flower diecuts


Once everything is cut and glued you need to let the glue dry before putting the card together. Trust me on this...I learned the hard way! I started with the white diecuts and centered them on the card front and marked in pencil where I needed to add the glue. You only want to glue half of the diecuts so you can open the card. I then did the same with the lavender diecuts and then glued it all together, again making sure the glue dries before you try opening the card. I then added the flowers to the center of the lavender diecut.
I really enjoyed making this card and I love the look. I hope you'll give it a try! It's not complicated at all and Jennifer McGuire does a great job explaining the process.

Supplies
Sue Wilson Designs - Frames and Tags Collection - Millie


Paper Rose - Dies - Lyla Flowers


Best Glue Ever


Scraperfect - No Clog Writing Cap - Small


Don't forget to come and join in the fun at the Dies R Us Challenge Blog. There's a new challenge theme offered on the 1st and 15th of each month and one lucky randomly drawn winner will receive a gift voucher prize to the Dies R Us Store. For your convenience, all the important Dies R Us links are provided below.


click below for:

Thanks for stopping by!


Jul 2, 2019

Stitched Silver Stars

Tracy here with you today and I am mixing a couple of different stitched dies on my card. Stitched dies are very popular right now and I love how they add a bit of dimension to cards.


Here's all the dies I used along with the actual die cuts


I started with a white card base and added a black panel to help everything pop. I took another piece of white cardstock and covered it with some faded jeans Distress Oxide and stamped silver stars all over it. Then I just started layering on all the die cuts and it was done. A very simple card but the stitched dies just seem to add so much to it.

Supply list


Lawn Fawn - Reverse Stitched Scalloped Rectangle Windows Dies


Tutti Designs - Dies - Nesting Stitched Stars
Sizzix - Sizzlits - Tim Holtz - Celebration Words: Script
Distress Oxide Ink Pad - Faded Jeans

Best Glue Ever


Don't forget to come join in the fun at the Dies R Us Challenge Blog.  There's a new challenge theme offered on the 1st and 15th of each month and one lucky randomly drawn winner will receive a gift voucher prize to the Dies R Us Store.  For your convenience, all the important Dies R Us links are provided below.
click below for:

Thanks for stopping by.