
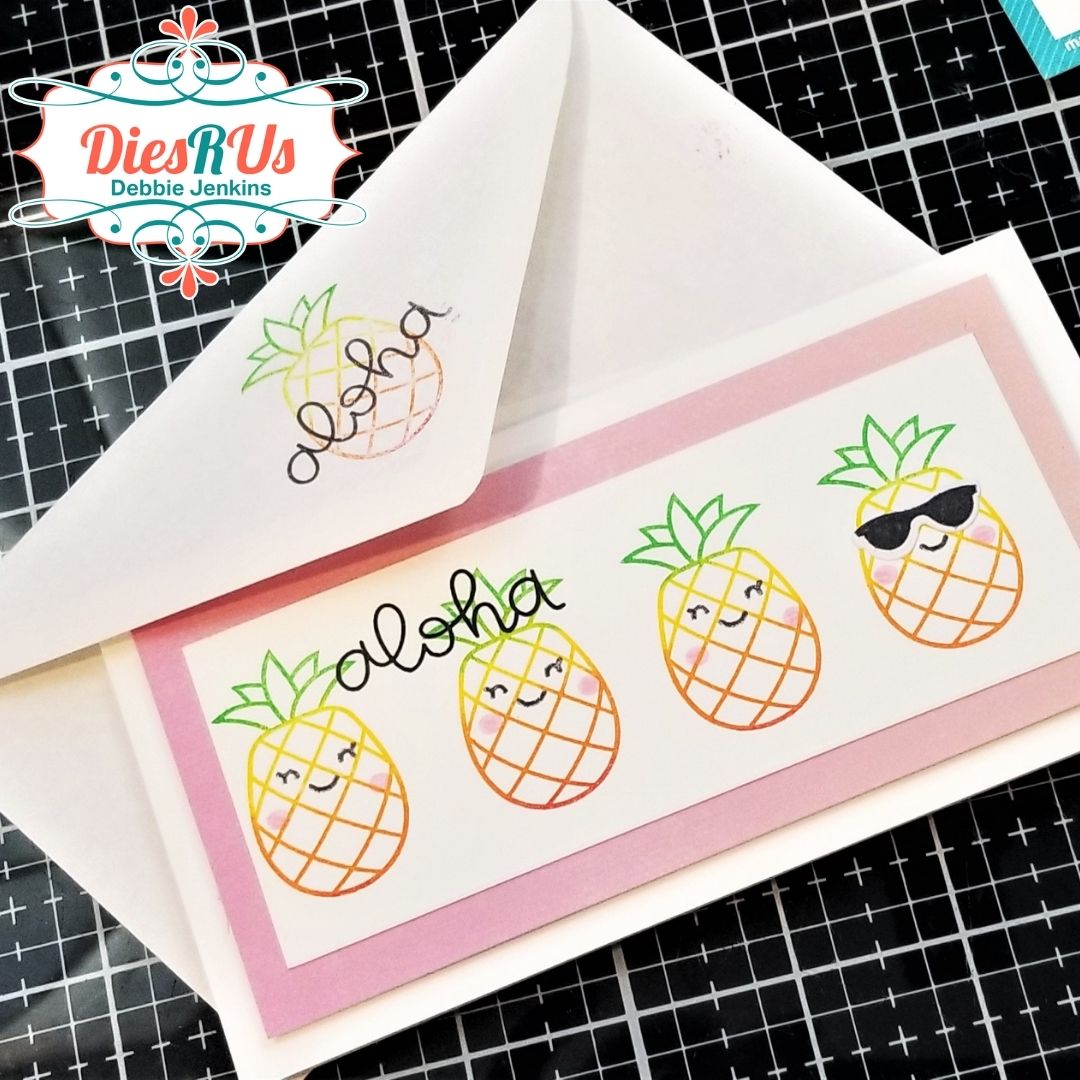
Hey everyone, Debbie from Debbie J’s Crafting Corner, here today sharing how I quickly mass-produced this super cute “Aloha” mini-slimline card set.
I love showing the process when I’m creating. I hope my tutorial and video help you see that, if I can make it, You Can Too!
I used the following dies from Dies R Us:


Here is how I created these super cute (and easy) cards! I mentioned that I was doing mass-producing. So each step is repeated 8 times.
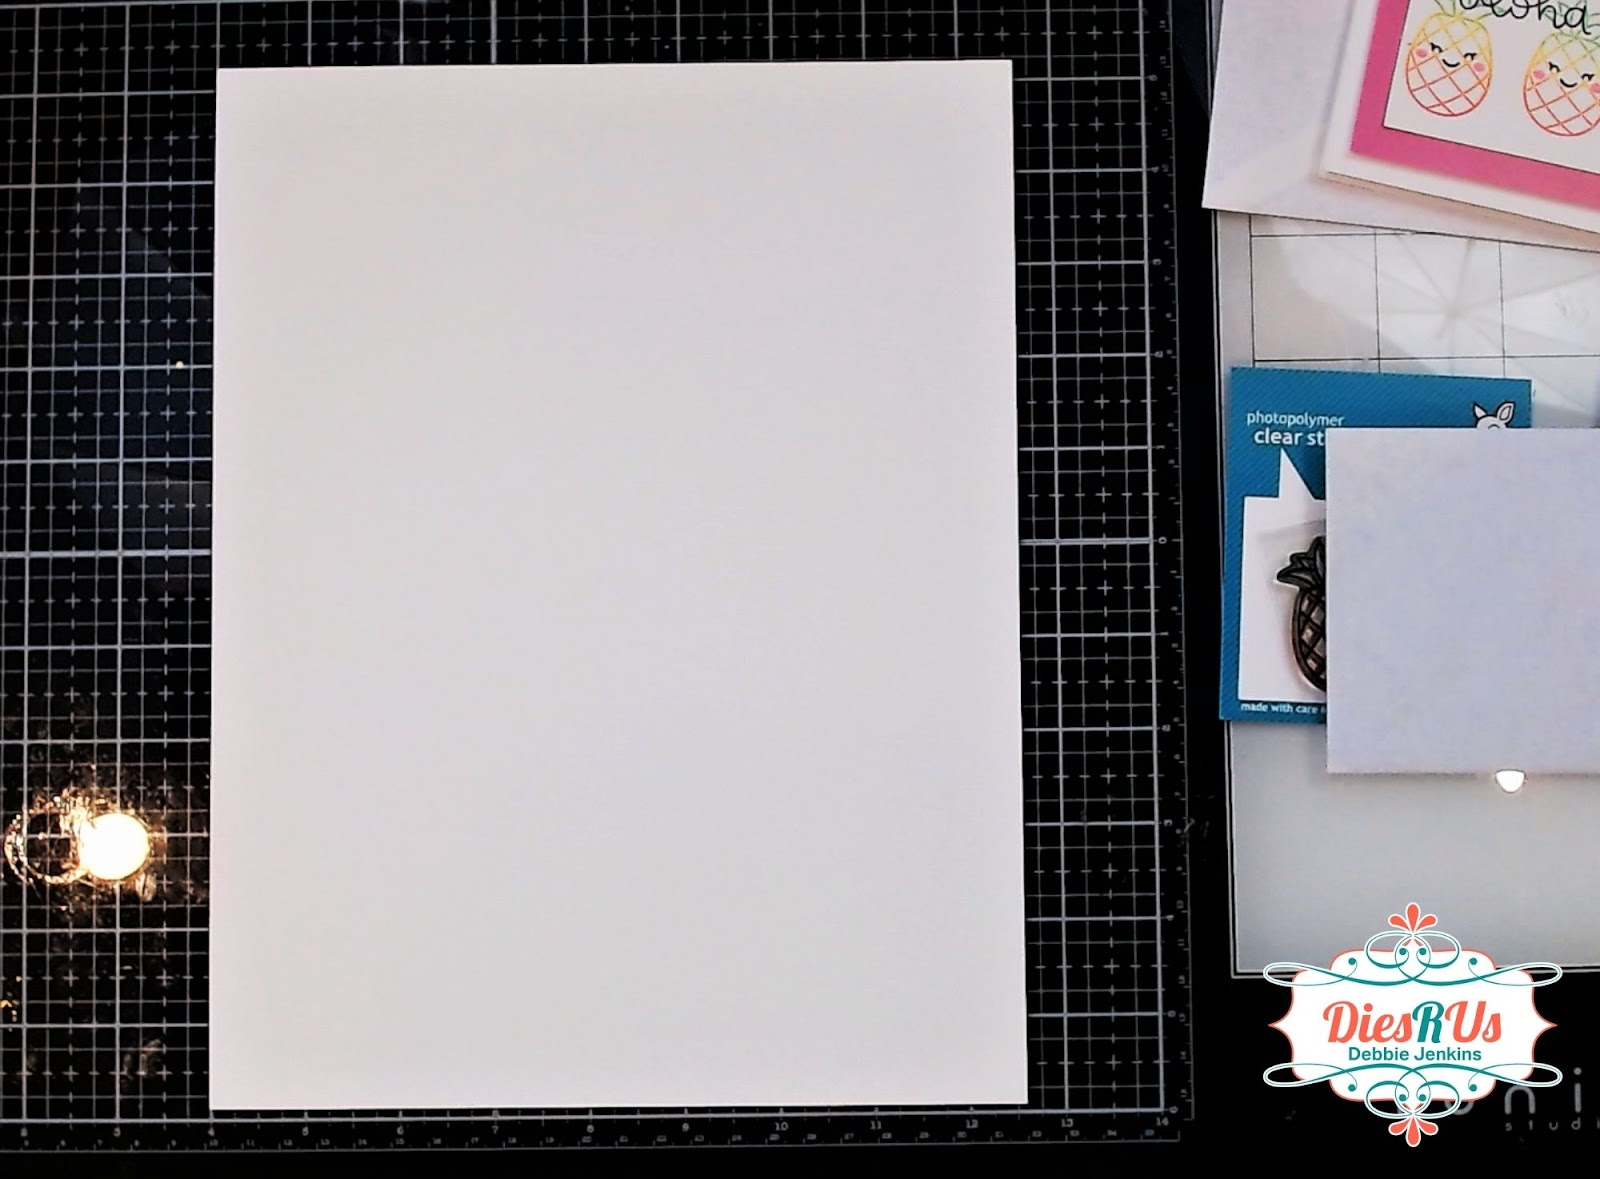
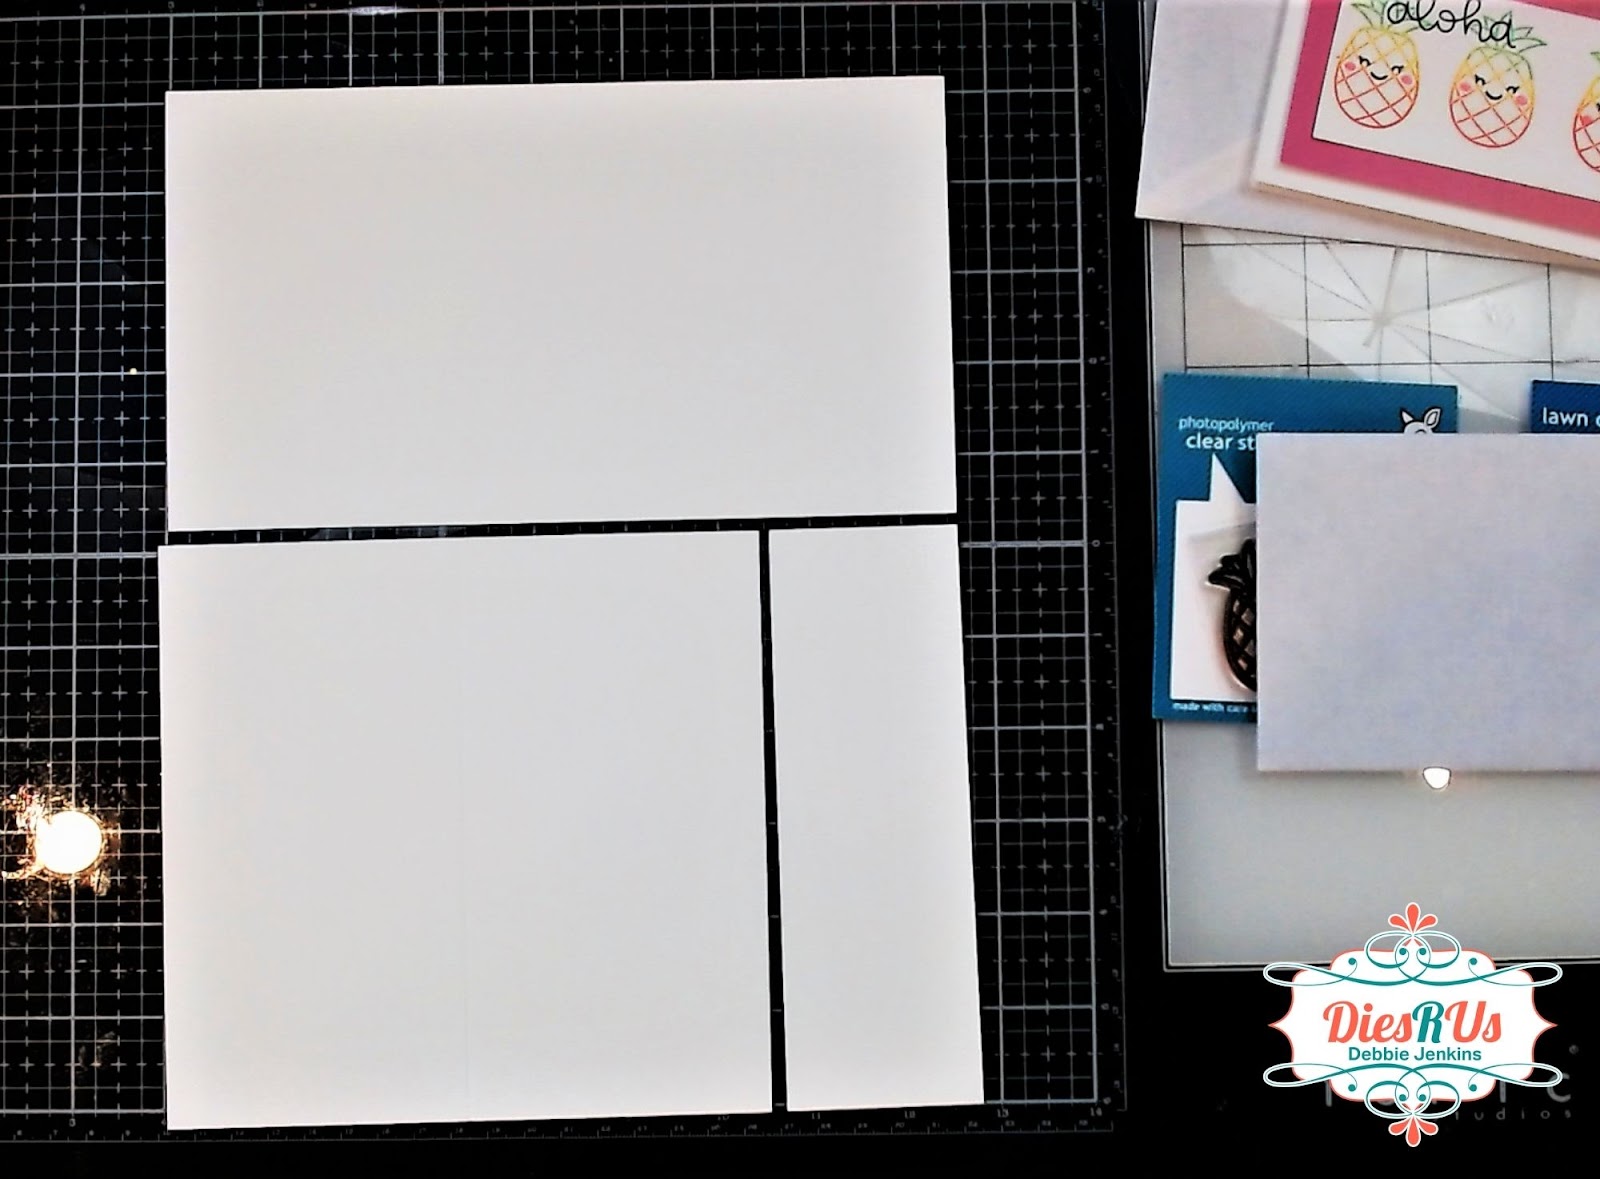
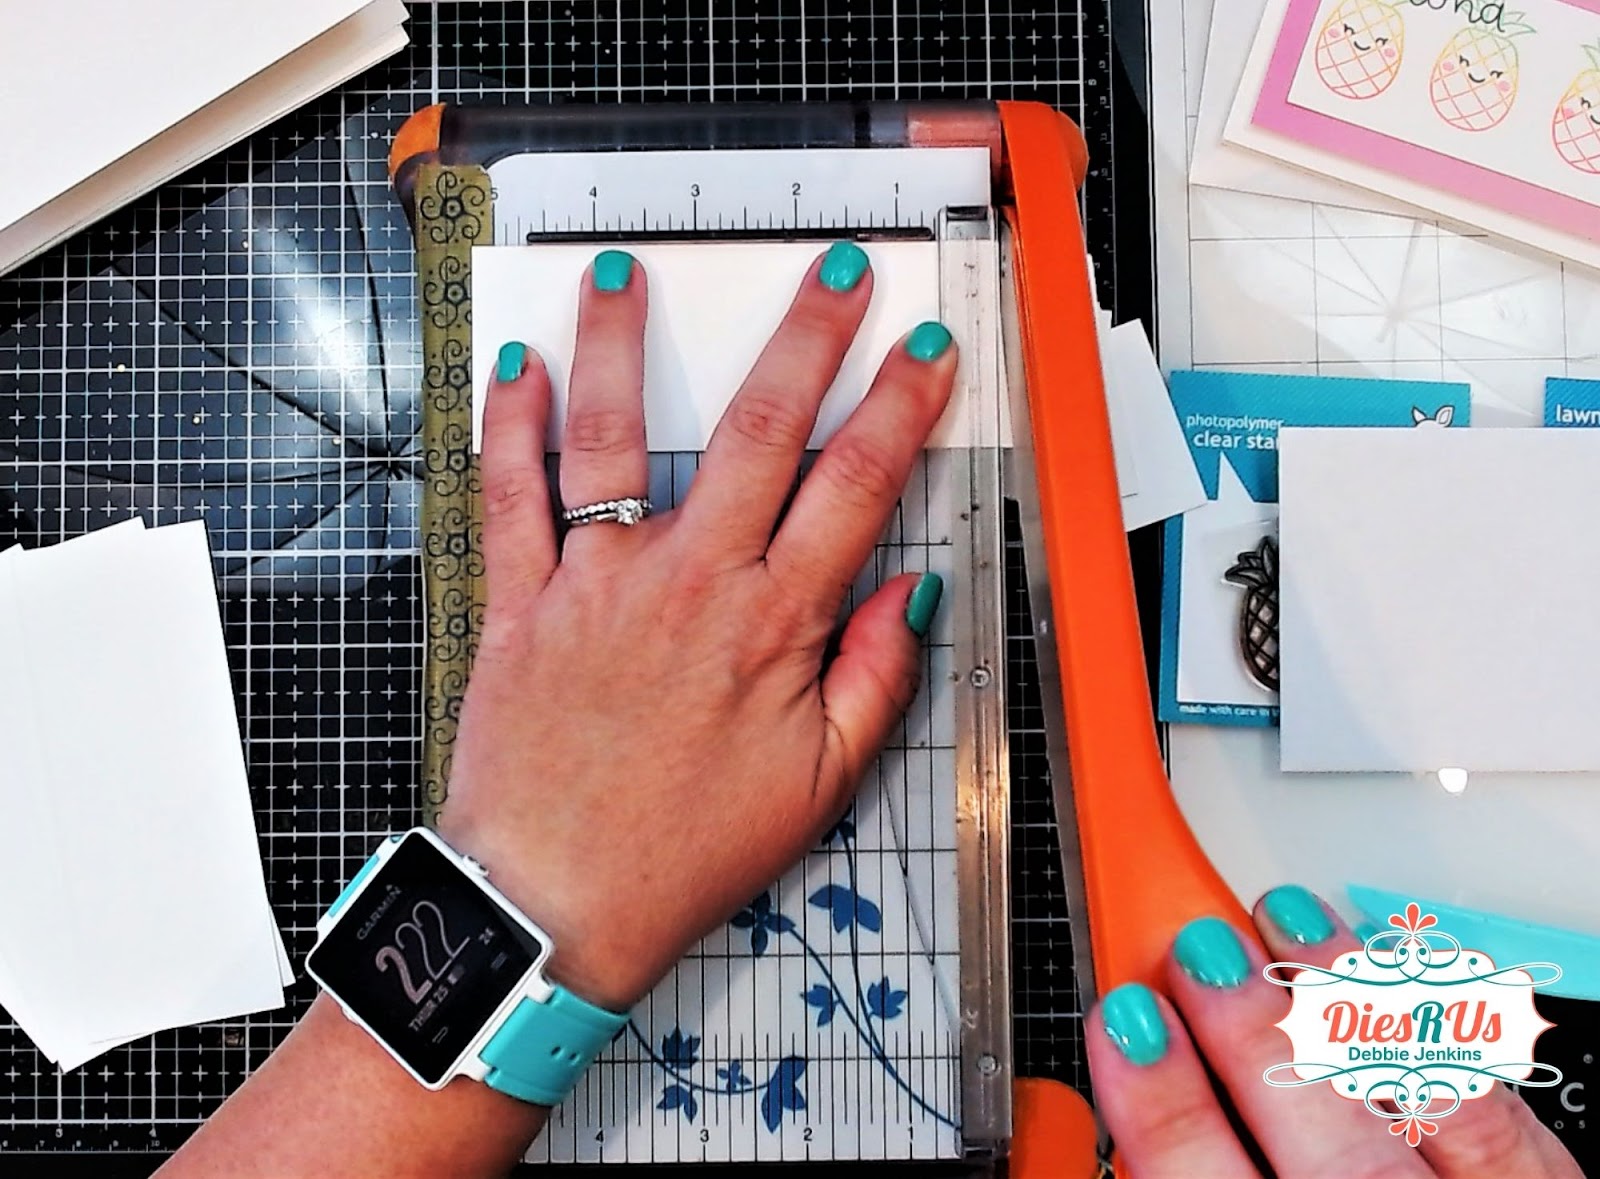
Since these are mini Slimline cards, the first thing we need is a card base. So I’m taking a piece of 8 ½ by 11 in. heavyweight cardstock I'm cutting a piece that is 6 ½ by 6 ¼. Don’t throw away the scraps. You can use them later or on another project.
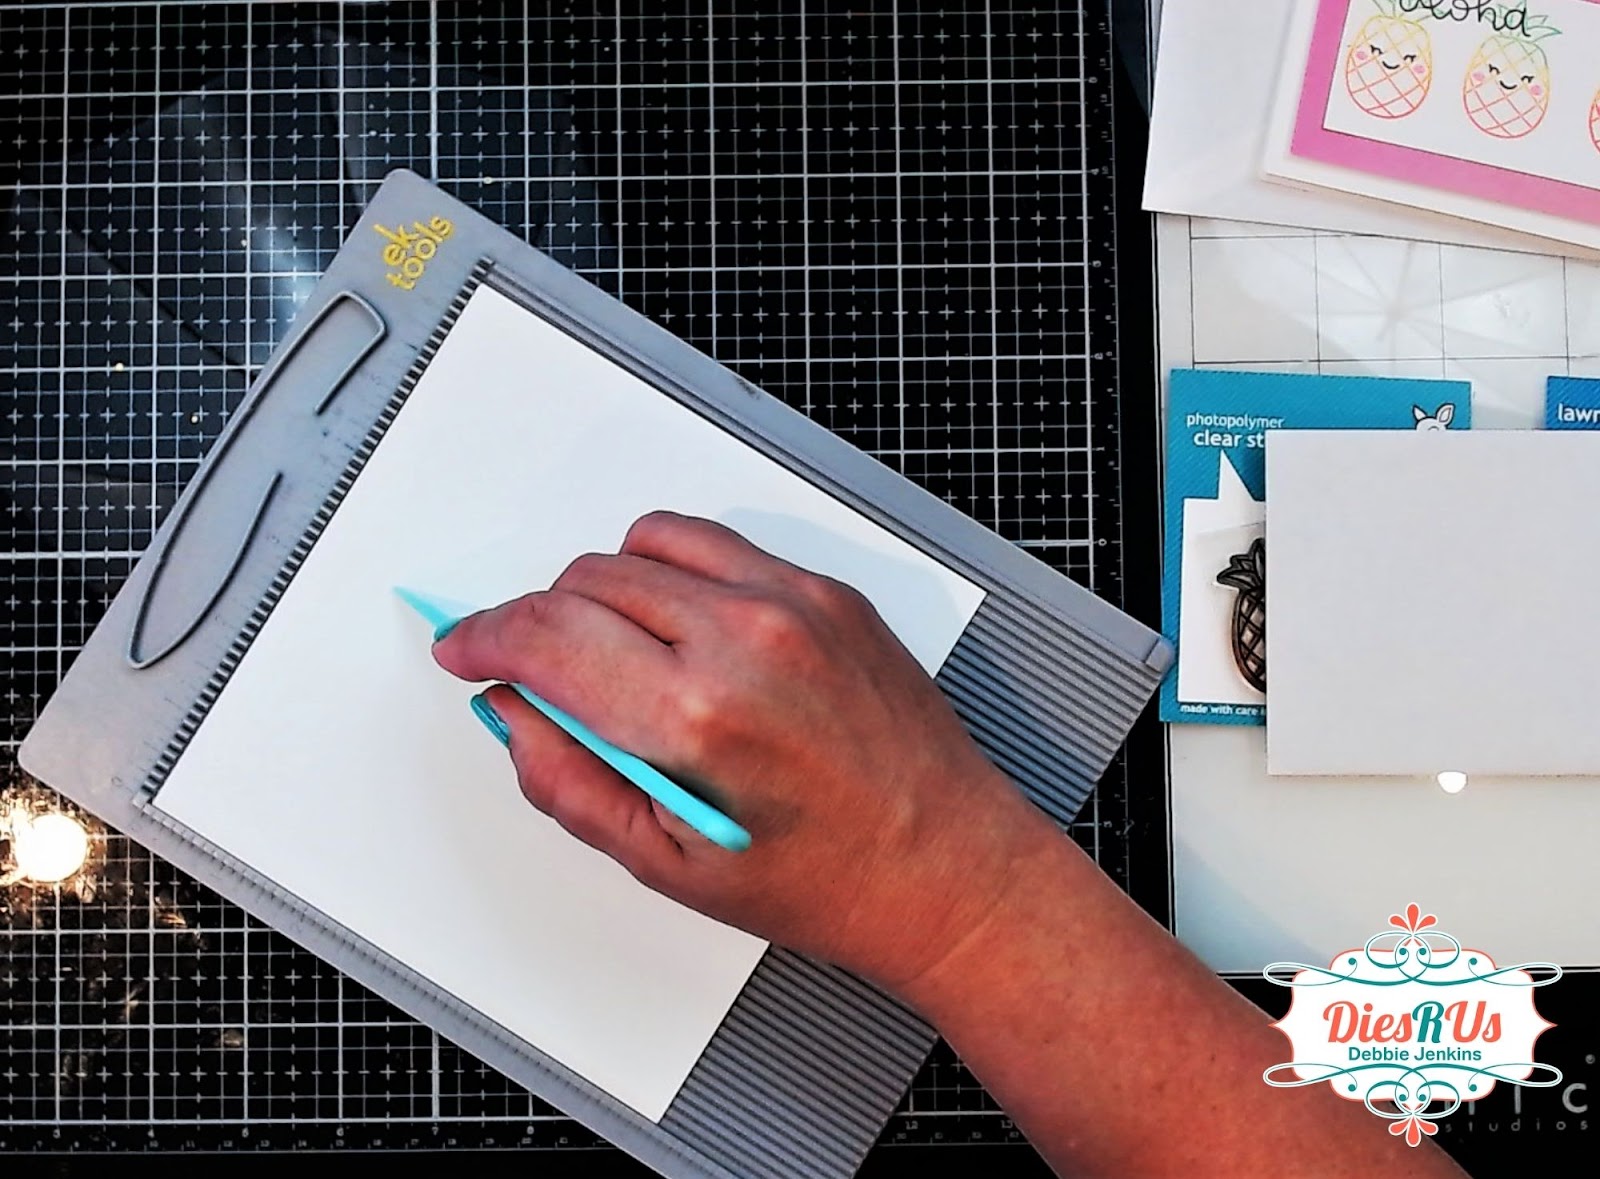
Next, I scored the 6 ½ side at 3 ¼. Folding it in half creates our mini slimline card base.
Remember those scraps? One should measure about 2 in. wide. This is the perfect size for us to add our focal images to! But we will need to trim the end off a little. I cut my panels to 2 in by a little over 7 in.
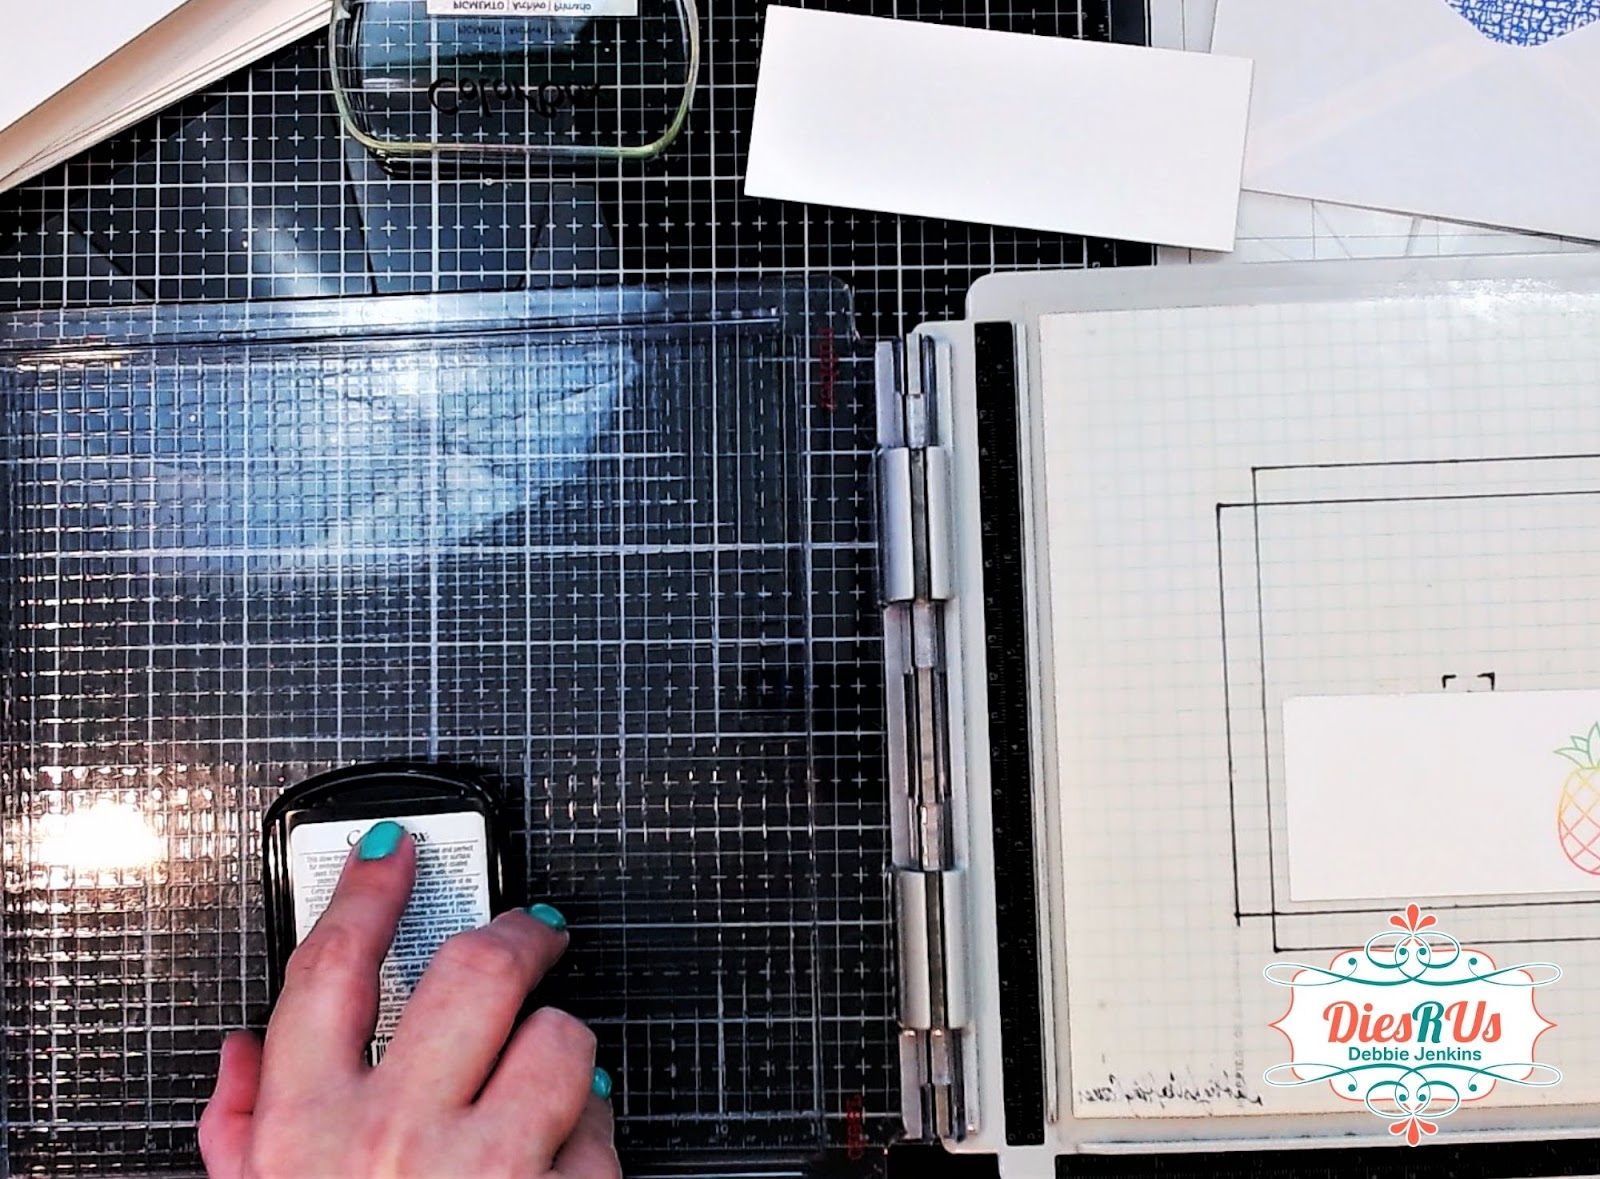
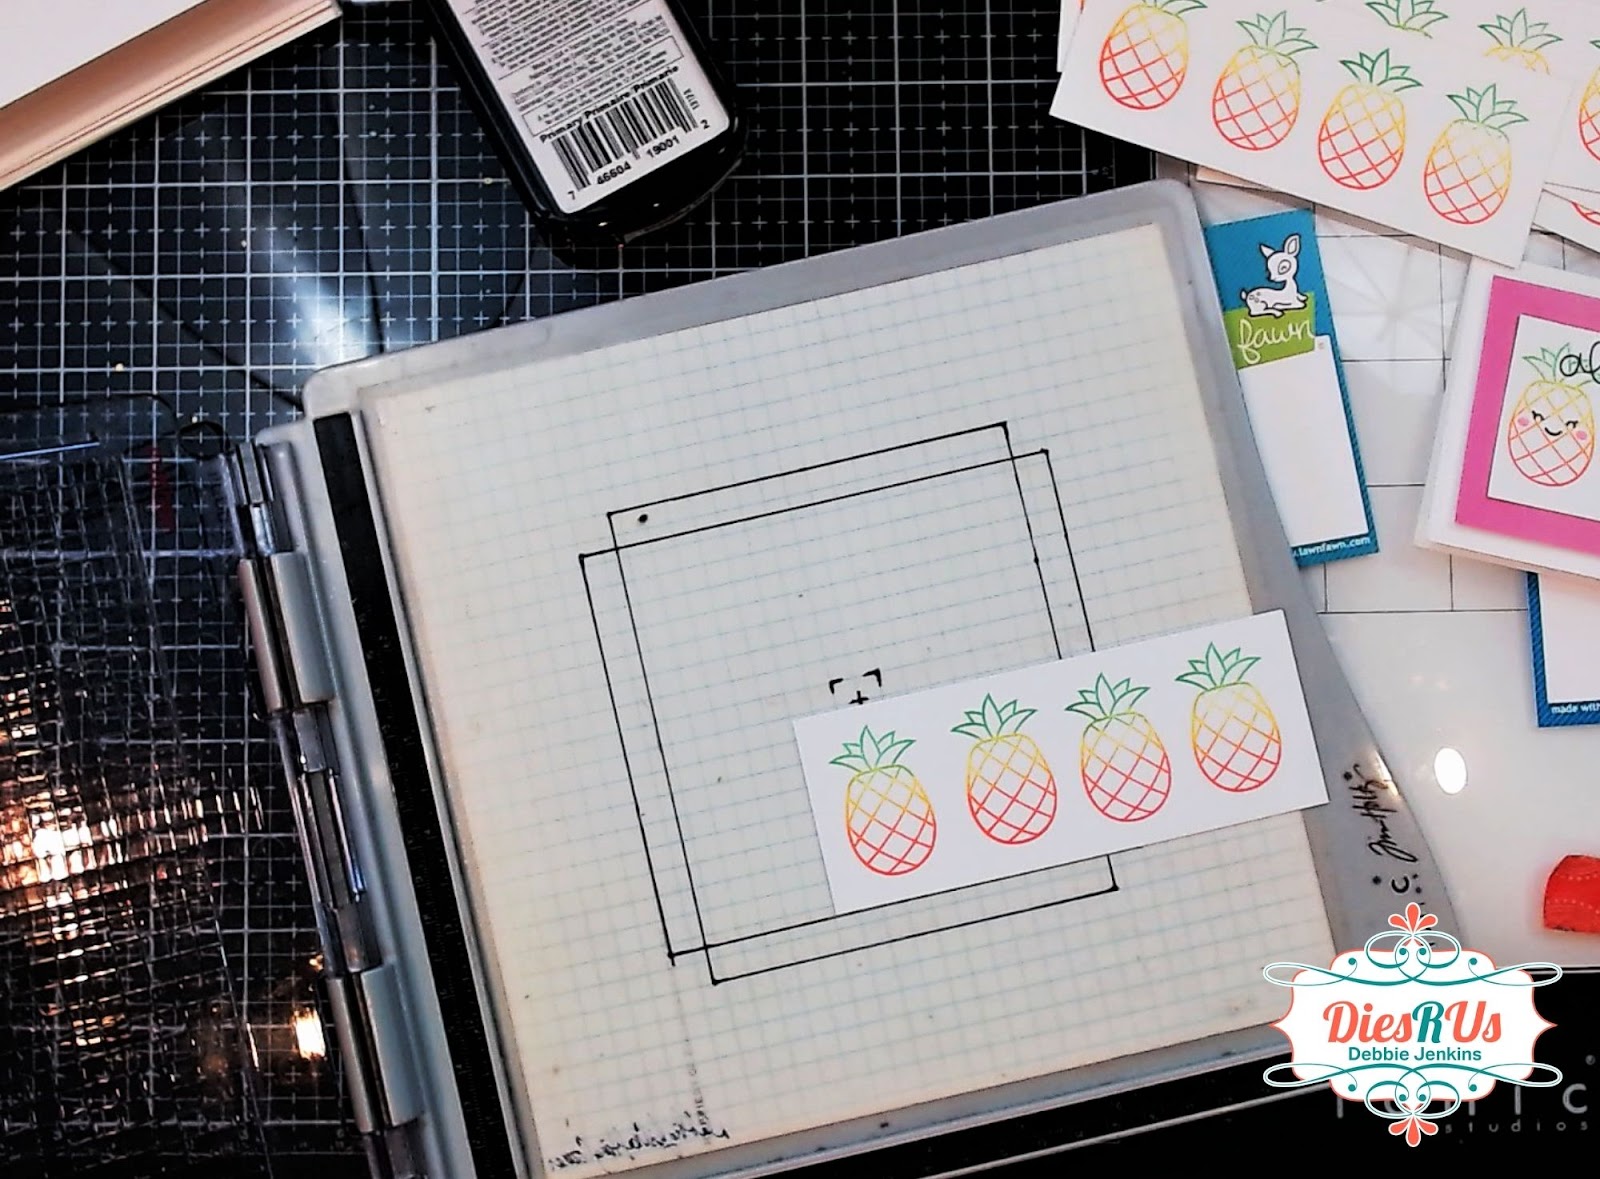
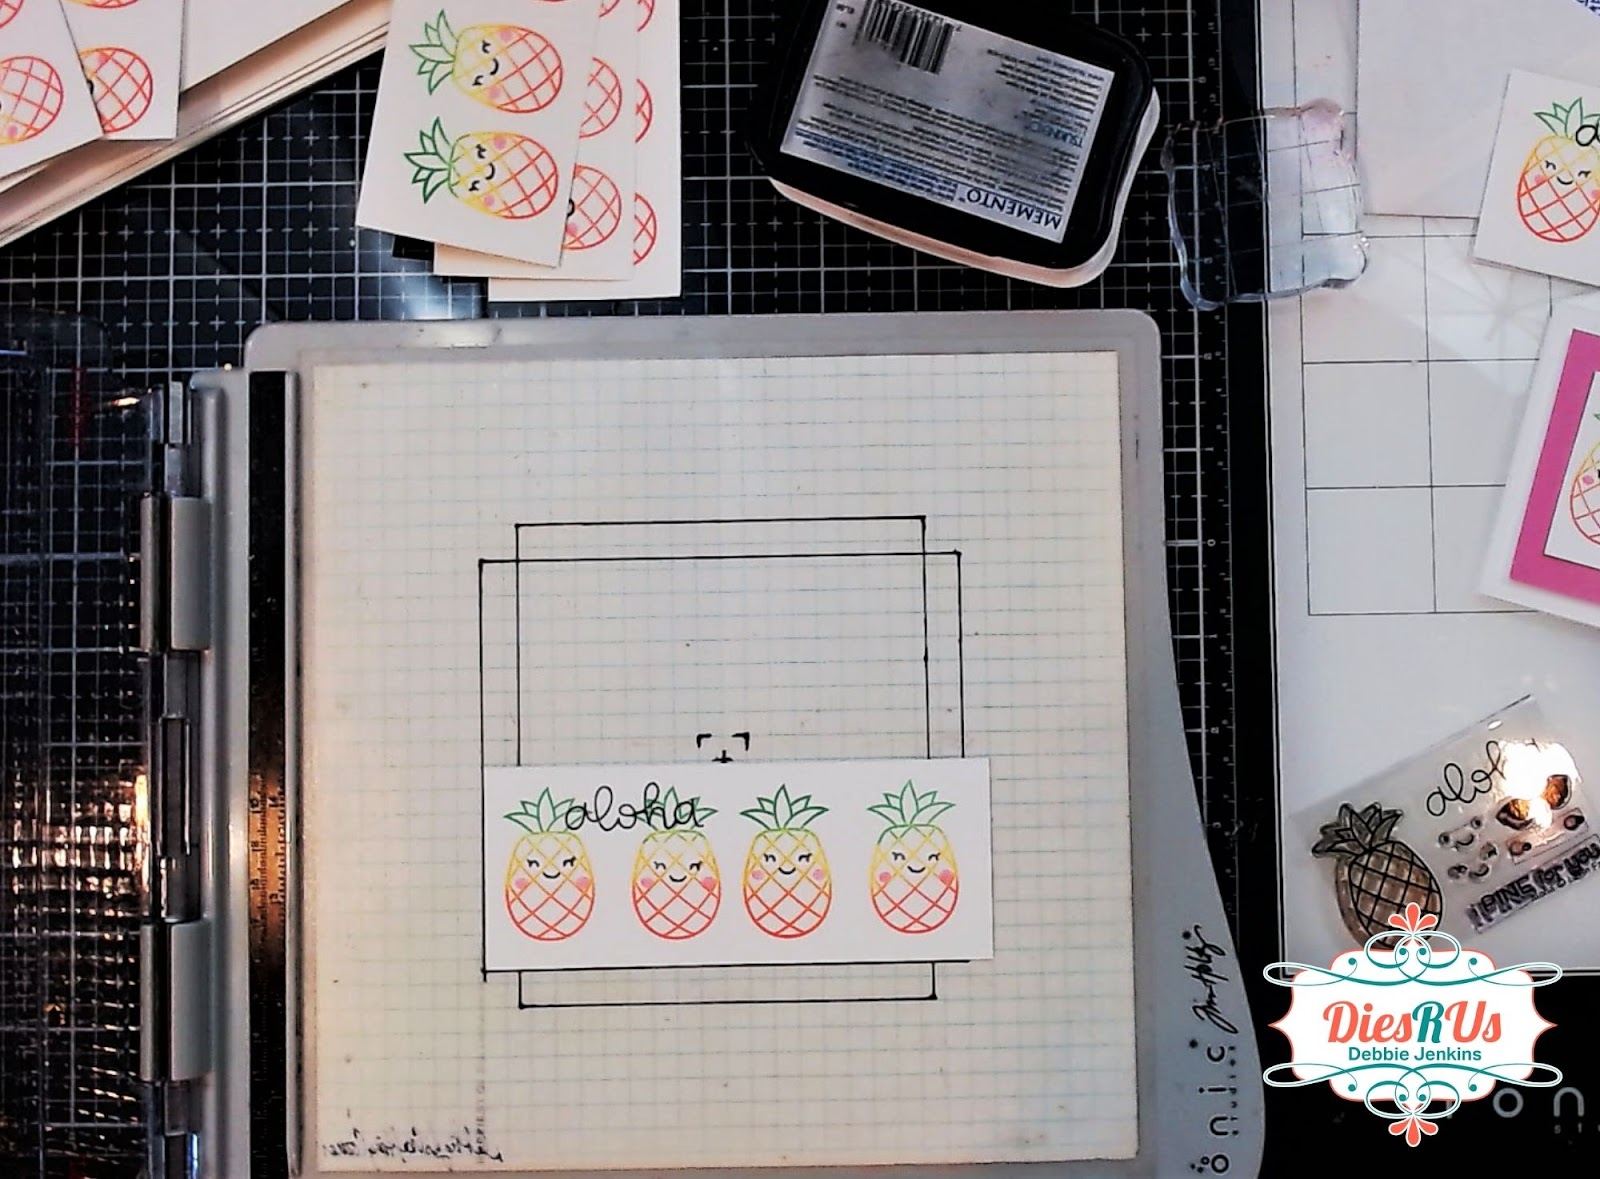
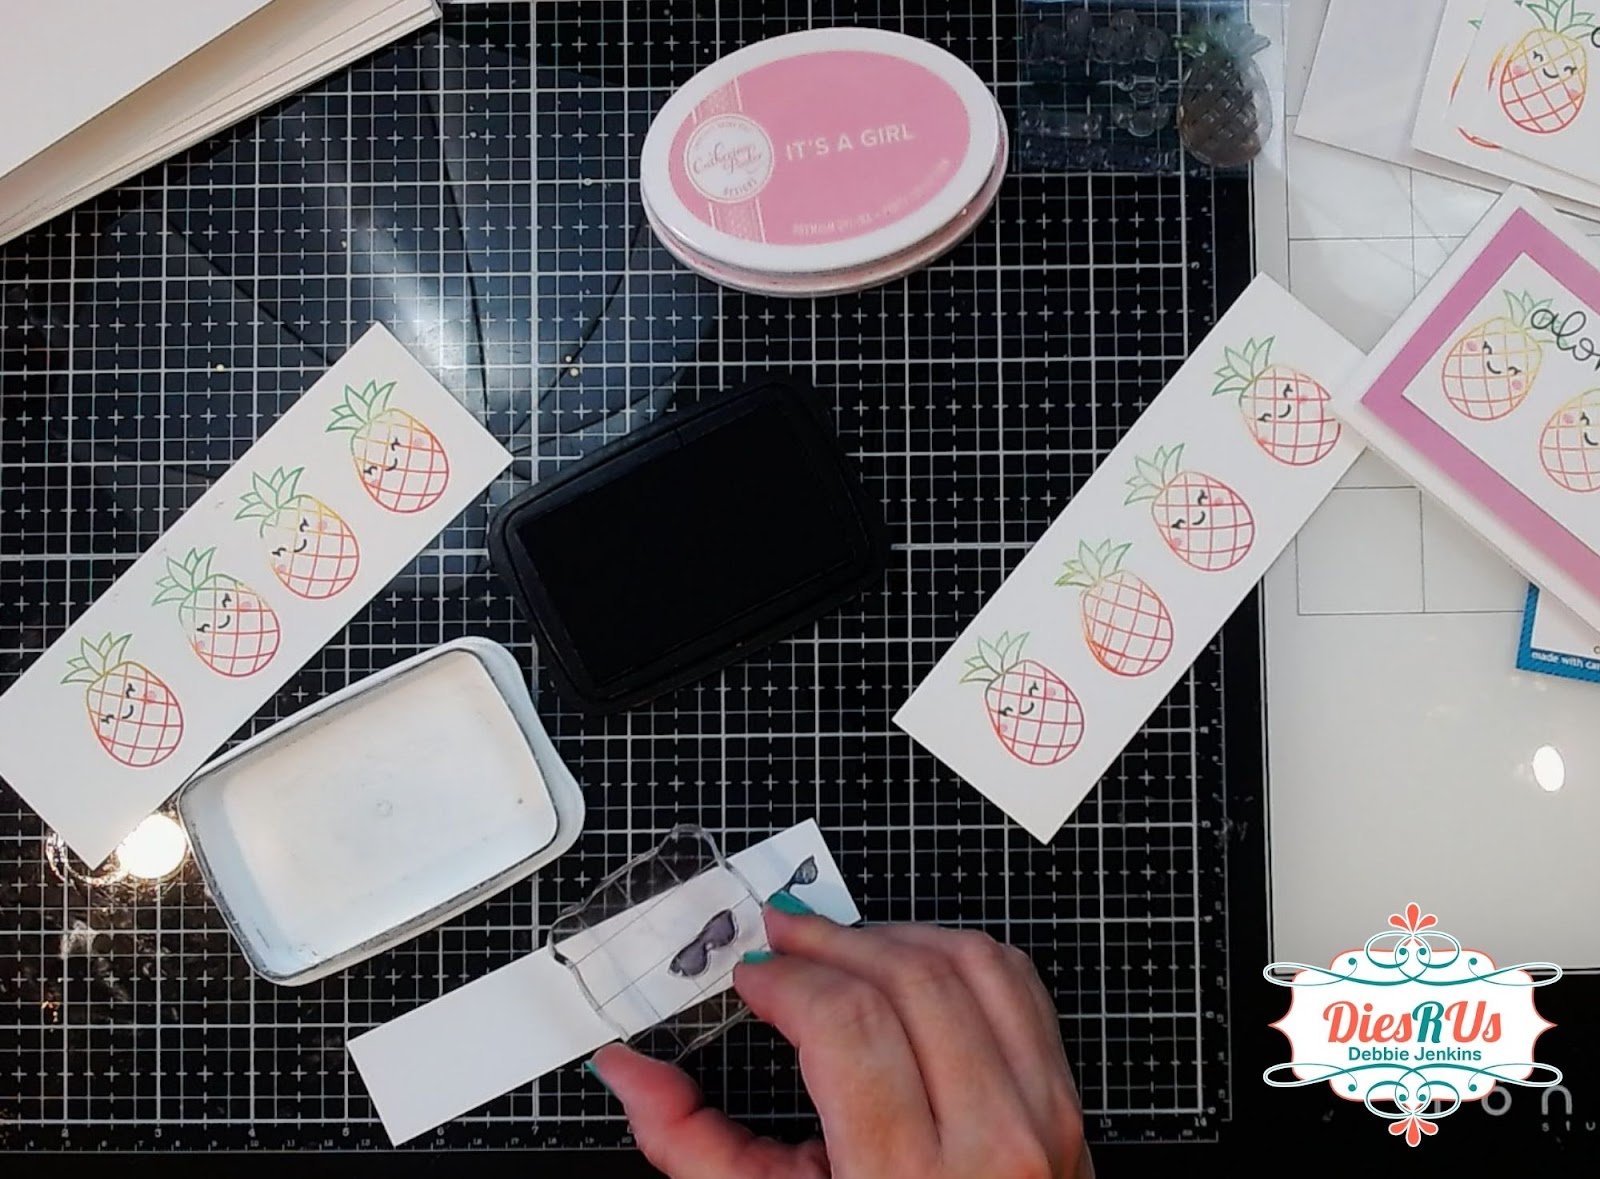
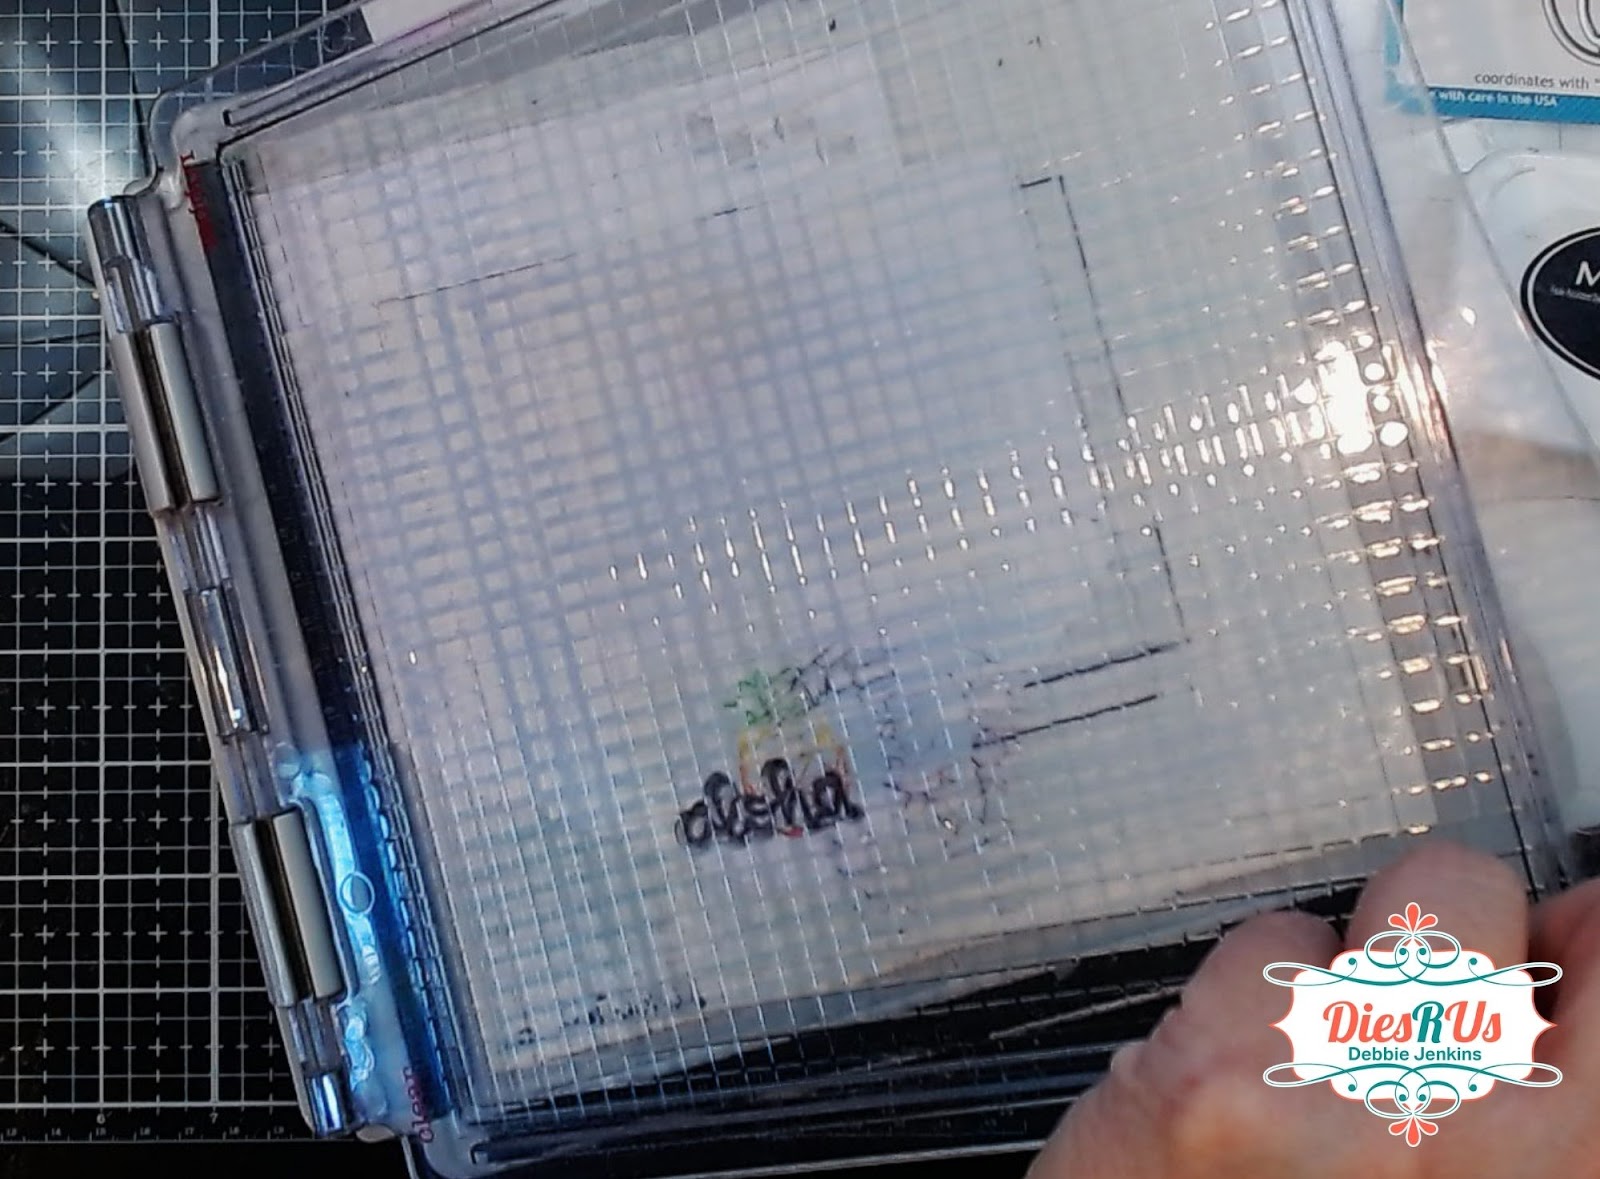
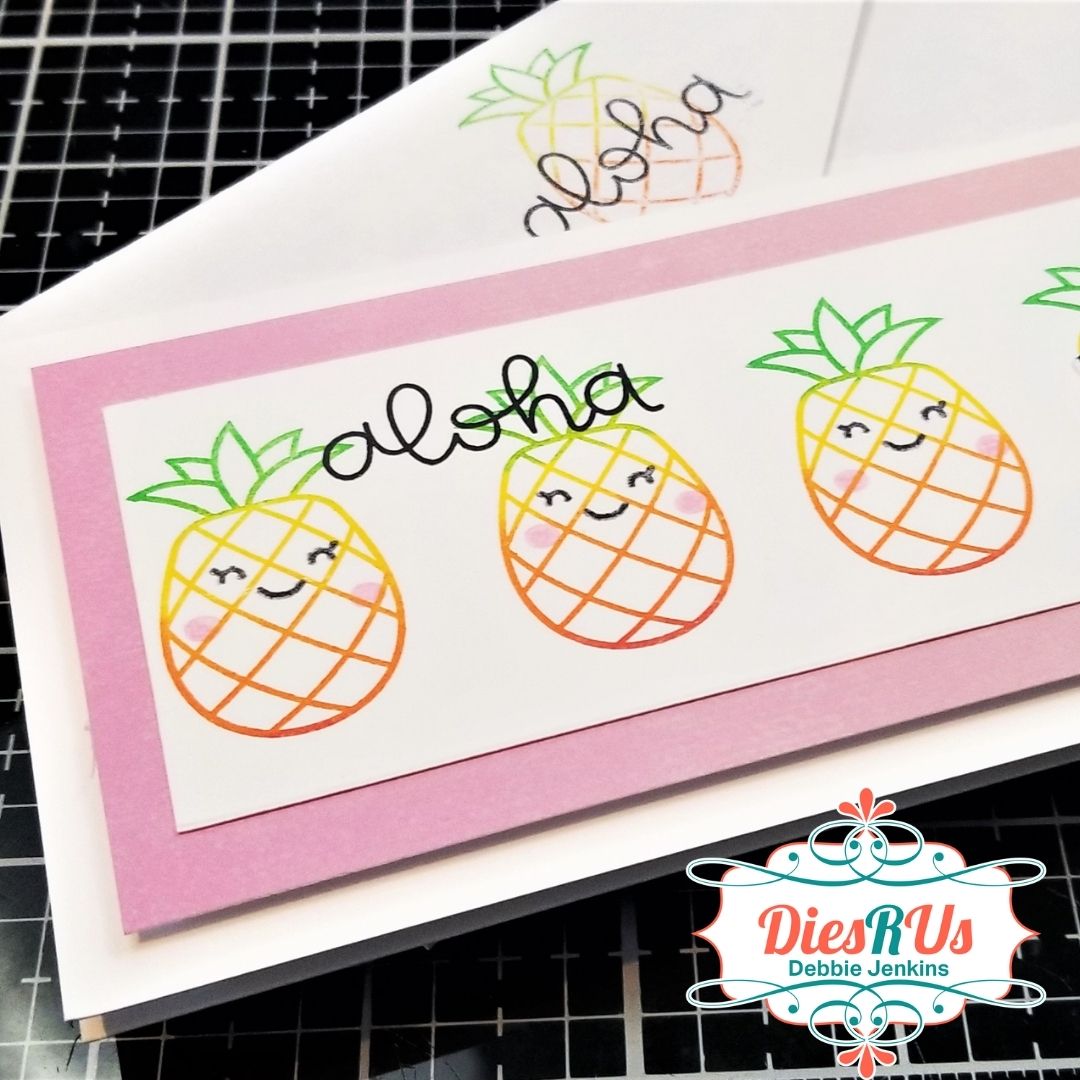
Now let’s get stamping. I wanted a row of pineapples from the Aloha stamp set across the front panel. So I’m using a stamp platform to make it super easy to stamp. After stamping each, I just shift the cardstock 1 ¼ inches to the right, and stamp again!
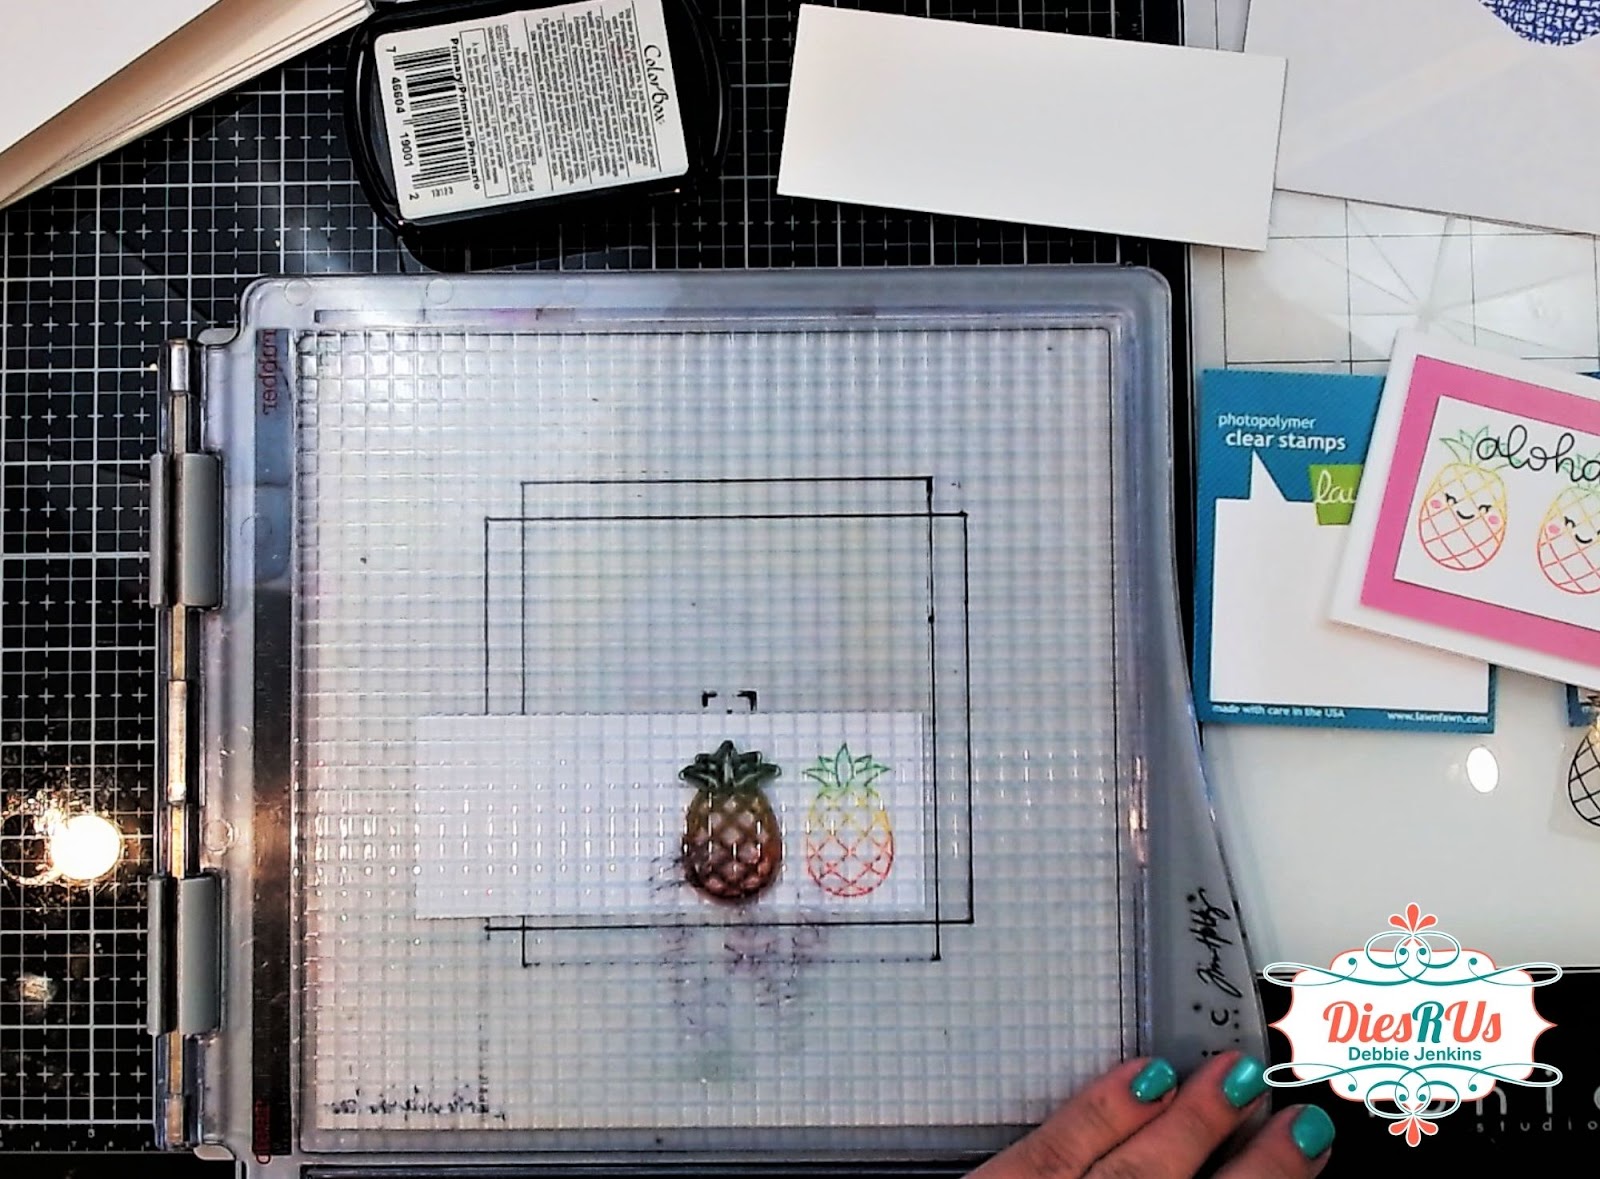
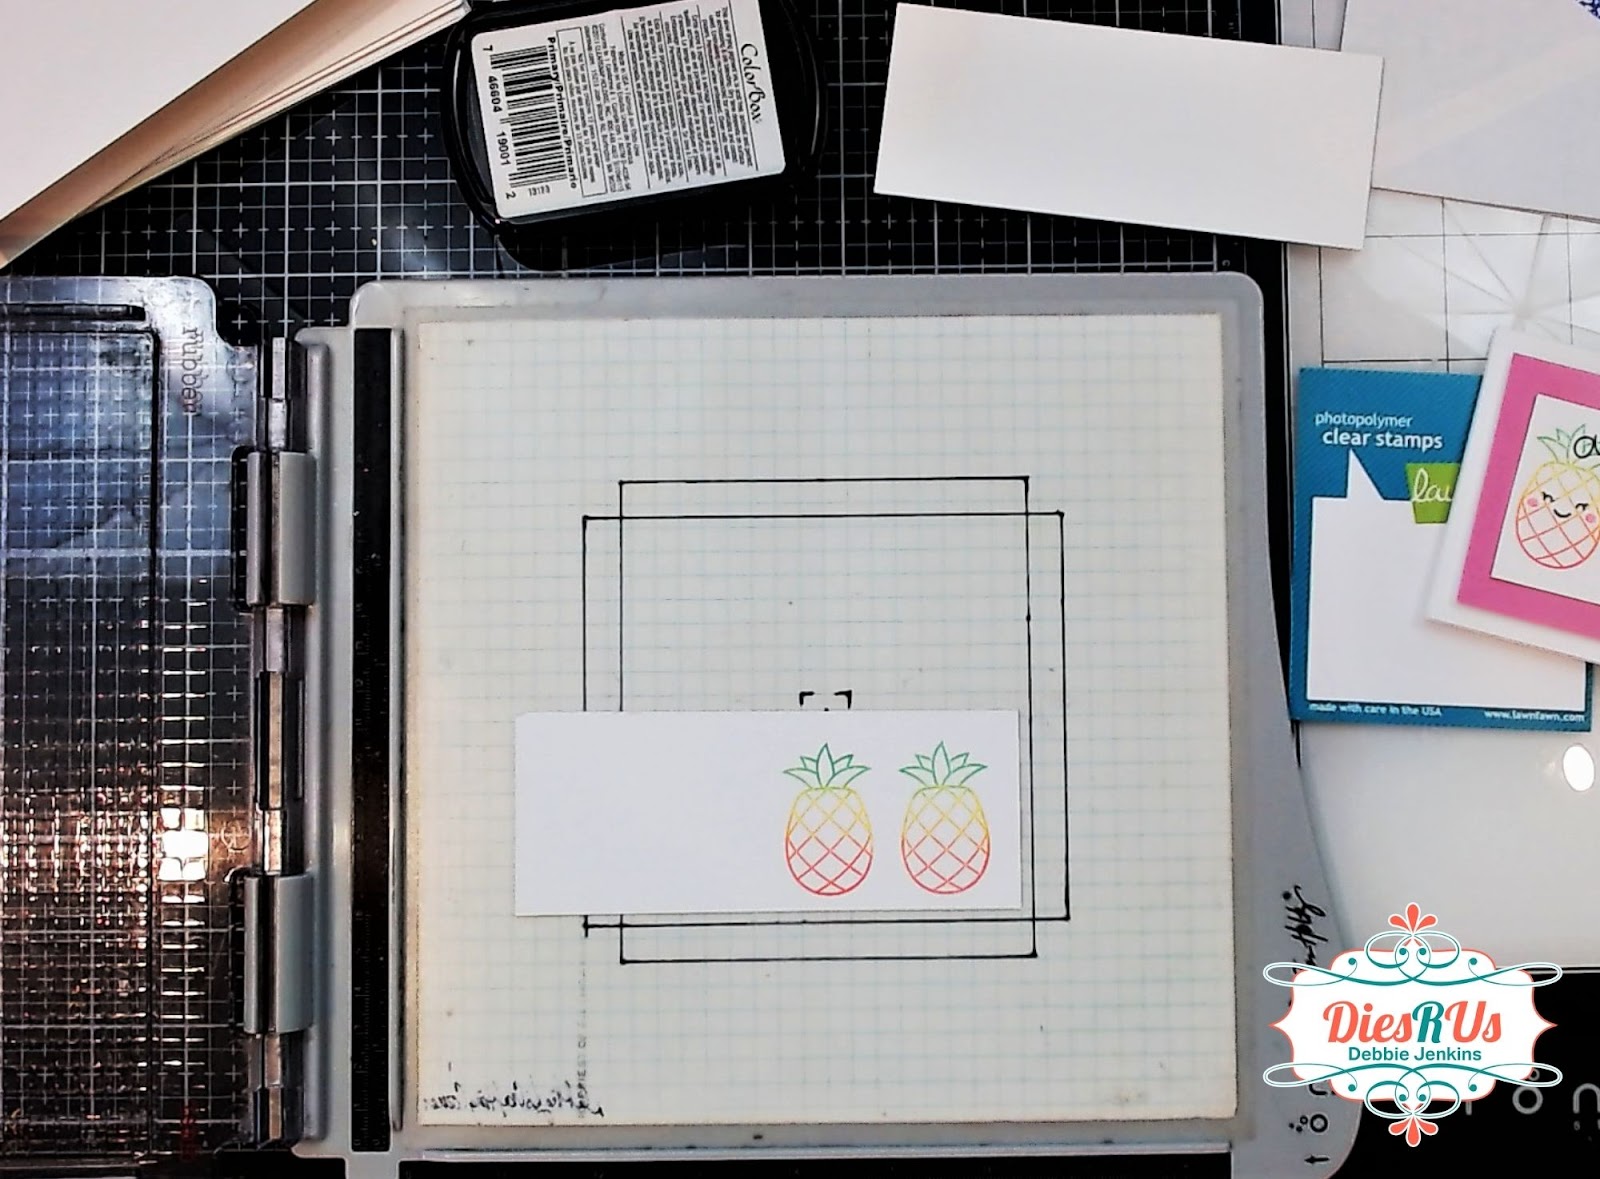
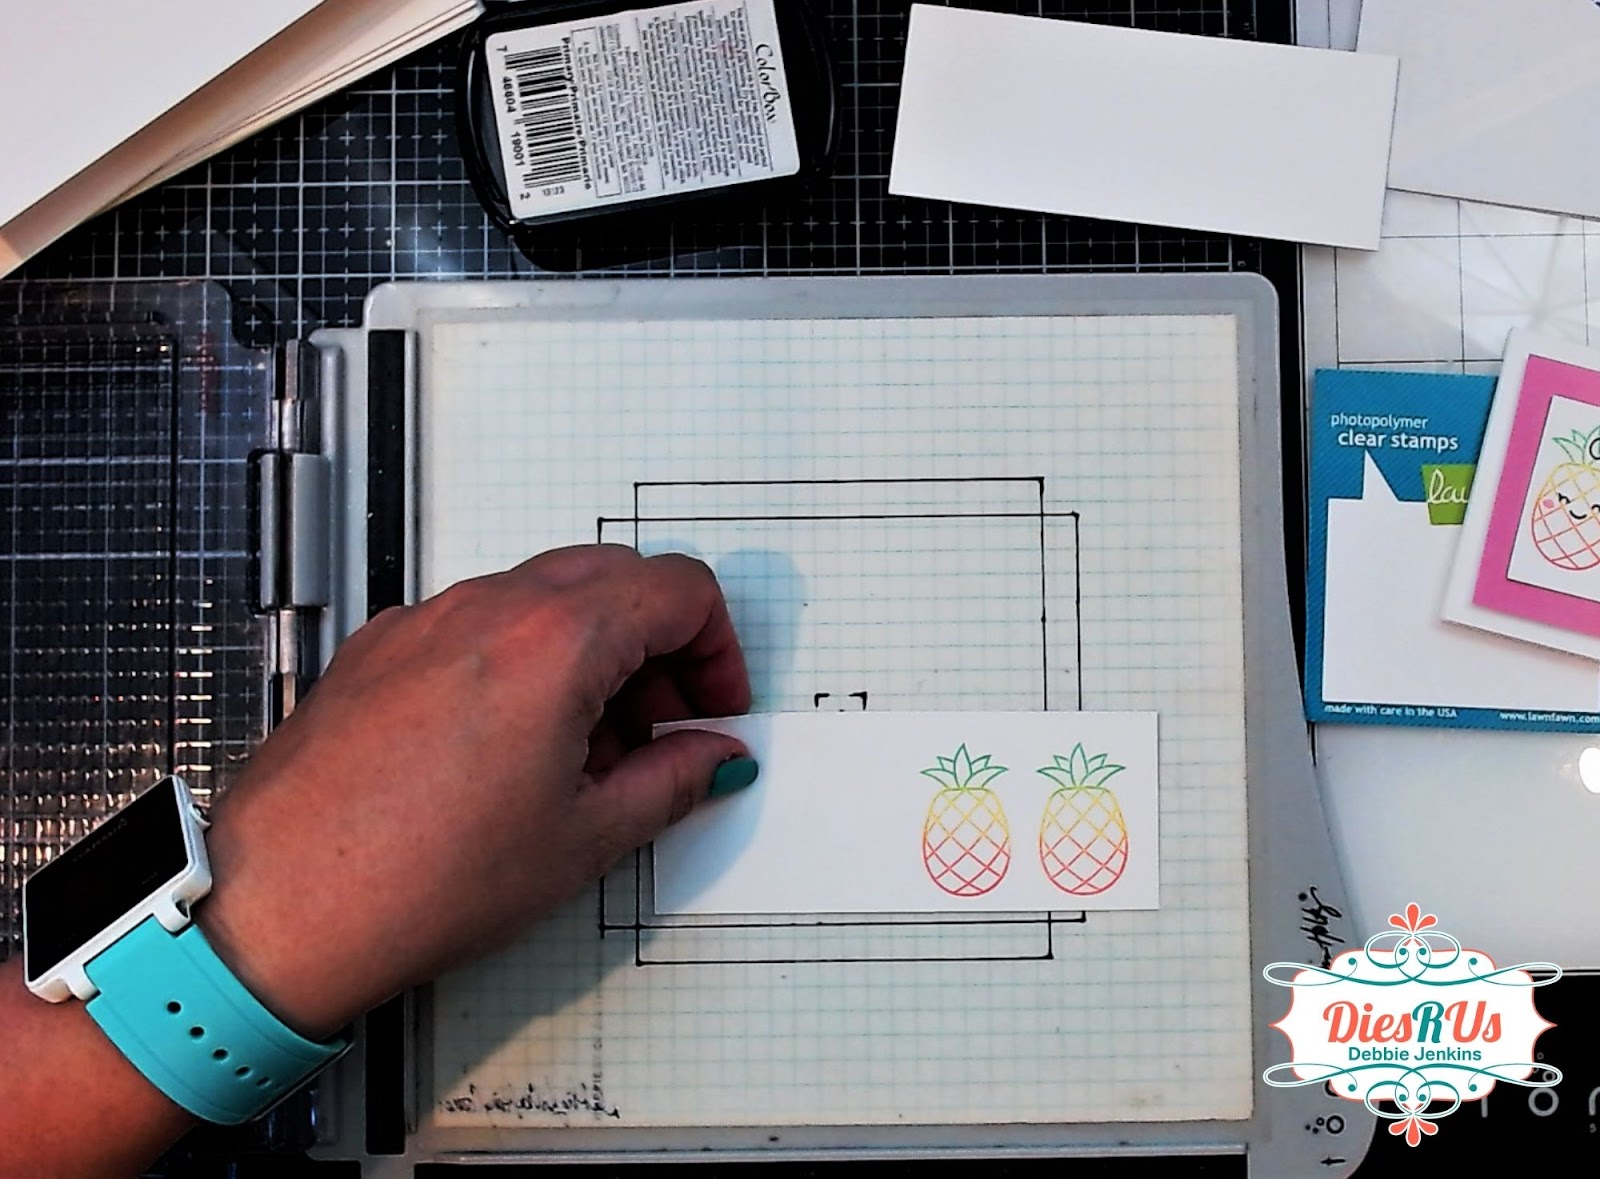
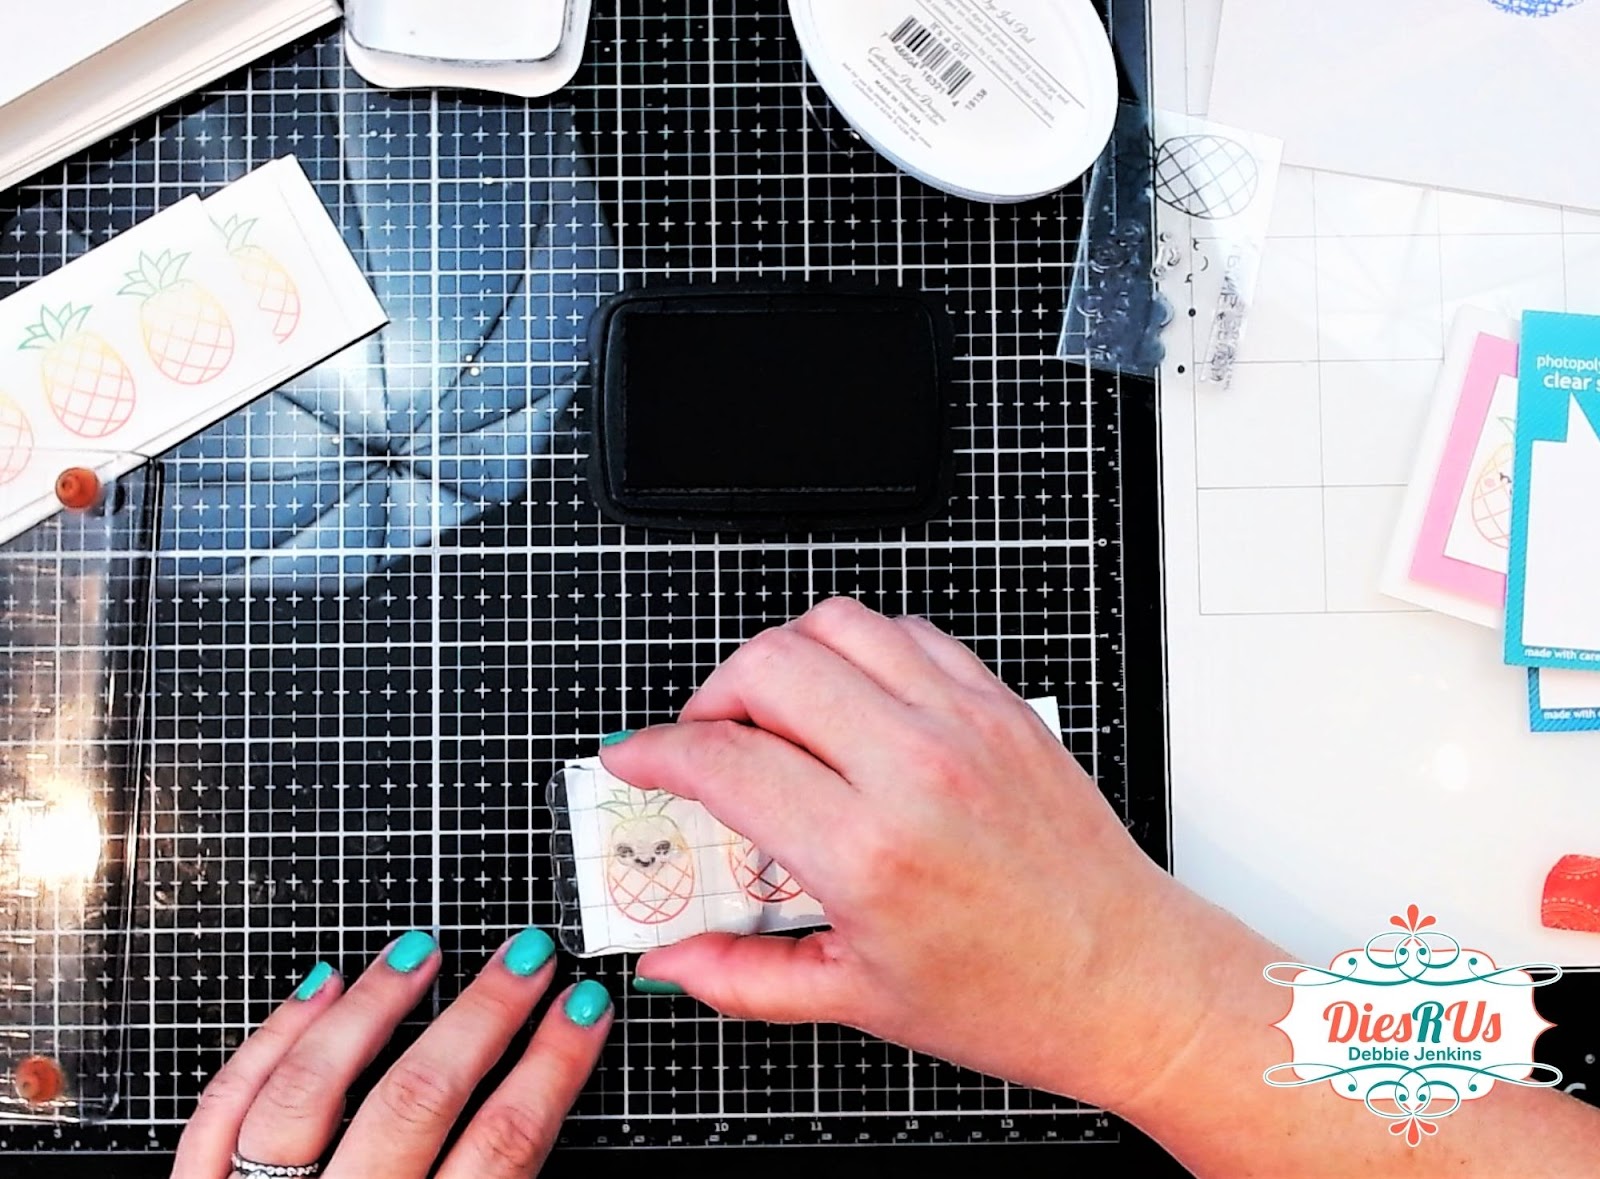
The Aloha Stamp Set comes with these cute little faces that you can add to the pineapple! So I added one to each!
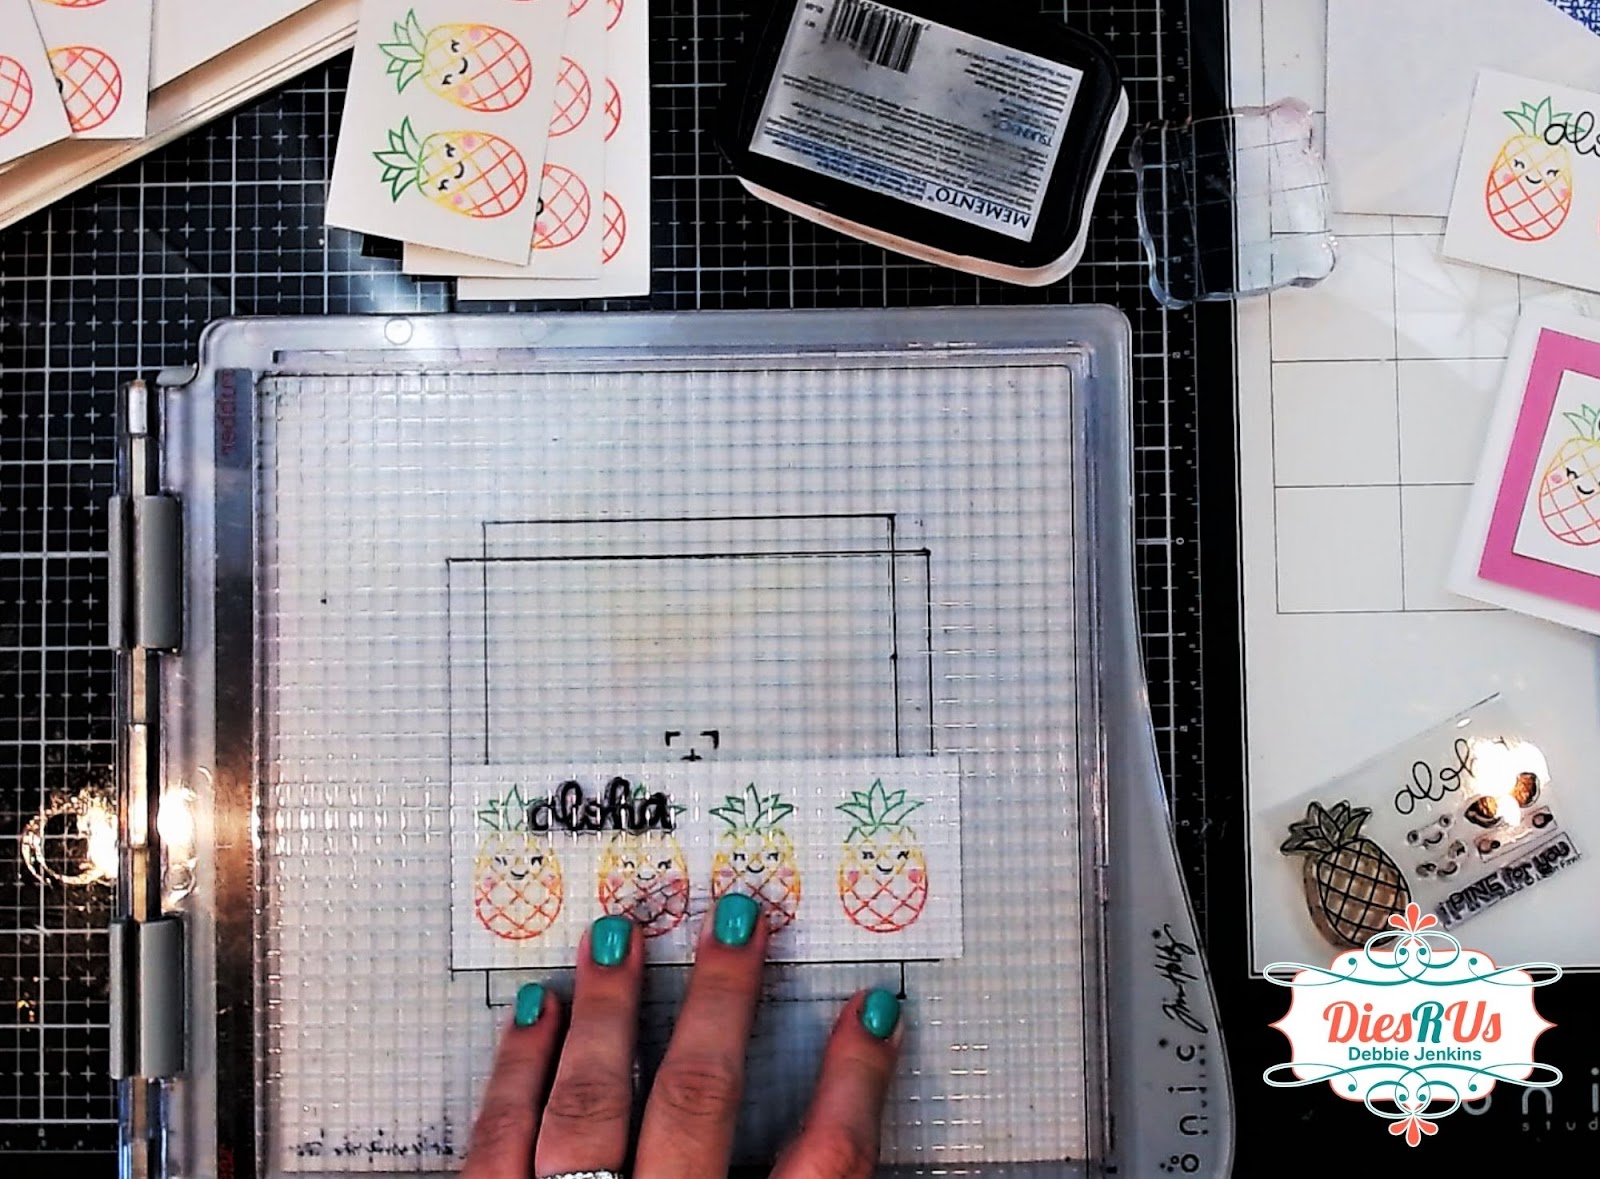
Next, I added the Aloha sentiment to the upper right-hand side of my panel in Memento Tuxedo Black Ink.
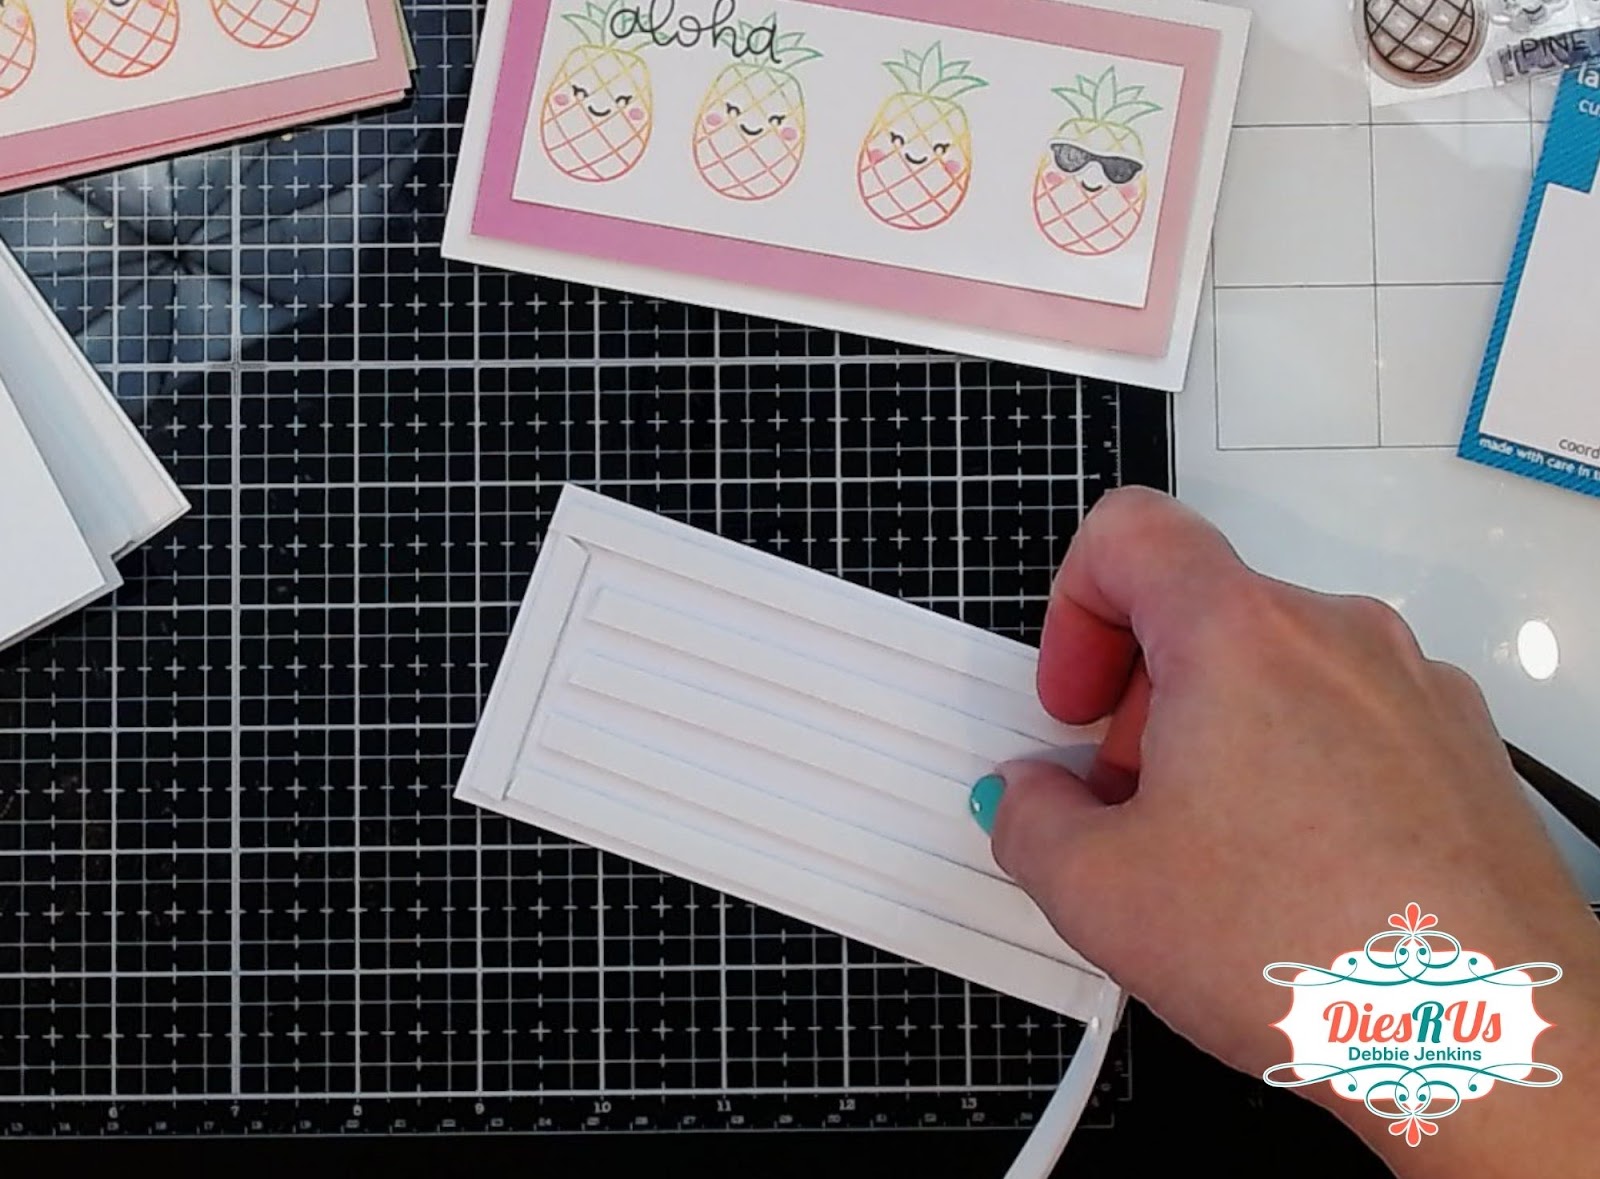
I just couldn’t leave well enough alone. There is ALSO a cute pair of sunglasses in the set. So I stamped out a bunch, and die cut them out using the corresponding dies.
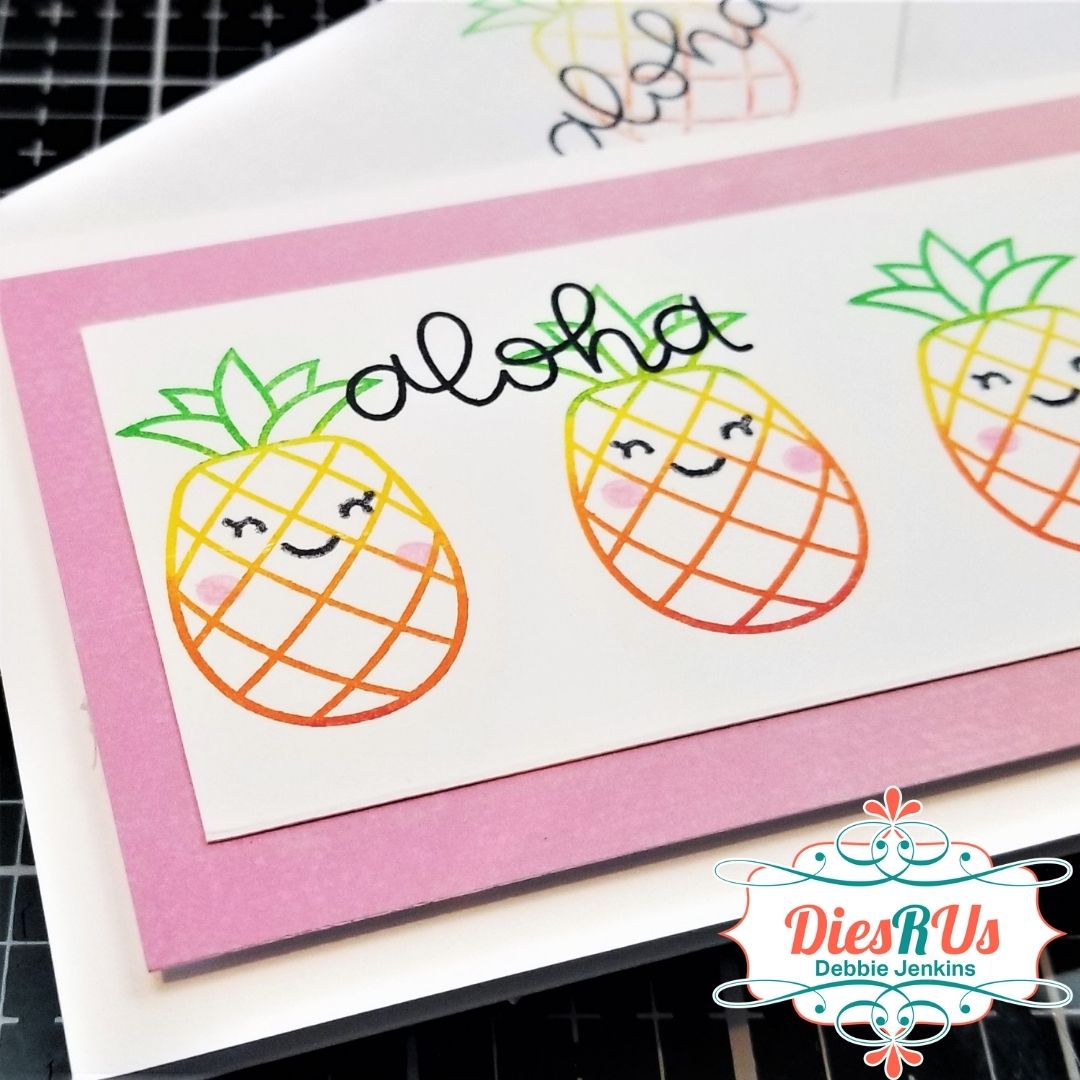
Ok. Enough playing around. Instead of just going white on white, I wanted a bright matting layer. So I went through my pattern paper stash and found a gorgeous sunrise ombre paper. I cut it into 5 ¼ by 2 ¾ strips and was able to get 8 of them from one 12 x 12 sheet! Perfect to make 8 cards!
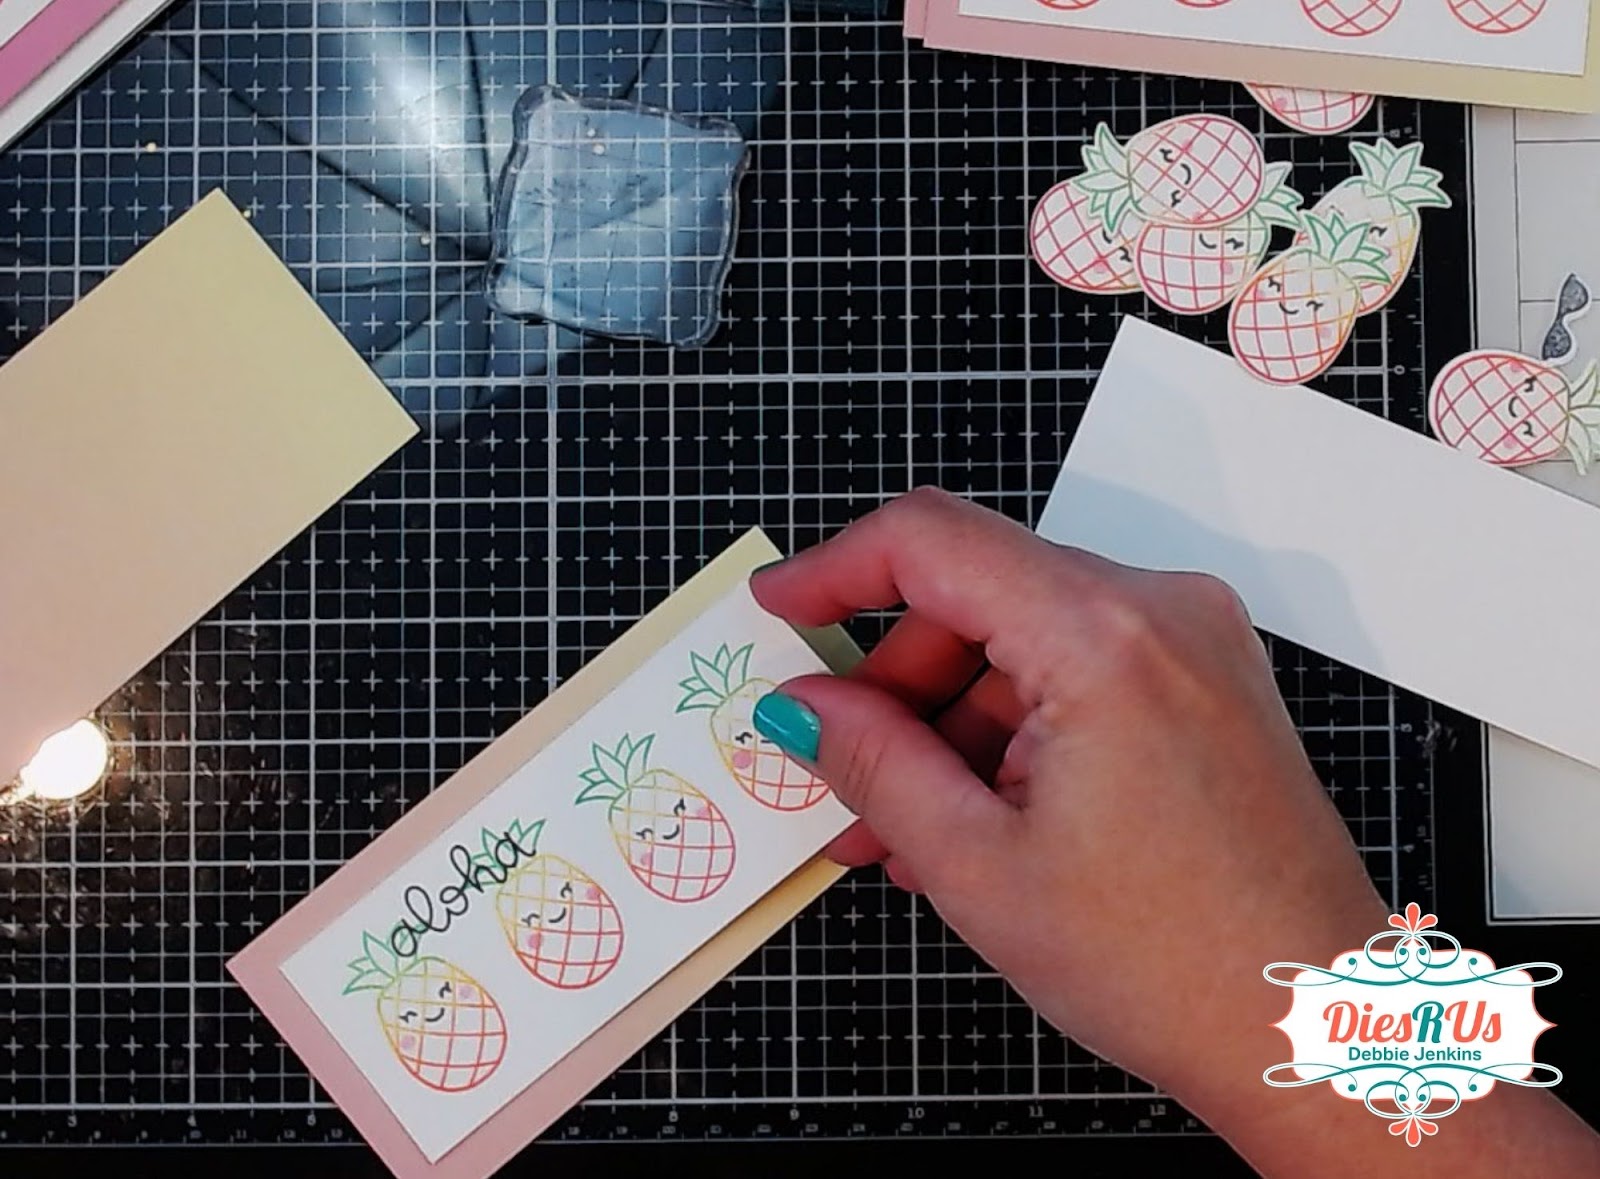
I adhered my stamped panel onto the matting layer with Dotliner Adhesive and added Scrapbook.com foam tape to the back of the panel. Now I can add it to my mini slimline card base.
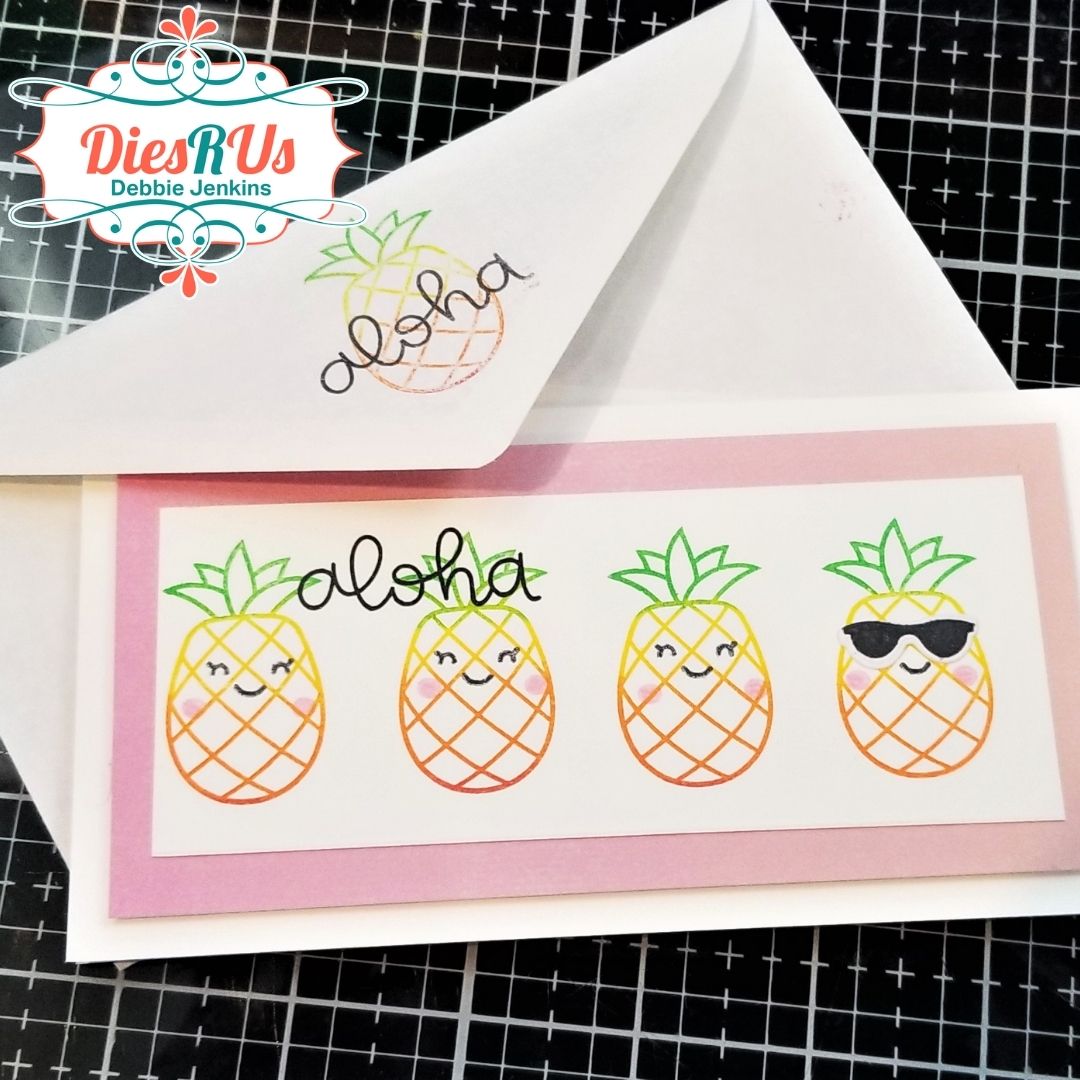
I stamped and die cut some more of the pineapples and adhered them to the inside of the cards… then I decided that the envelopes needed to be dressed up a little too. So I stamped the flap of each with the little pineapple and the “Aloha” sentiment.
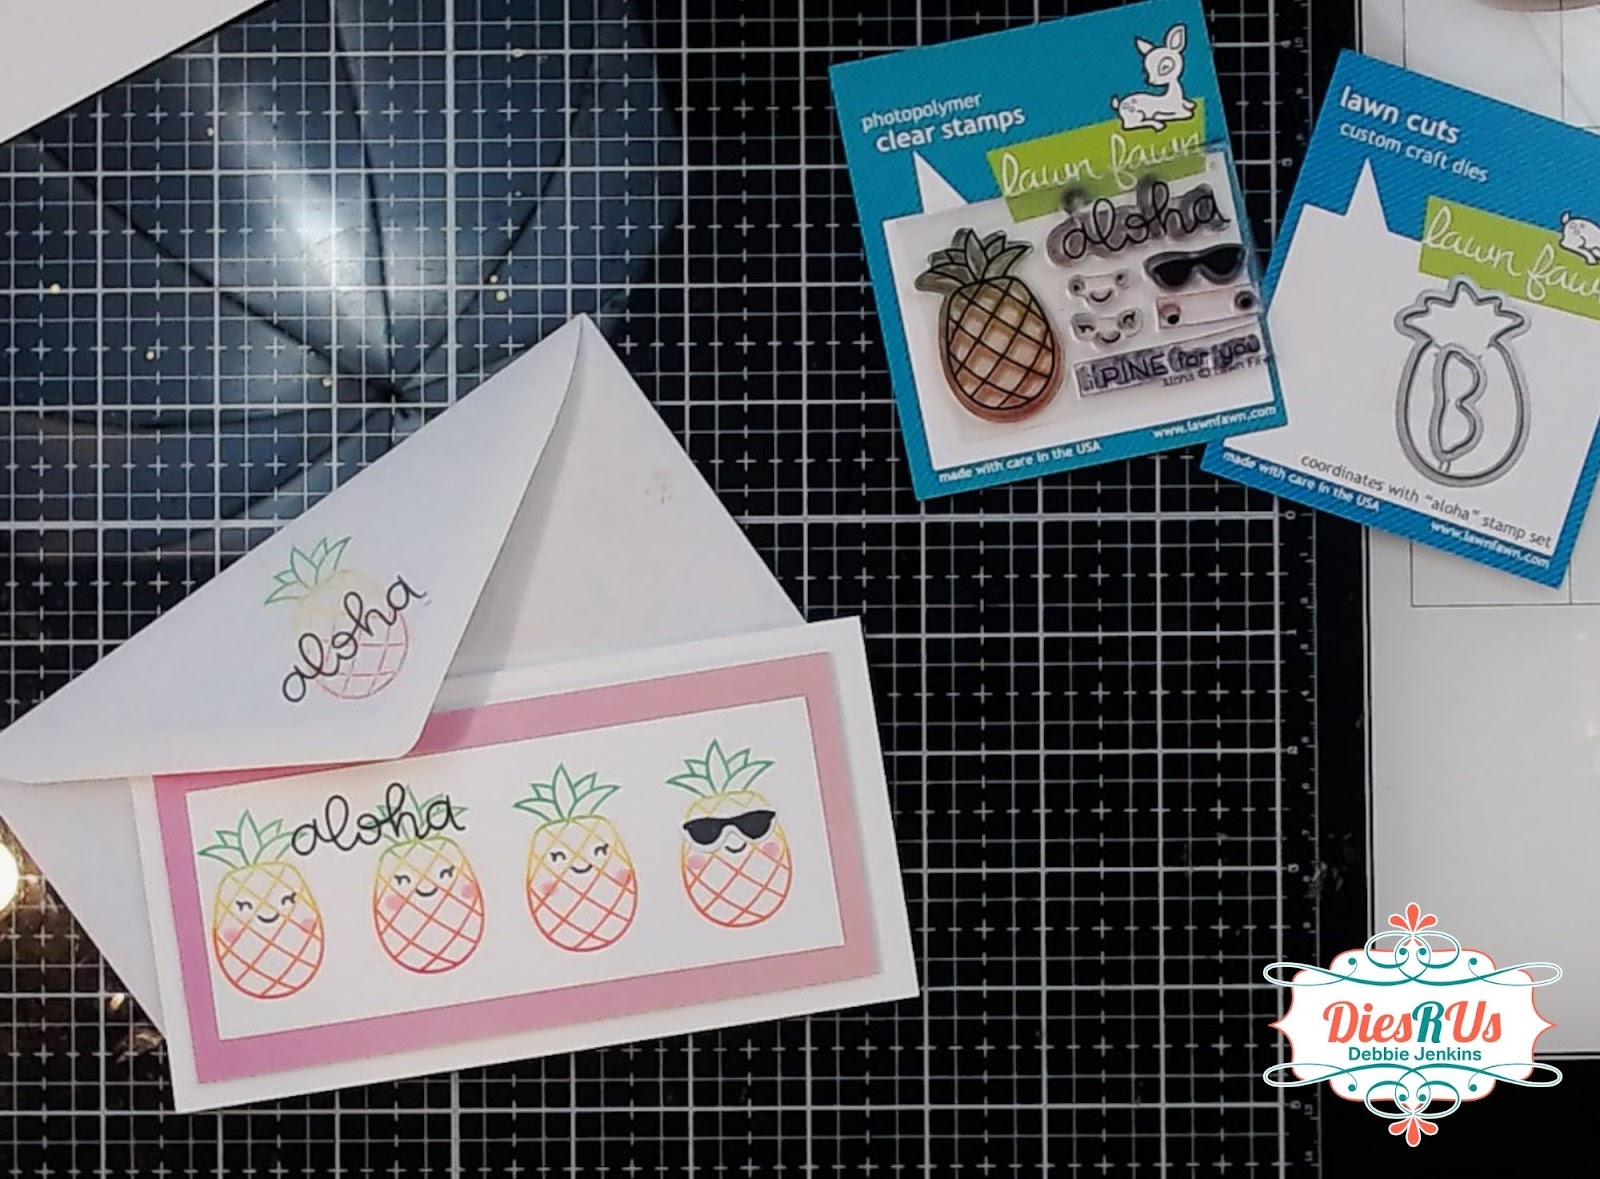
Here are some photos of the finished card.

Thank you so much for dropping by. Be sure to check out my YouTube Channel, Blog, Pinterest, and Instagram for more inspirational projects.
I also have a fun Facebook Group where you can share your projects with other fantastic
creators.
We would love to see what you create, so come join us!
Head back to the Dies R Us Blog tomorrow for more fabulous inspiration from the DRU Inspiration design team.
Be sure to check head over to Dies R Us Challenge Blog. We love to see what you create, and this is a perfect place for you to share your creativity.
PLUS, there is a new challenge theme offered on the 1st and 15th of each month, and one lucky randomly drawn winner will receive a $10 gift certificate to the Dies R Us Store.
Thanks so much for stopping by. And remember, if I can make it, YOU CAN TOO!

No comments:
Post a Comment
Note: Only a member of this blog may post a comment.