
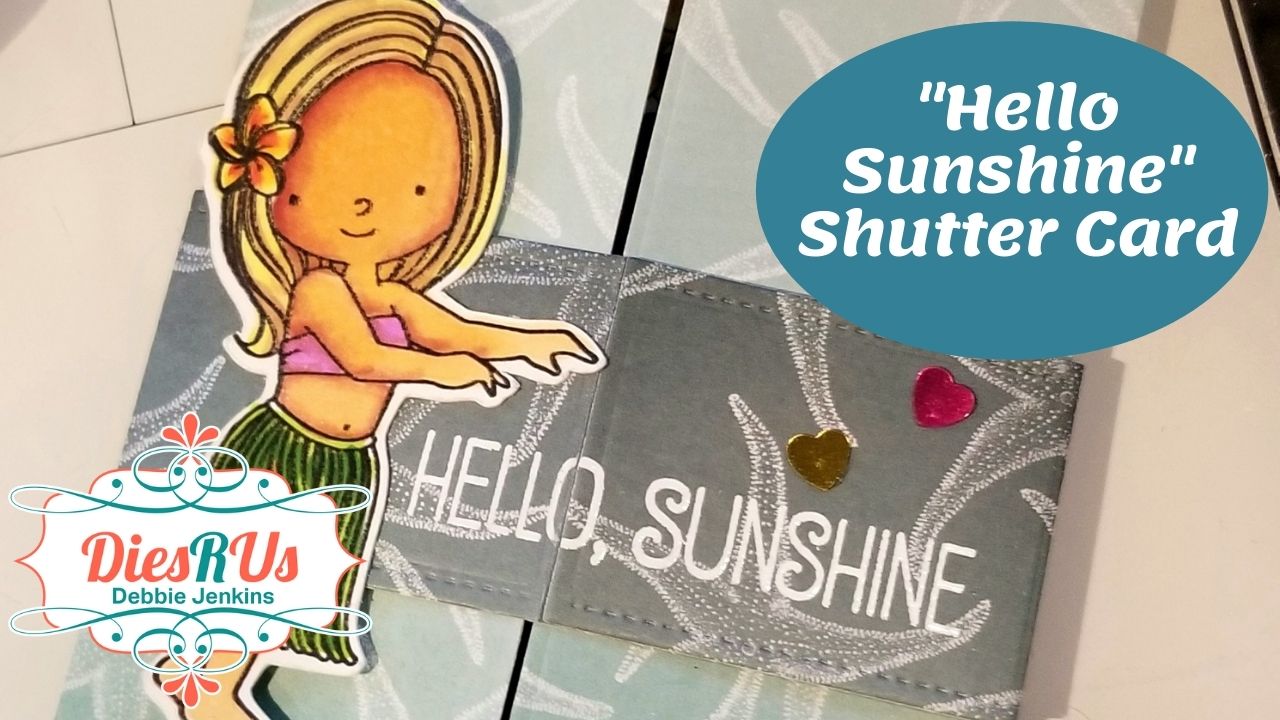
“Hello Sunshine” Shutter Card
Hey everyone, Debbie from Debbie J’s Crafting Corner, here today sharing how I quickly mass-produced this super cute “Aloha” mini-slimline card set.
I love showing the process when I’m creating. I hope my tutorial and video help you see that, if I can make it, You Can Too!
I used the following dies from Dies R Us:
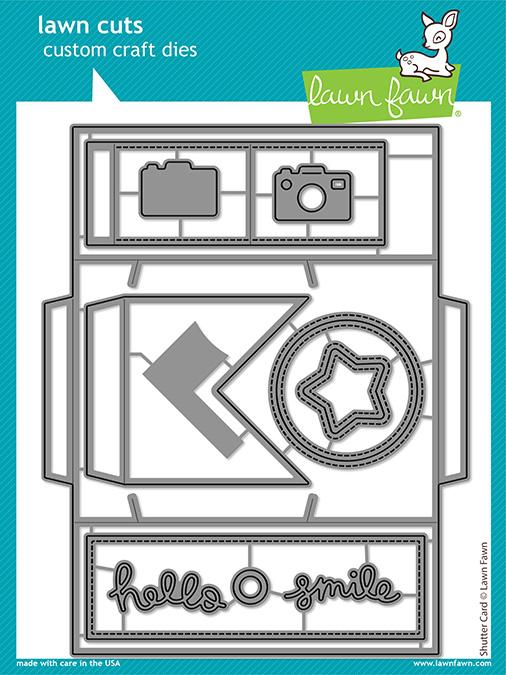
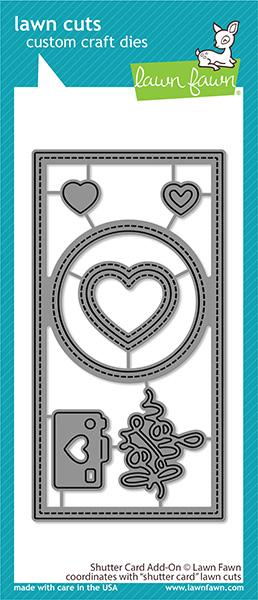
Lawn Fawn - Shutter Card Add-On Dies
Check out the video showing how I created this adorable card!
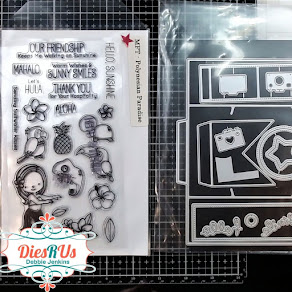
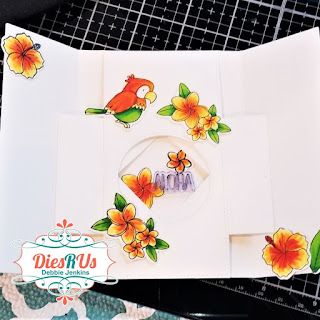
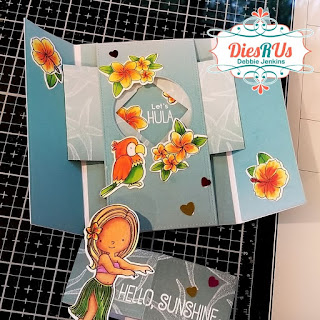
I started off by stamping and coloring images from the Polynesian Paradise Stamp Set from My Favorite Things with my Spectrum Noir Alcohol Markers. I actually colored more than I needed, but that just means that I have more for another project!
Actually, I started by creating a “sample” of this interactive card so that I’d have some idea how it works and goes together. This is the first full card that I’ve made using the Shutter Card Dies, and I love how it turned out.
💥TIP: Take a picture of your general layout once you decide where to put everything.
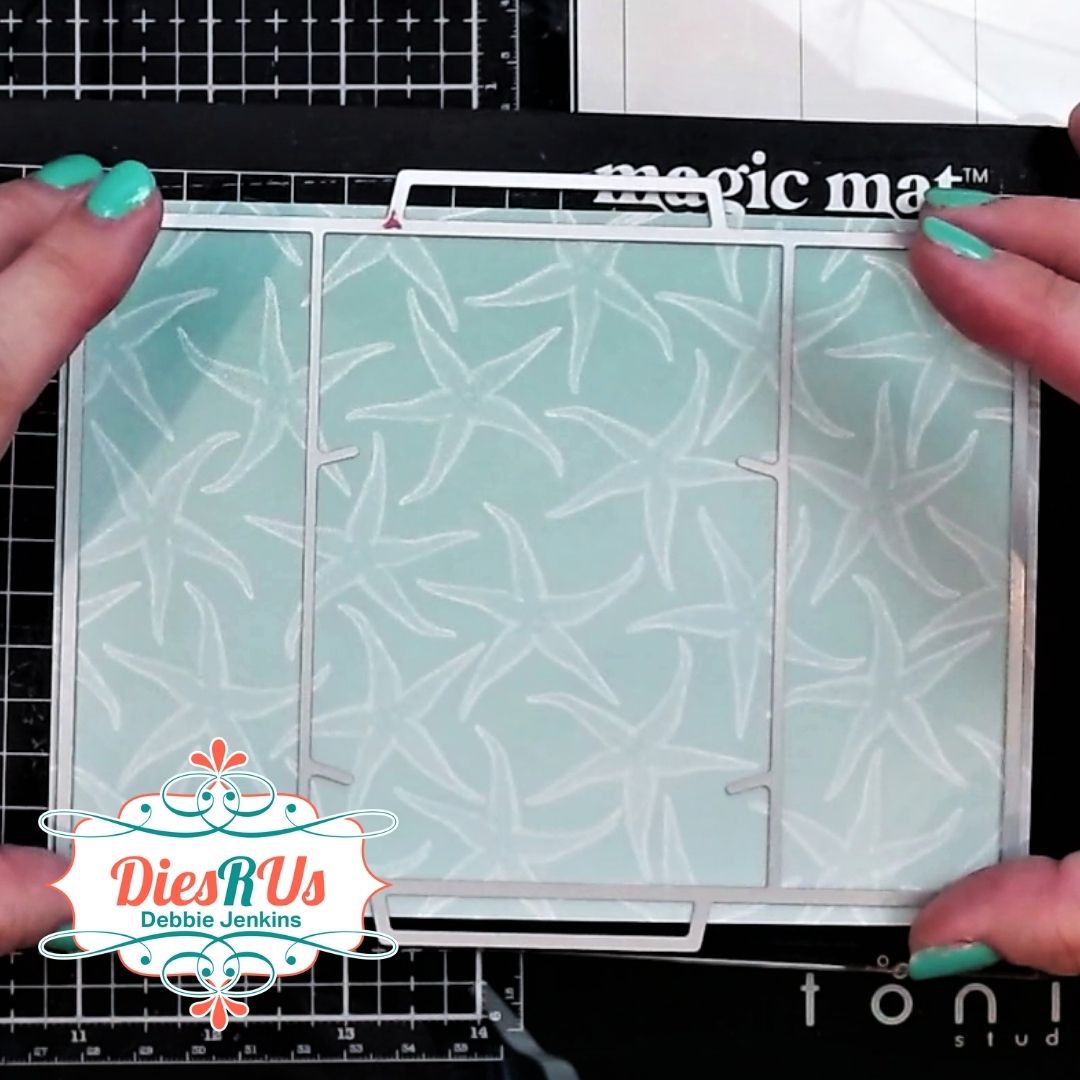
Next, I picked out a sheet of scrapbook patterned paper. I really need to use some of this up.
I love the beachy-themed print that I chose. Since it was only printed on one side, I picked out another sheet from the same pack that worked well with it.
YAY! I got to use two sheets for this one project.
And then I did an “OOPS”.
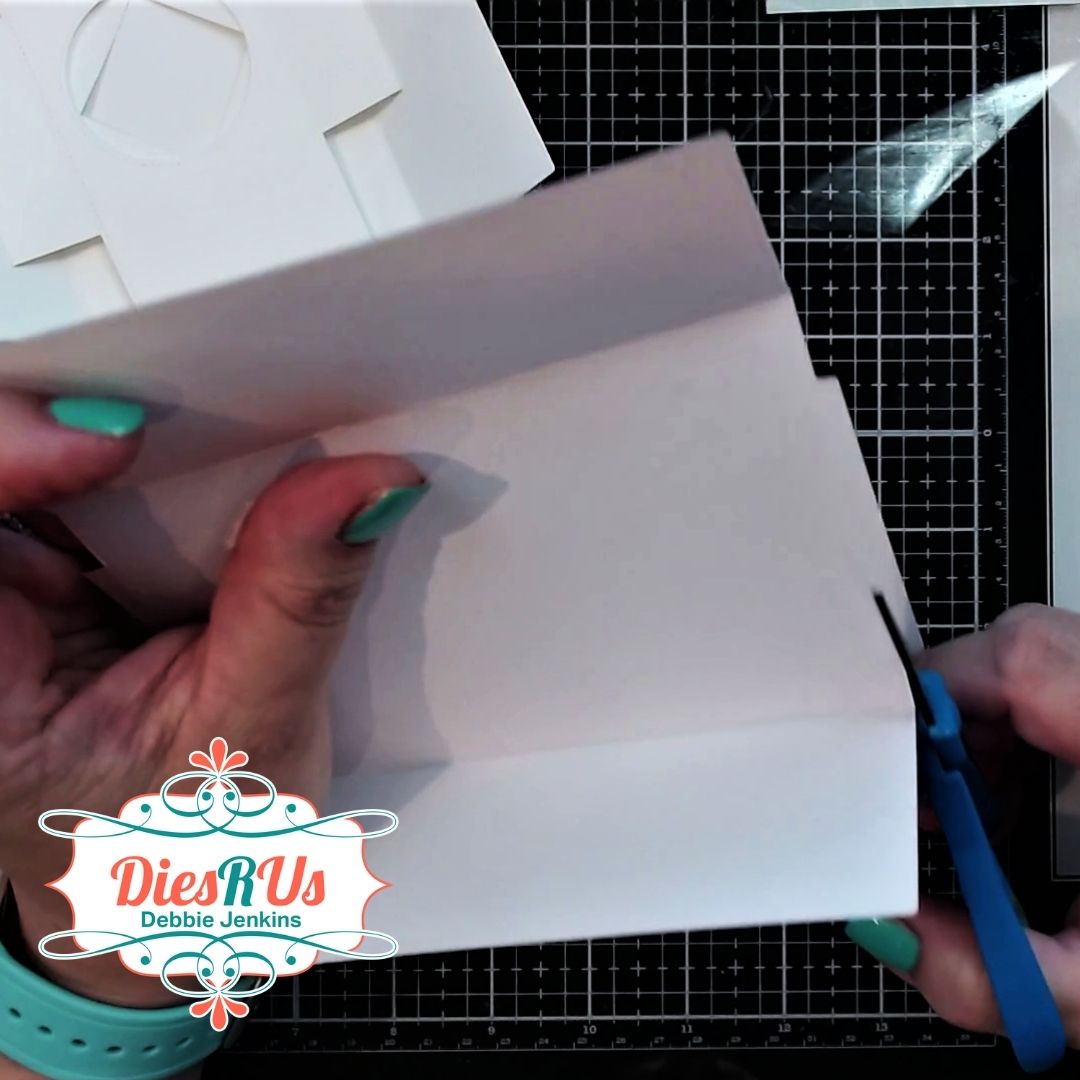
In order to get the 12 x 12 patterned paper to go through my Gemini Junior, and cut out the big die from the set, I needed to cut it down… and I cut it a little smaller than intended.
Oh well. I’ll use this for the outside and cut a piece from the other paper to go on the inside.
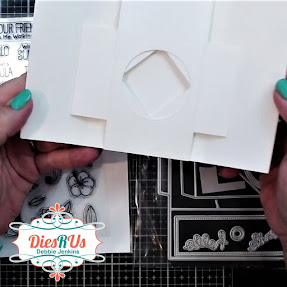
Because of my “error”, the little flaps on the top and bottom aren’t needed. So I trimmed them off, and folded along the score lines that this die creates.
Now I have a gatefold card base to work with.
On the other paper, I trimmed the center panel and side panels off, and adhered them on the inside of this base.
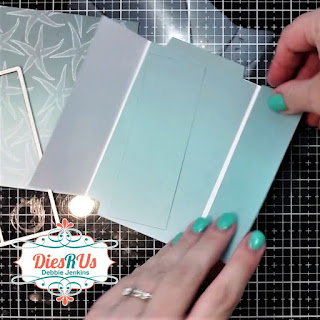
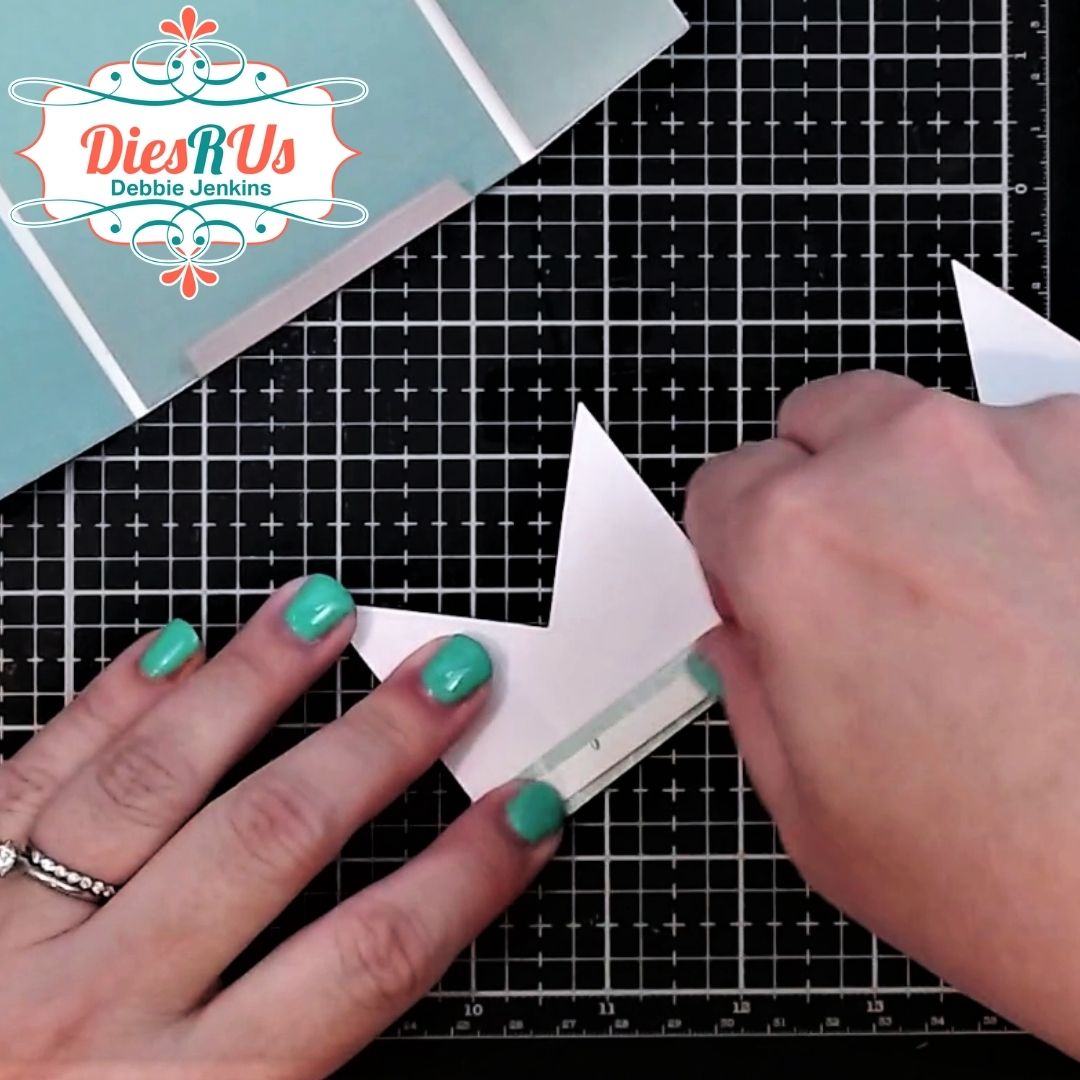
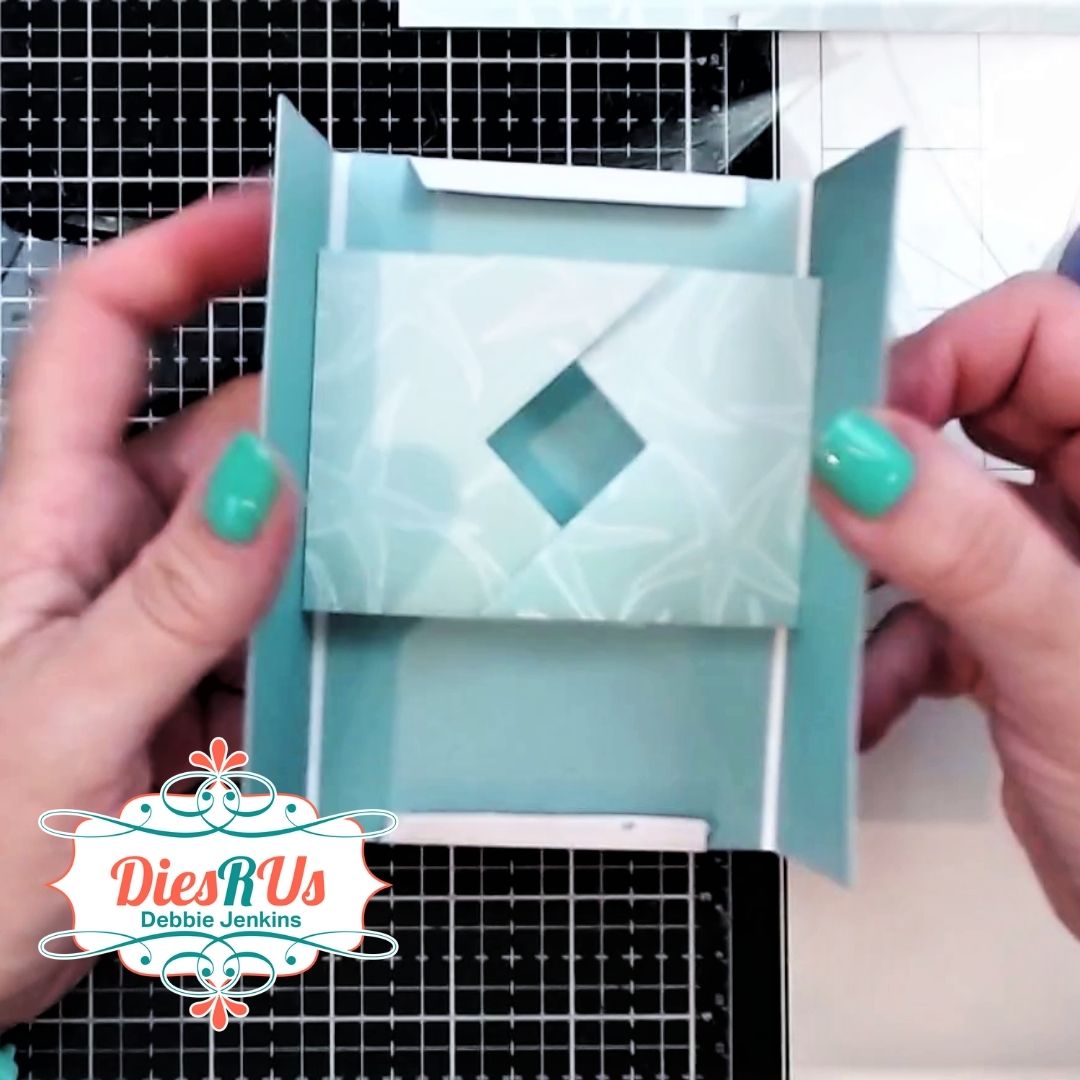
Next, we need the shutters.
There is a “fishtail” shaped shutter die in the set, and I used this to cut out two pieces. Then I folded along the scoreline that the die creates and added some double-sided adhesive tape to the little flap.
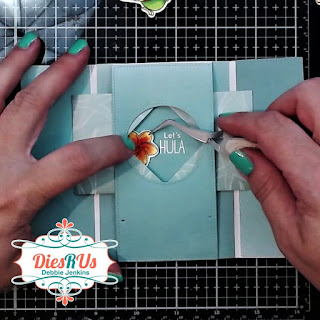
The card base die ALSO embosses guide marks to let us know where to place the shutters.

So, I removed the release tape on one shutter, positioned it in place with the guide marks, and adhered it by closing the card on that side.
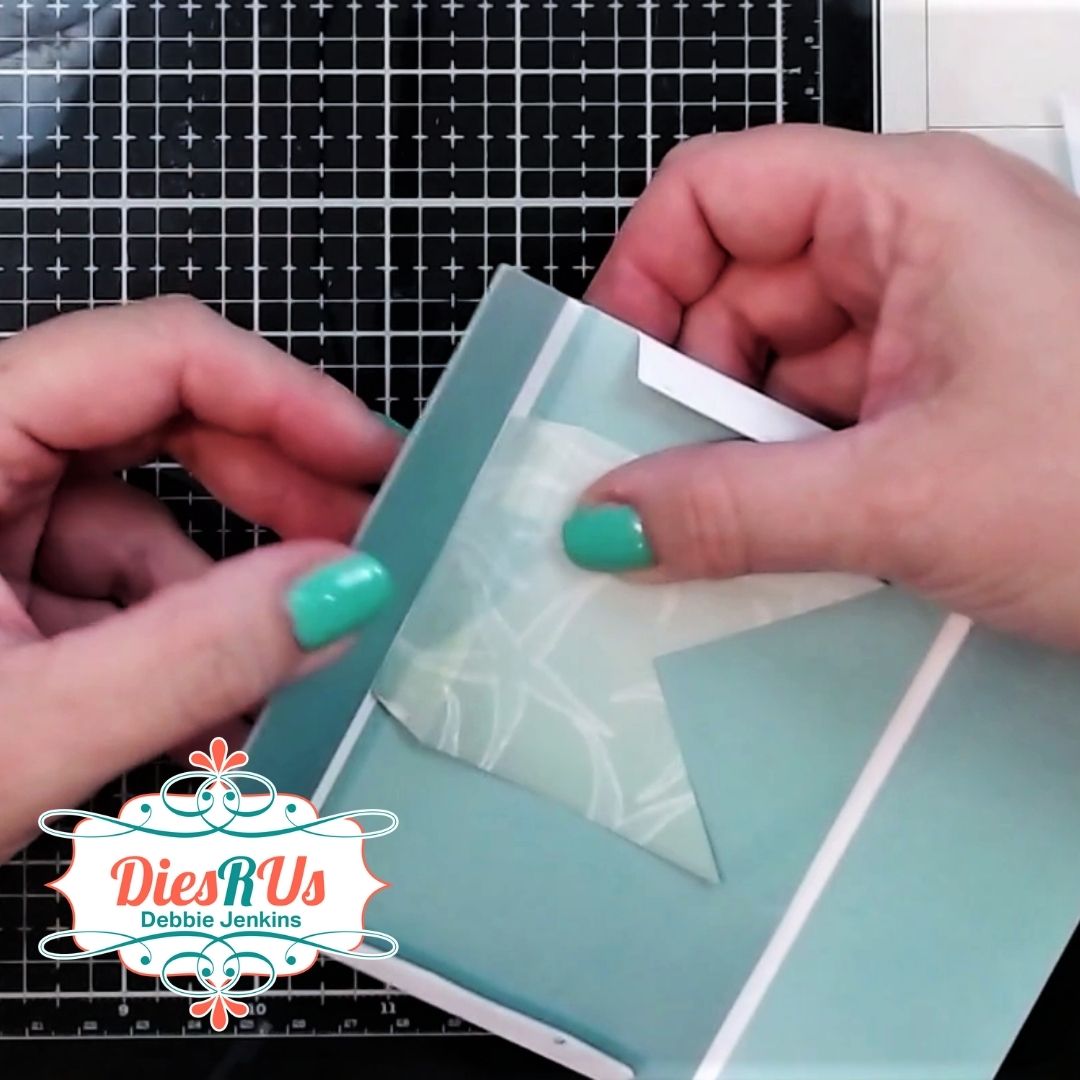
Next, I did the same thing on the other side, making sure that the outer edges lined up with the one already in place.
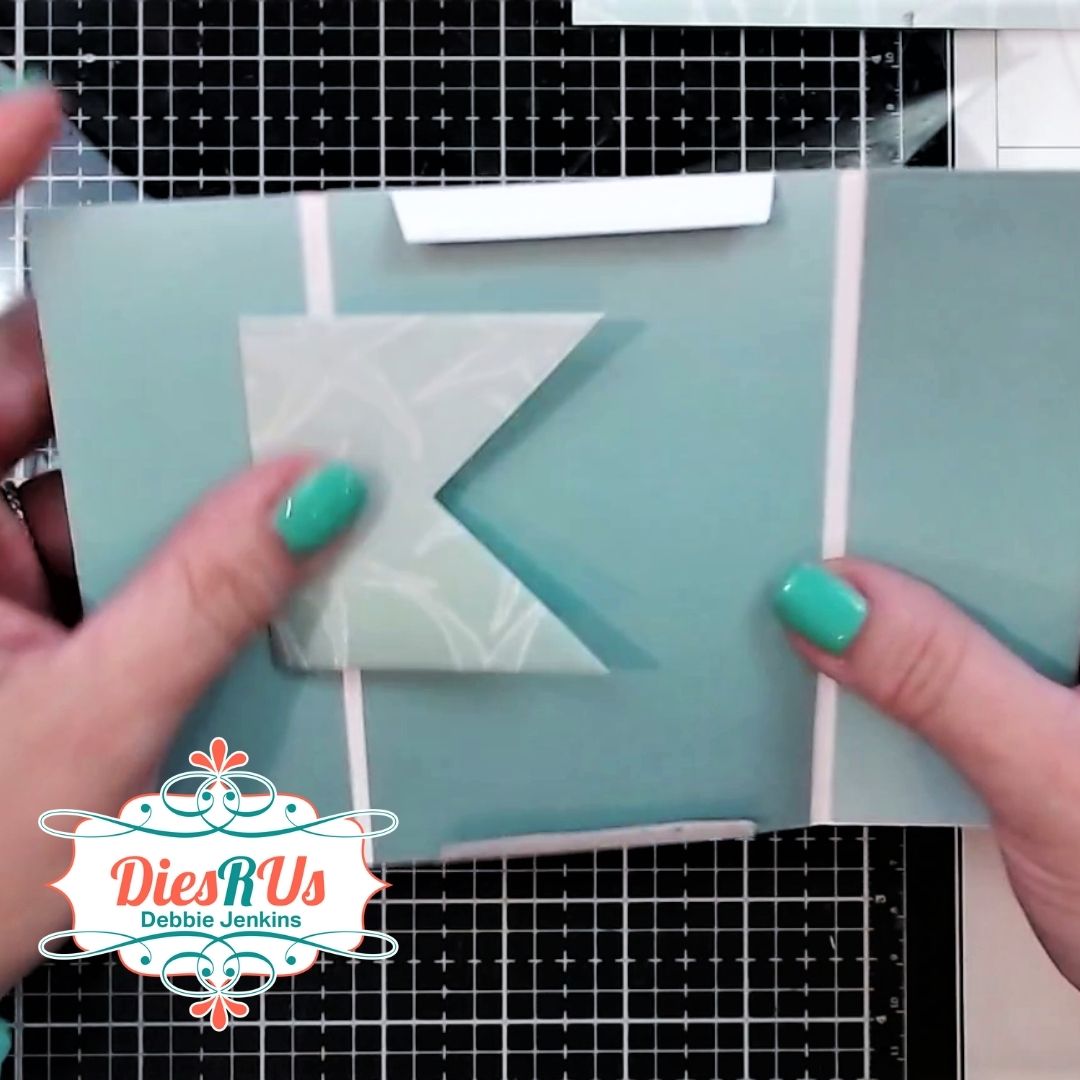
Now that they are in place, we need to make sure that this functions as a shutter, and it’s super easy… just make sure that the top on one shutter is behind the other, and that the bottom of the same shutter is in front of the other.
If this is confusing, please take another look at the video.
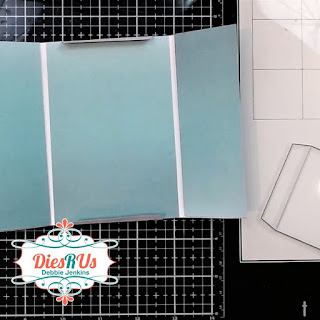
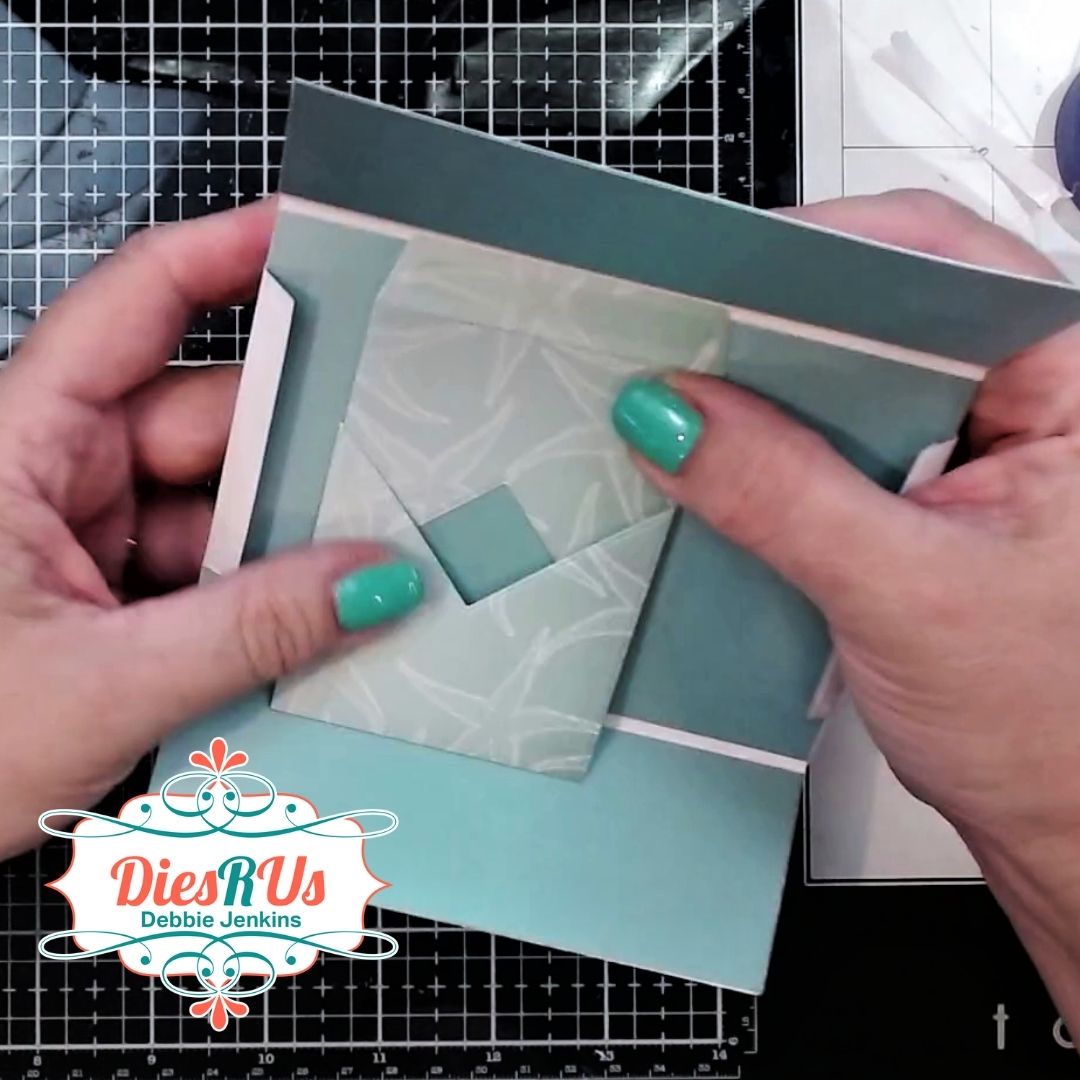
Next I took the main die from the shutter card add-on set and cut that from the gradient cardstock. This add-on die helps so much in making sure that you have perfect placement of your window.
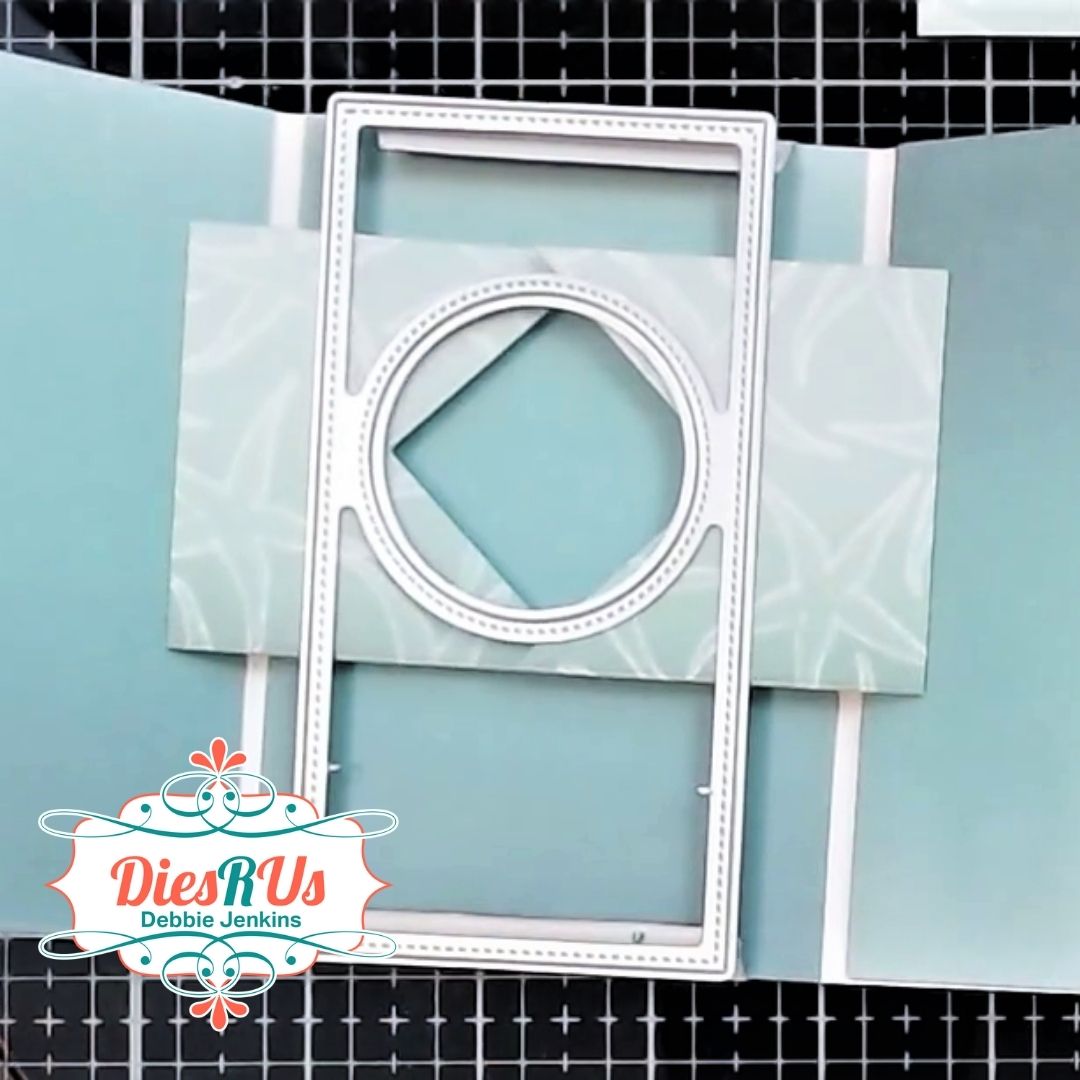
Remember the little flaps on the card base. If you haven’t already, you’ll want to fold them toward the inside of the card. You’ll attach the panel that we just cut out to those flaps. You’ll also want to add some double-sided adhesive tape to the flaps.
To get perfect placement, I removed the release paper on ONE of the flaps and lined up the panel with the OTHER flap BEFORE adhering the first flap to that end of the panel. Now I can just remove the release paper on the other end and adhere it too. Everything should be lined up just right.
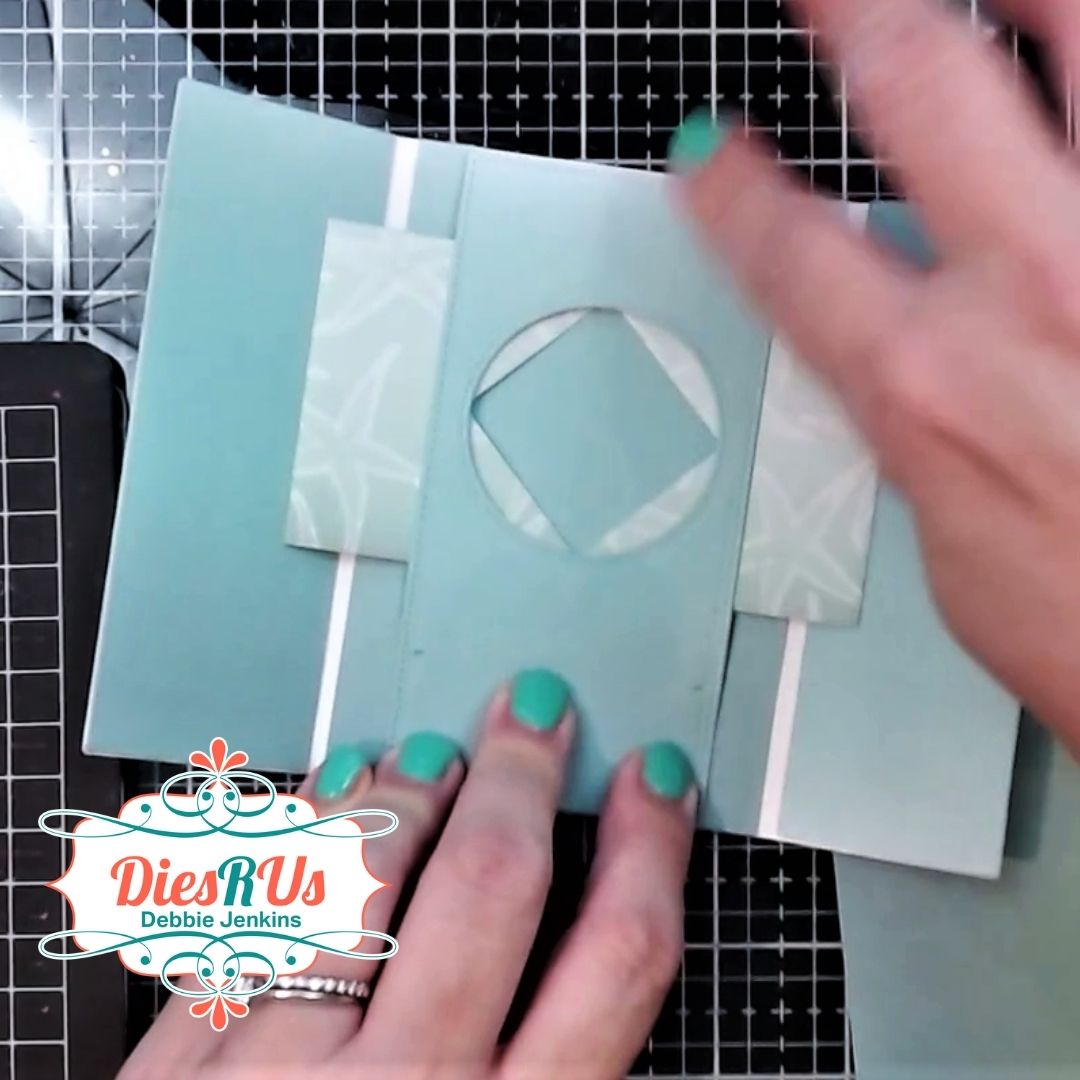
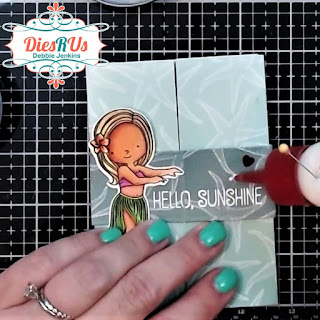
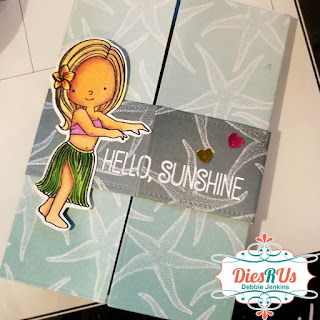
Now that the mechanism is all done, it’s time to decorate!
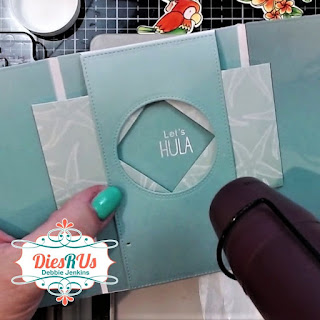
I started off by referring back to my sample photos. And then I decided that white heat embossing the sentiment would pop better than using black. I probably should have embossed BEFORE assembling everything, but it still worked out.
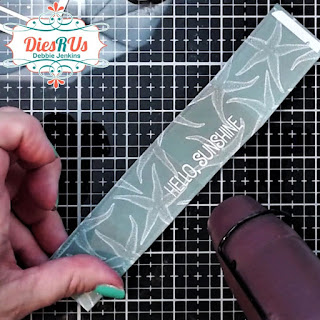
After decorating the inside, I took another of the dies from the Shutter Card Die set, and cut out a couple of strips to be used for the Belly Band that will hold the card closed.
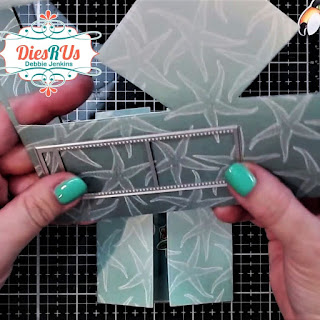
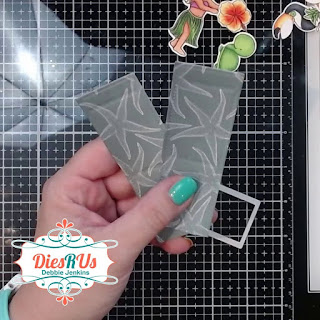
These dies also include embossed lines so you know right where to fold. I added some double sided adhesive tape to the flap section of each strip, and adhered the strips together using one of them.
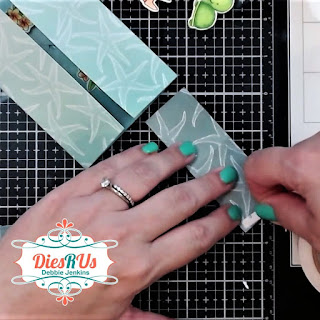
This created one long strip that is the perfect size for our Belly Band. After decorating it, I attached the other ends together too.
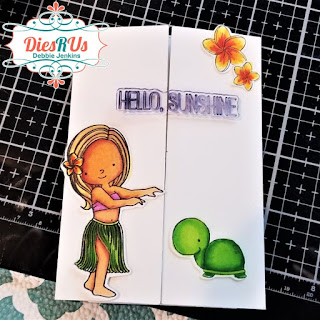
I decorated the Belly band by heat embossing “Hello Sunshine” in white, adding the cute hula girl, and some heart sequins
Here are some photos of the finished card.
Thank you so much for dropping by. I hope you enjoyed this project and would love to hear what you think of my first "attempt" at a shutter card.
Please leave me a comment down below!
Be sure to check out my YouTube Channel, Blog, Pinterest, and Instagram for more inspirational projects. I also have a fun Facebook Group where you can share your projects with other fantastic creators. We would love to see what you create, so come join us!
Head back to the Dies R Us Blog tomorrow for more fabulous inspiration from the DRU Inspiration design team.
Be sure to check head over to Dies R Us Challenge Blog. We love to see what you create, and this is a perfect place for you to share your creativity.
PLUS, there is a new challenge theme offered on the 1st and 15th of each month, and one lucky randomly drawn winner will receive a $10 gift certificate to the Dies R Us Store.

Thanks so much for stopping by. And remember, if I can make it, YOU CAN TOO!

Very cute card. These cards seem more complicated than they are. Instructions were very clear.
ReplyDelete💛TR