
Hello fellow crafters. Lena here today sharing the card I made for my hubby for our 32nd Anniversary.
I love the Art Deco die collection from Tattered Lace. I think I would have been happy living in those days of glammer and glitz :-)

I must admit that I'm very happy with how this card came out.

With this pic, I wanted to show you that I added a heart scroll to the middle fold of the card. To put one on every fold seemed a little too busy to me, and to leaved it all white ... well, it was ALL white and a little blah, so I opted to put a little something just in the middle. What do you all think?

Although you can put your message panel on the inside, I put mine on the back instead.
I used the same art deco die and a little left over heart.
Now to share the details of how I put this card together:

These are the dies I used:

Start by cutting the base of your card. This is a large card, 8" x 6", so you'll need a 12" x 12" sheet of cardstock. Even though it's a large card, it fits into an A9 envelope which mails with regular postage.

I cut my background pieces out of Bazzil cardstock and my fancy cuts out of a sheet of the Making Memories Wedding Paper Pad. I used my fine tip Zig glue pen to glue it all together. Next time though, I'm going to adhere the fancy paper to a self adhesive sheet before die cutting. It would have made life a lot easier :-) I edged all my fancy paper with a C5 copic marker.
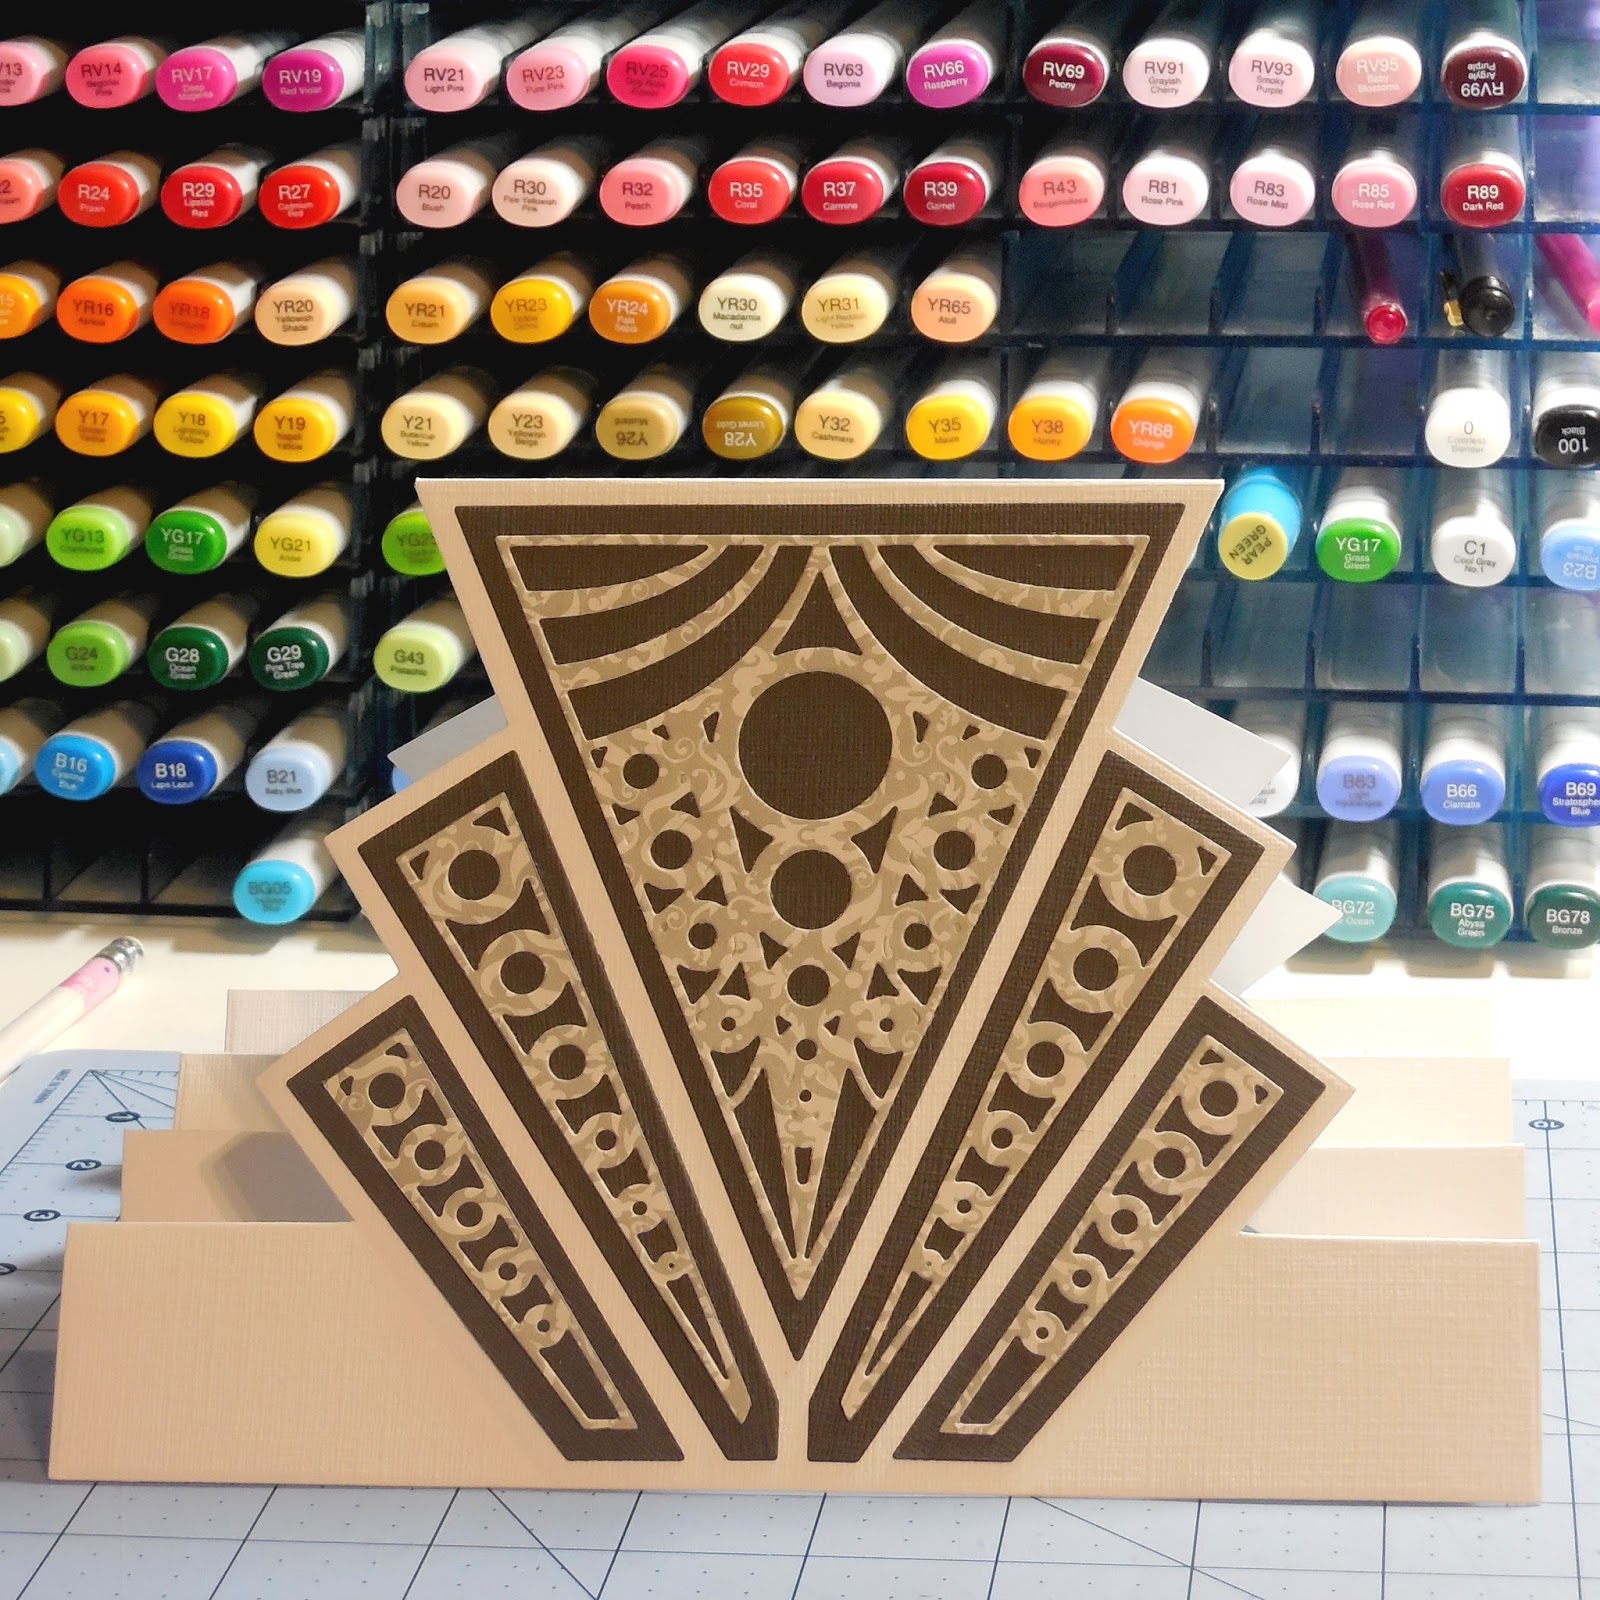
So here is what the card base looks like once all the bits and pieces are adhered together and placed on it.
Isn't it pretty?

Next, I cut out my Grace and Charles. I cut them out twice so that I could do some colouring and some paper piecing.

Here is Grace all ready to be put on the card. I used the Rose Collection of the copic markers (R81, R83, R85) to colour her dress, wrapper, hat and shoe. I added a little bit of sparkle with a Wink of Stella clear pen and some pearls to make it more glamorous. Next, I worked on Charles. I adhered foam tape to the back of each and placed them on the card.
I cut the hearts flourish in grey and in pink and paper piece the hearts in the opposite colour. Lastly I trimmed and adhered the flourishes to the card.
I cut the hearts flourish in grey and in pink and paper piece the hearts in the opposite colour. Lastly I trimmed and adhered the flourishes to the card.
Thank you for stopping by today. I hope I was able to inspire you to use your dies, create a project, and come play along at the Dies R Us Challenge Blog for your chance to win a gift voucher to the Dies R Us Store. A new challenge begins on the first and fifteenth of every month. Be sure to Follow Us on Facebook too.
 |
Crafty hugs,

Wow! This card is so amazing!
ReplyDeleteamazing card! the roses are just the right touch and your coloring is so great on the people!
ReplyDeleteAlicia
Wowzers, Lena! I'm speechless...this is so gorgeous! Very unique, creative and the colors are fab too. I LOVE IT!!!
ReplyDeleteOh wow, how stunning! This is just a beautiful and wonderful creation! A keepsake for sure!
ReplyDeleteI love that die as well and agree I would have loved that period of time. Your card turned out just awesome, great job.
ReplyDeleteOh Lena this is AWESOME! Beautiful design, gorgeous coloring and so unique! Congrats on your anniversary. I'm sure your husband will be very impressed! Fantastic inspiration and good job of enabling ... (didn't know this existed in the store ... going on to my wishlist immediately!). Thanks!
ReplyDeleteOh wow, this is just fabulous!!! I am so partial to Art Deco too and I have not seen these dies. Thanks for the great inspiration!!!!
ReplyDeleteThis is fabulous! You've put all the art deco dies together wonderfully!
ReplyDeleteGorgeous card !!
ReplyDelete