
Hello DRU Fans! Welcome back! This is America, and I'm back with a colorful Fall Card!

Gold is so lovely for Fall!
DRU Products used;
Creative Expressions Cutting Dies by Sue Wilson


Other Products Used;
Creative Expressions Gildin Polish and Gold Mirrored Cardstock, Recollections Washi Tapes and Adhesive Pearls
****************************************************************
How-To
Check-out the photos of how this Fall Thank You Card came together;

First, I Dry Emboss with the die.

Next, I placed washi tape across a piece of Coconut Card and cut out the Die Shapes.

I adhered the shapes to the embossed raised areas, and cut out a second panel to place over it. This will give your background an inlaid/impressed look.

Next, once all is adered, I cut to size.

At this point, I wanted to add more to the background, so cut strips of my seam binding and laid across in both directions as shown and adhered ribbon ends to the back of this panel.

Now I prepare my card base out of Coconut card and Mirrored Cardstock.

The ribbon panel is now adhered to the card base.

Next, I cut my selected die shapes for the panel that will be holding the sentiment. I also cut 4-6 sets of the sentiment to layer and adhere together for a dimensional look that will make it stand out from my busy background.

At this point, I wanted the top layer to be shimmery, so I decided to use Deco Art Metallic Lustre and Gilding Polishes in Fall colors.

Next, I cut additional Gold rings from the Mirrored Cardstock to layer and give top panel dimension.

Started layering the die-cuts, using the center of the washi tape diecut to carry the design throughout.

I used this Chantilly Lace Border die set to diecut these strips and then cut them down to pieces that were added to the four ribbon sides to coninue that added golden touch throughout the design.

After the golden pieces are added, I was ready for the ribbon.
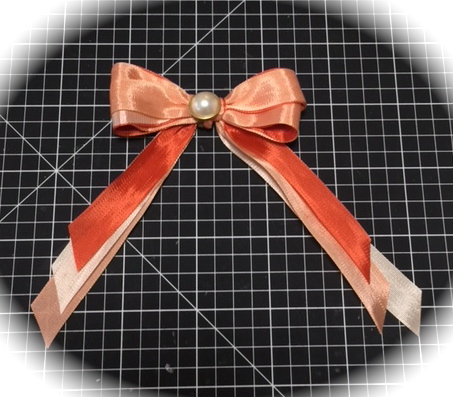
The ribbon is seam binding and its easy to color. While these soft colors are pretty, but they didnt quite match my card panels, so I took the Gilding Polish and ran it across the ribbons to match!
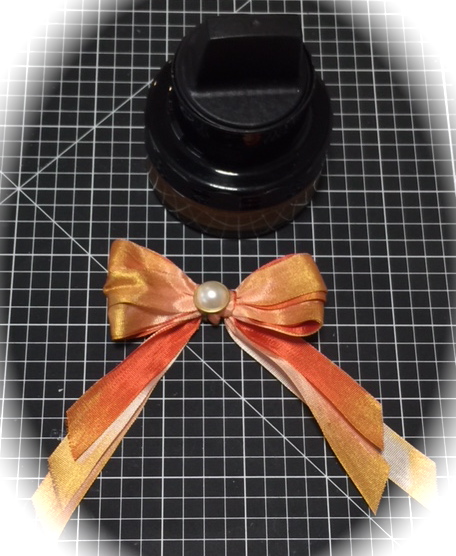
This is the photo after the ribbon is colored giving it a metallic shimmer!

This is the finished card topped off with an extra Die-Cut Gold Rim to showcase the sentiment better, adhesive pearls on the corners, and a Pearl Brad in the center of my gilded Bow! Lots of steps, but it was so fun trying out different ways to arrange and use the dies for new looks! I hope to have inspired your creativity and that you'll give these dies a try!!
Thanks for stopping by today! We love hearing from you!
Thanks for stopping by today! We love hearing from you!
*********************************************************************
For more inspiration, please stop by the Dies R Us Challenge Blog. There's a new challenge theme offered on the 1st and 15th of each month and one lucky randomly drawn winner will receive a gift voucher prize to the Dies R Us Store. For your convenience, all the important Dies R Us links are provided below.

Come check these out! Click below for:
so stunning and elegant... awesome card
ReplyDeleteOh girl this is GORGEOUS!! Love the colors and your overall design is exquisite!! Beautiful inspiration ... thanks!
ReplyDeleteWhat a beautiful card, love the colors.
ReplyDeleteBeautiful and elegant. Love the warm rich colours you used, so perfect for Fall.
ReplyDelete~ Hugs
Wow! This is such an amazing card Wonderful instructions too!
ReplyDeleteBreathtaking!! Simply gorgeous and so elegant, America!
ReplyDelete