
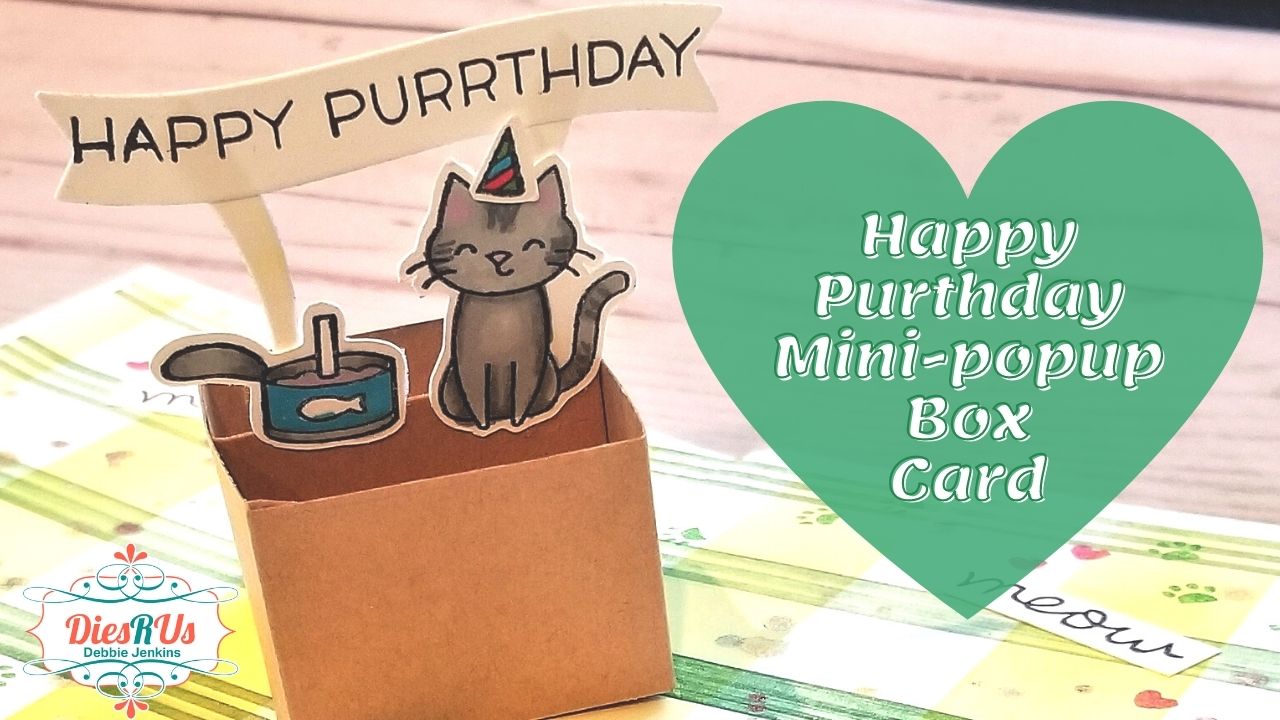
Hi Guys! I'm Debbie from Debbie J’s Crafting Corner, here today sharing how I used several stamp and die sets from Lawn Fawn to create this Mini Pop-up Box Card.
I love showing the process when I’m creating. I hope my tutorial and video help you see that, if I can make it, You Can Too!
I used the following stamps and dies from Dies R Us:
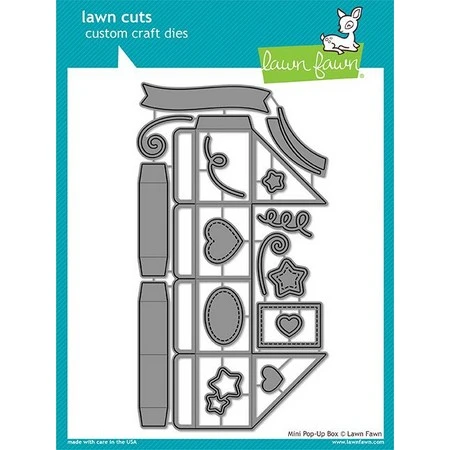
Lawn Fawn - Mini Pop-up Box dies
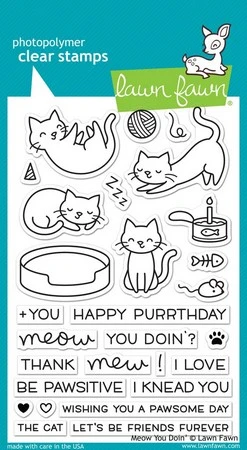
Lawn Fawn - Meow you Doin' Stamp set
Check out the video showing how I created this fantastic card!
Video Chapters
Introduction: 00:00
Coloring: 1:00
Stenciling the background: 5:00
Splatter!: 6:20
Decorating the Front: 7:30
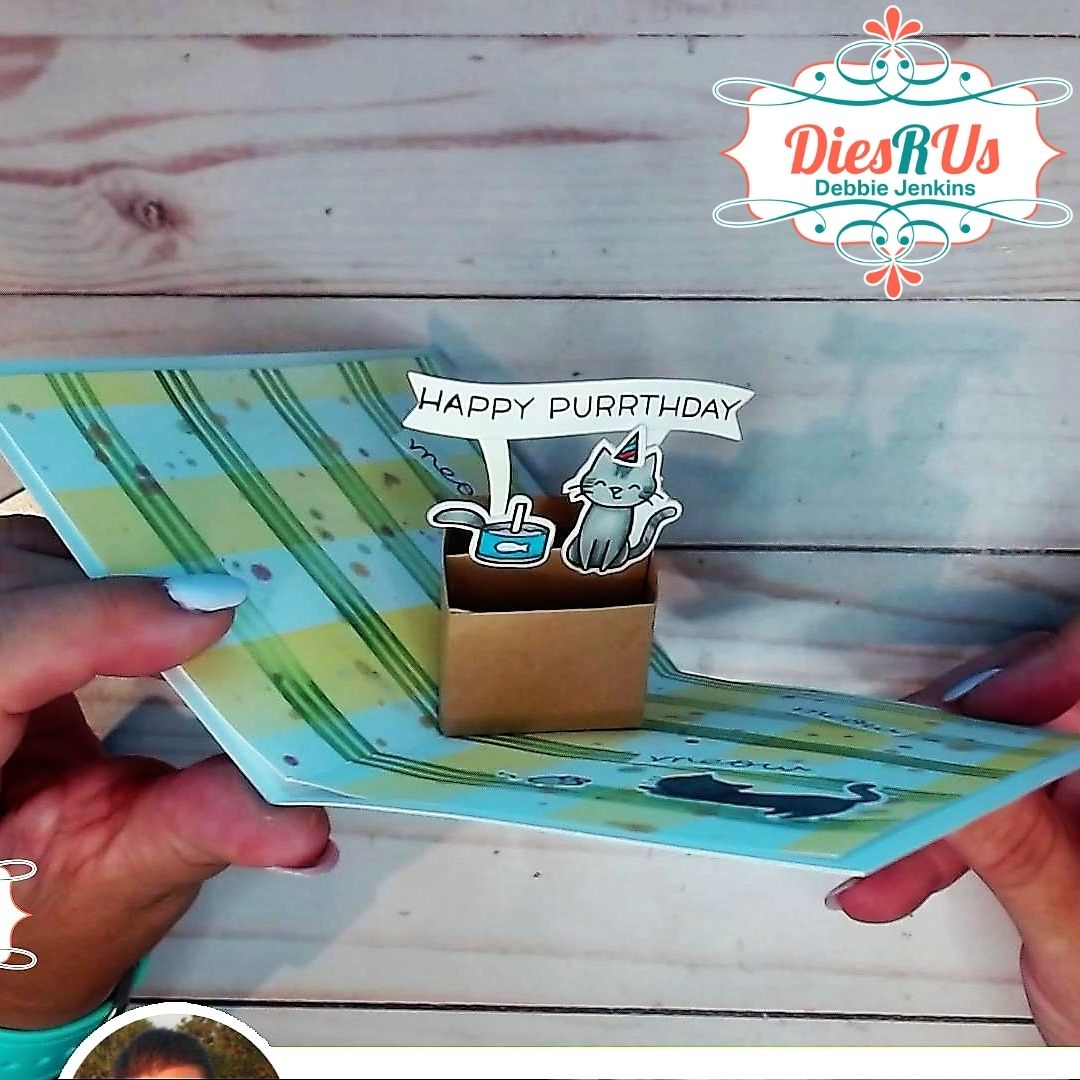
Creating the pop-up: 9:22
Decorating the inside: 11:11
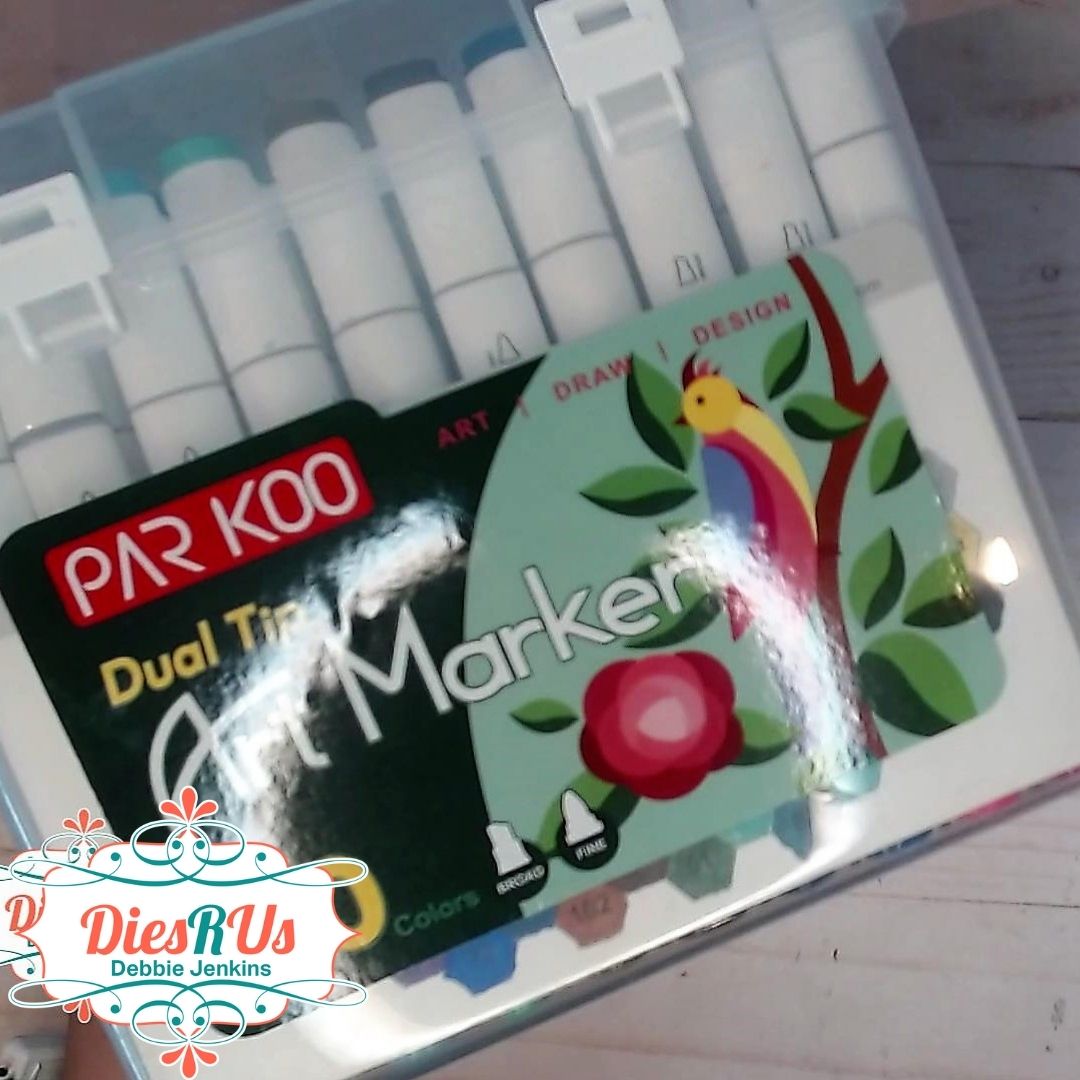
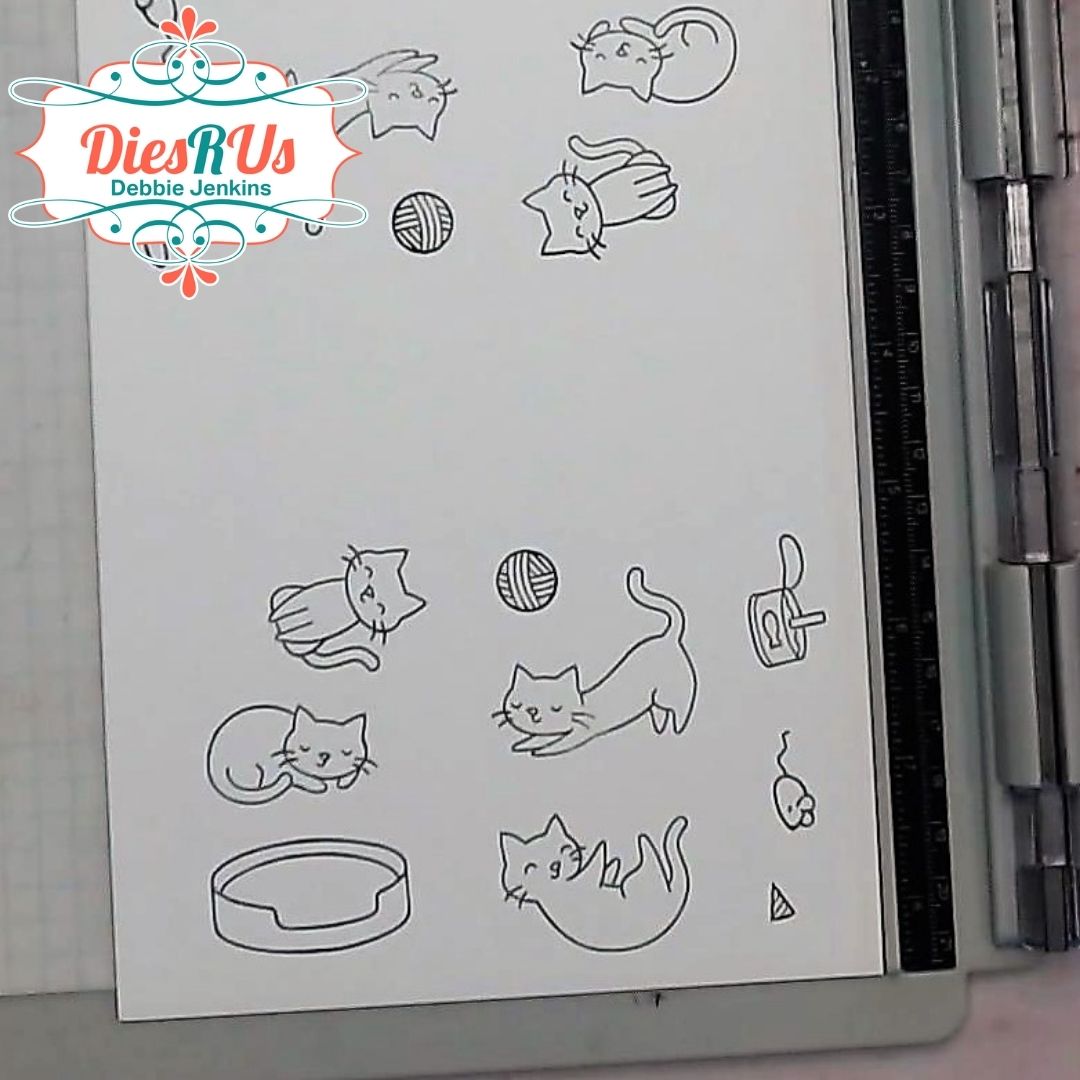
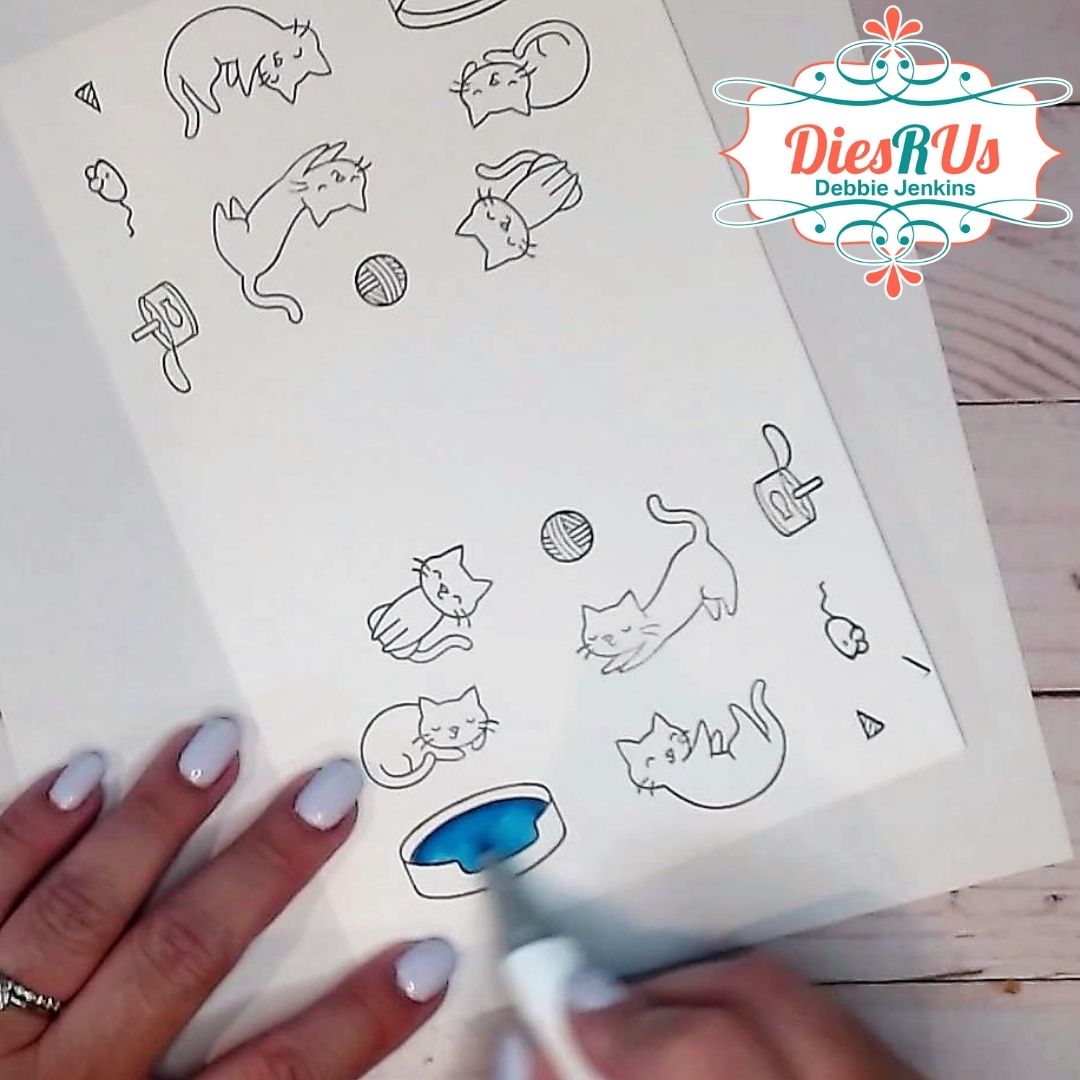
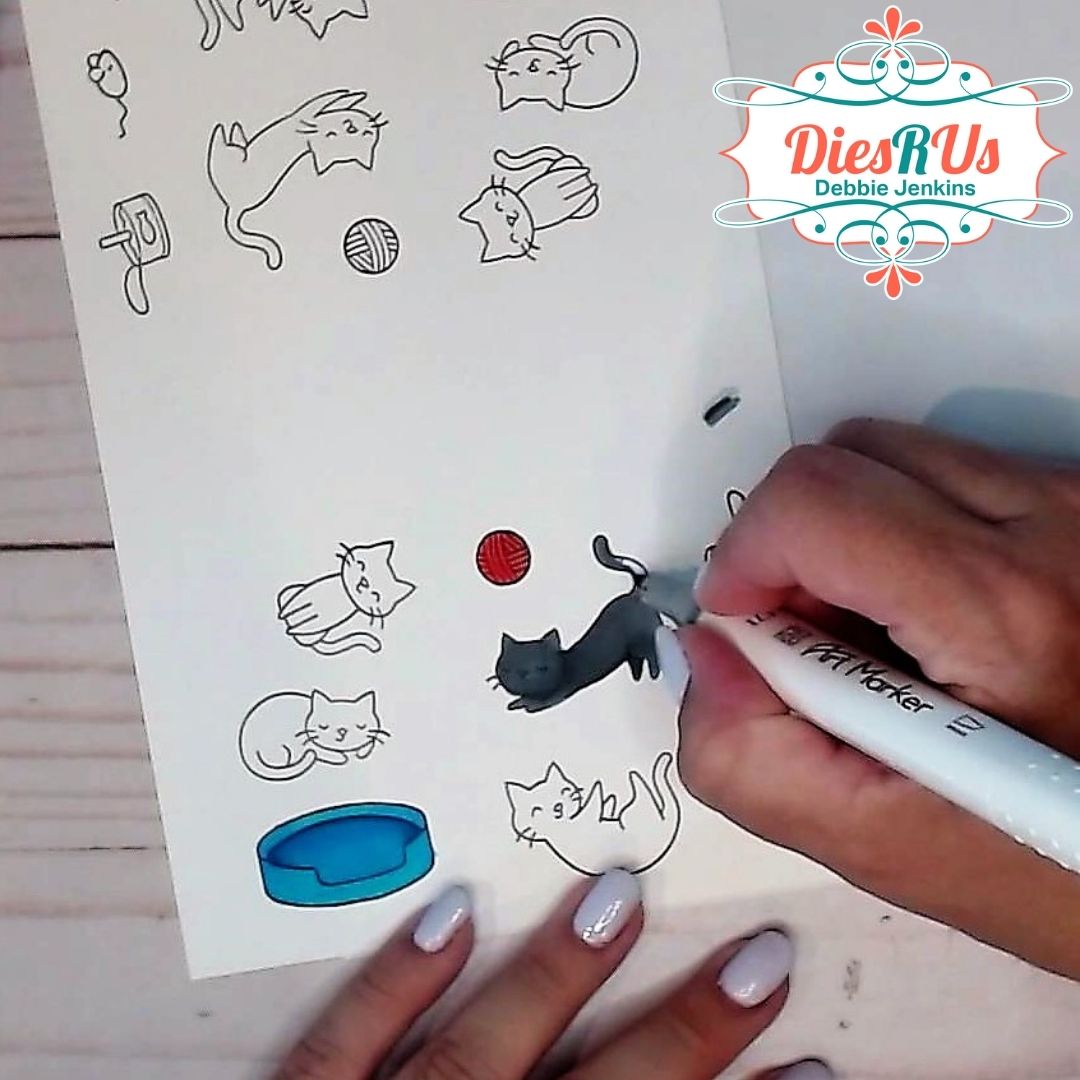
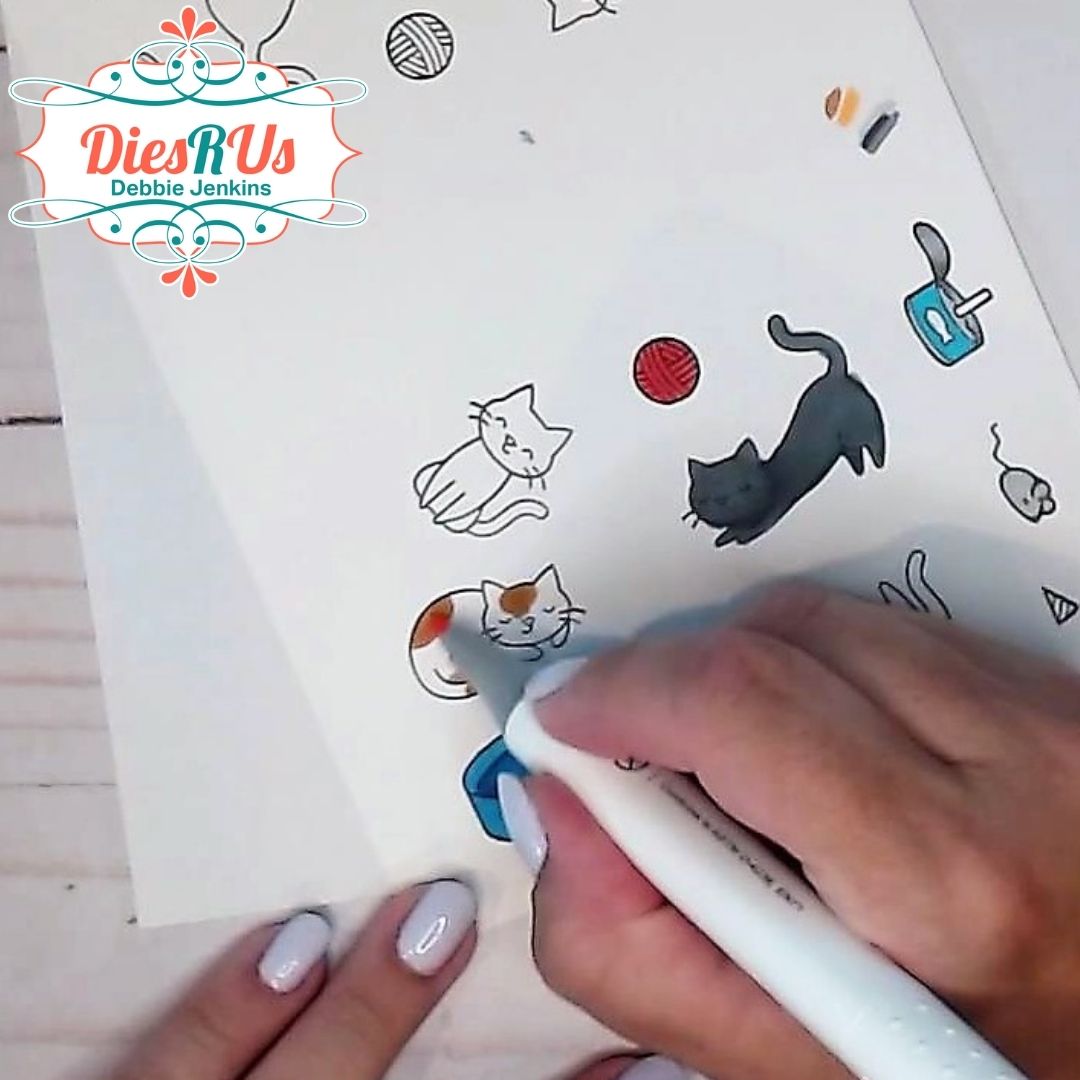
Coloring with Parkoo Markers
I’m still practicing with these new-to-me alcohol markers (so far, I do like them. You can check out the unboxing and other videos where I use them on my YouTube Channel). And today, I’m coloring up a bunch of kitties.
The idea for this box is taken from my own cats… if there is box in the floor, the kitties will sit in it. As the meme goes “If I fitz, I sitz”.
Anyway, they love them enough that we tend to leave boxes from new deliveries on the floor for a few days so they can play (and sometimes fight over them).

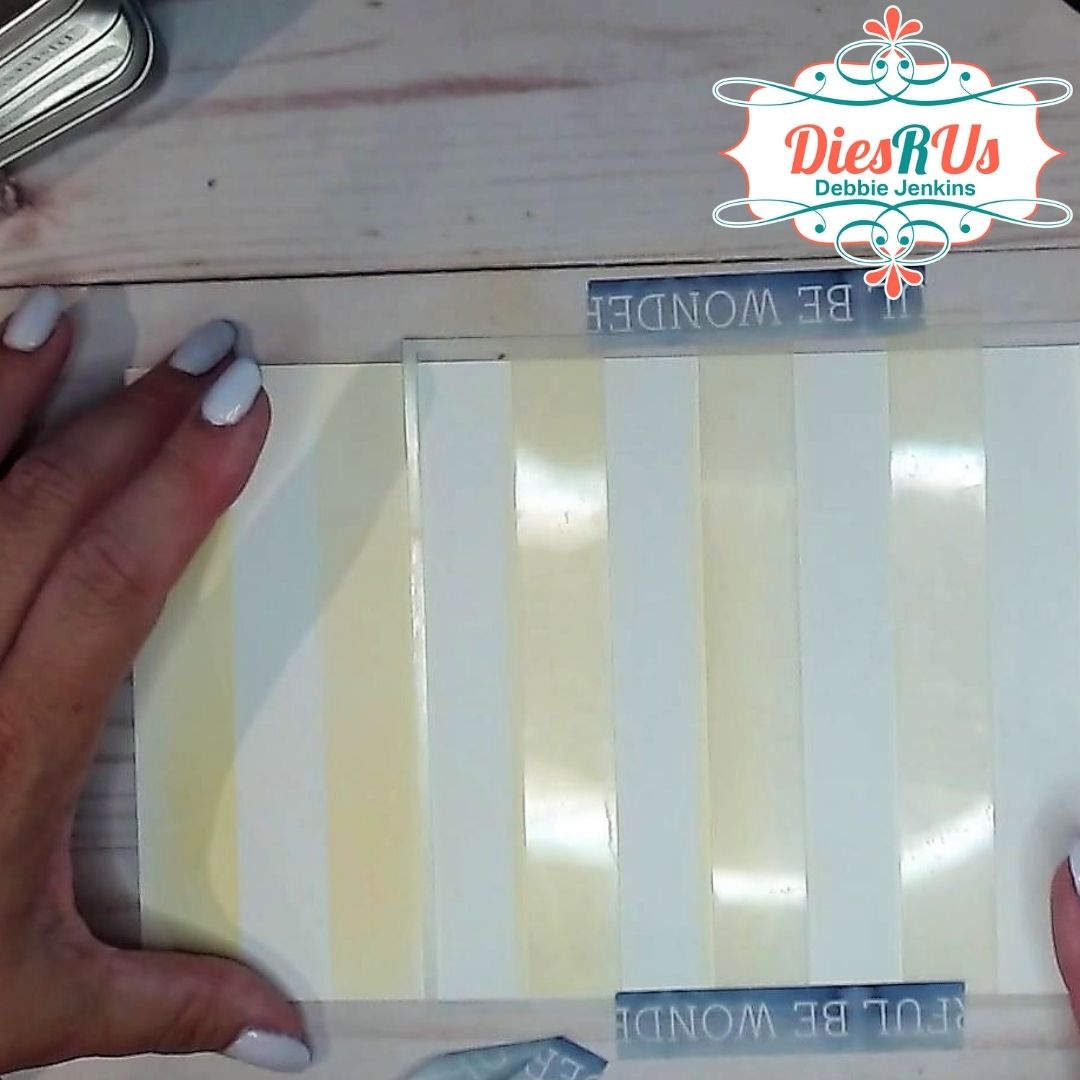
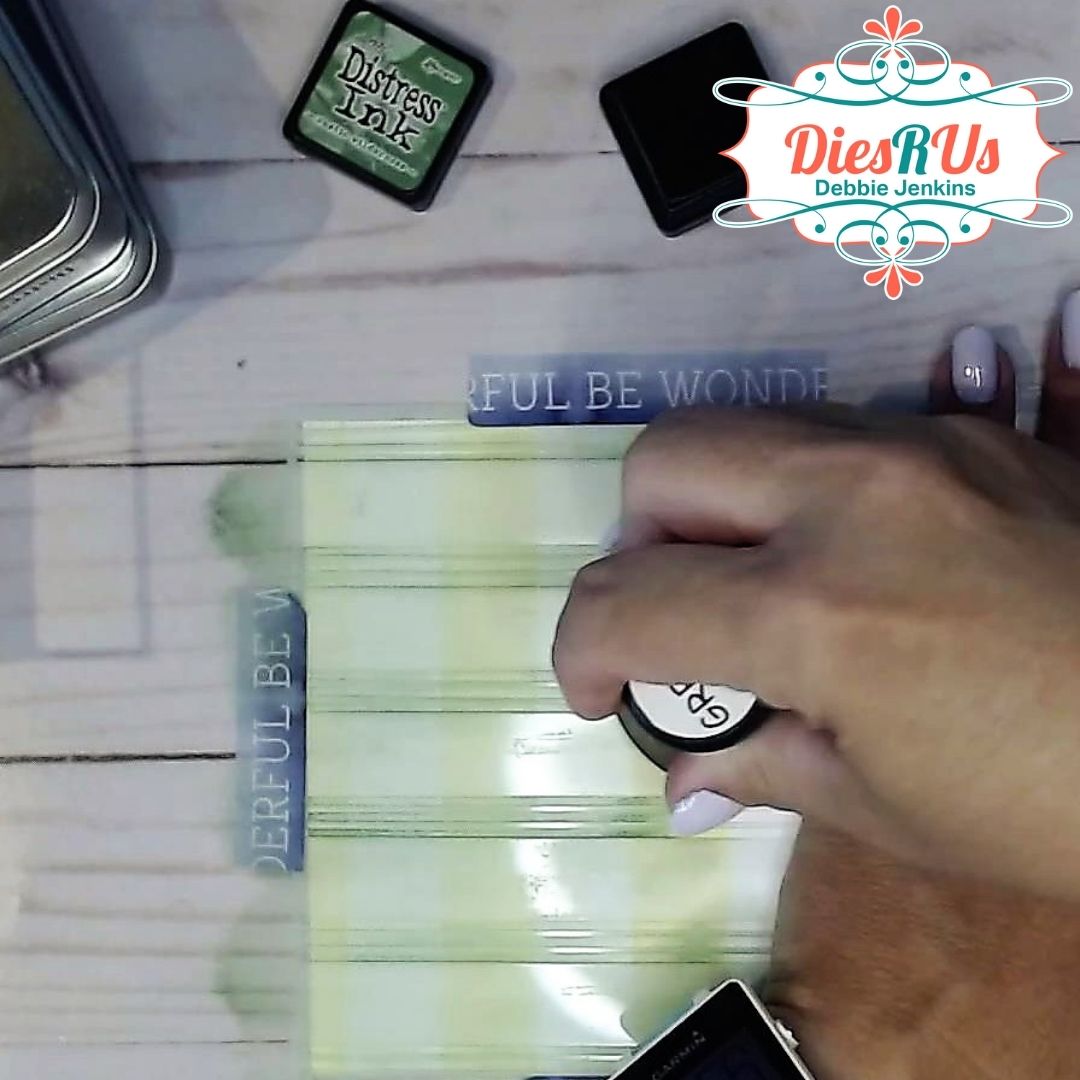
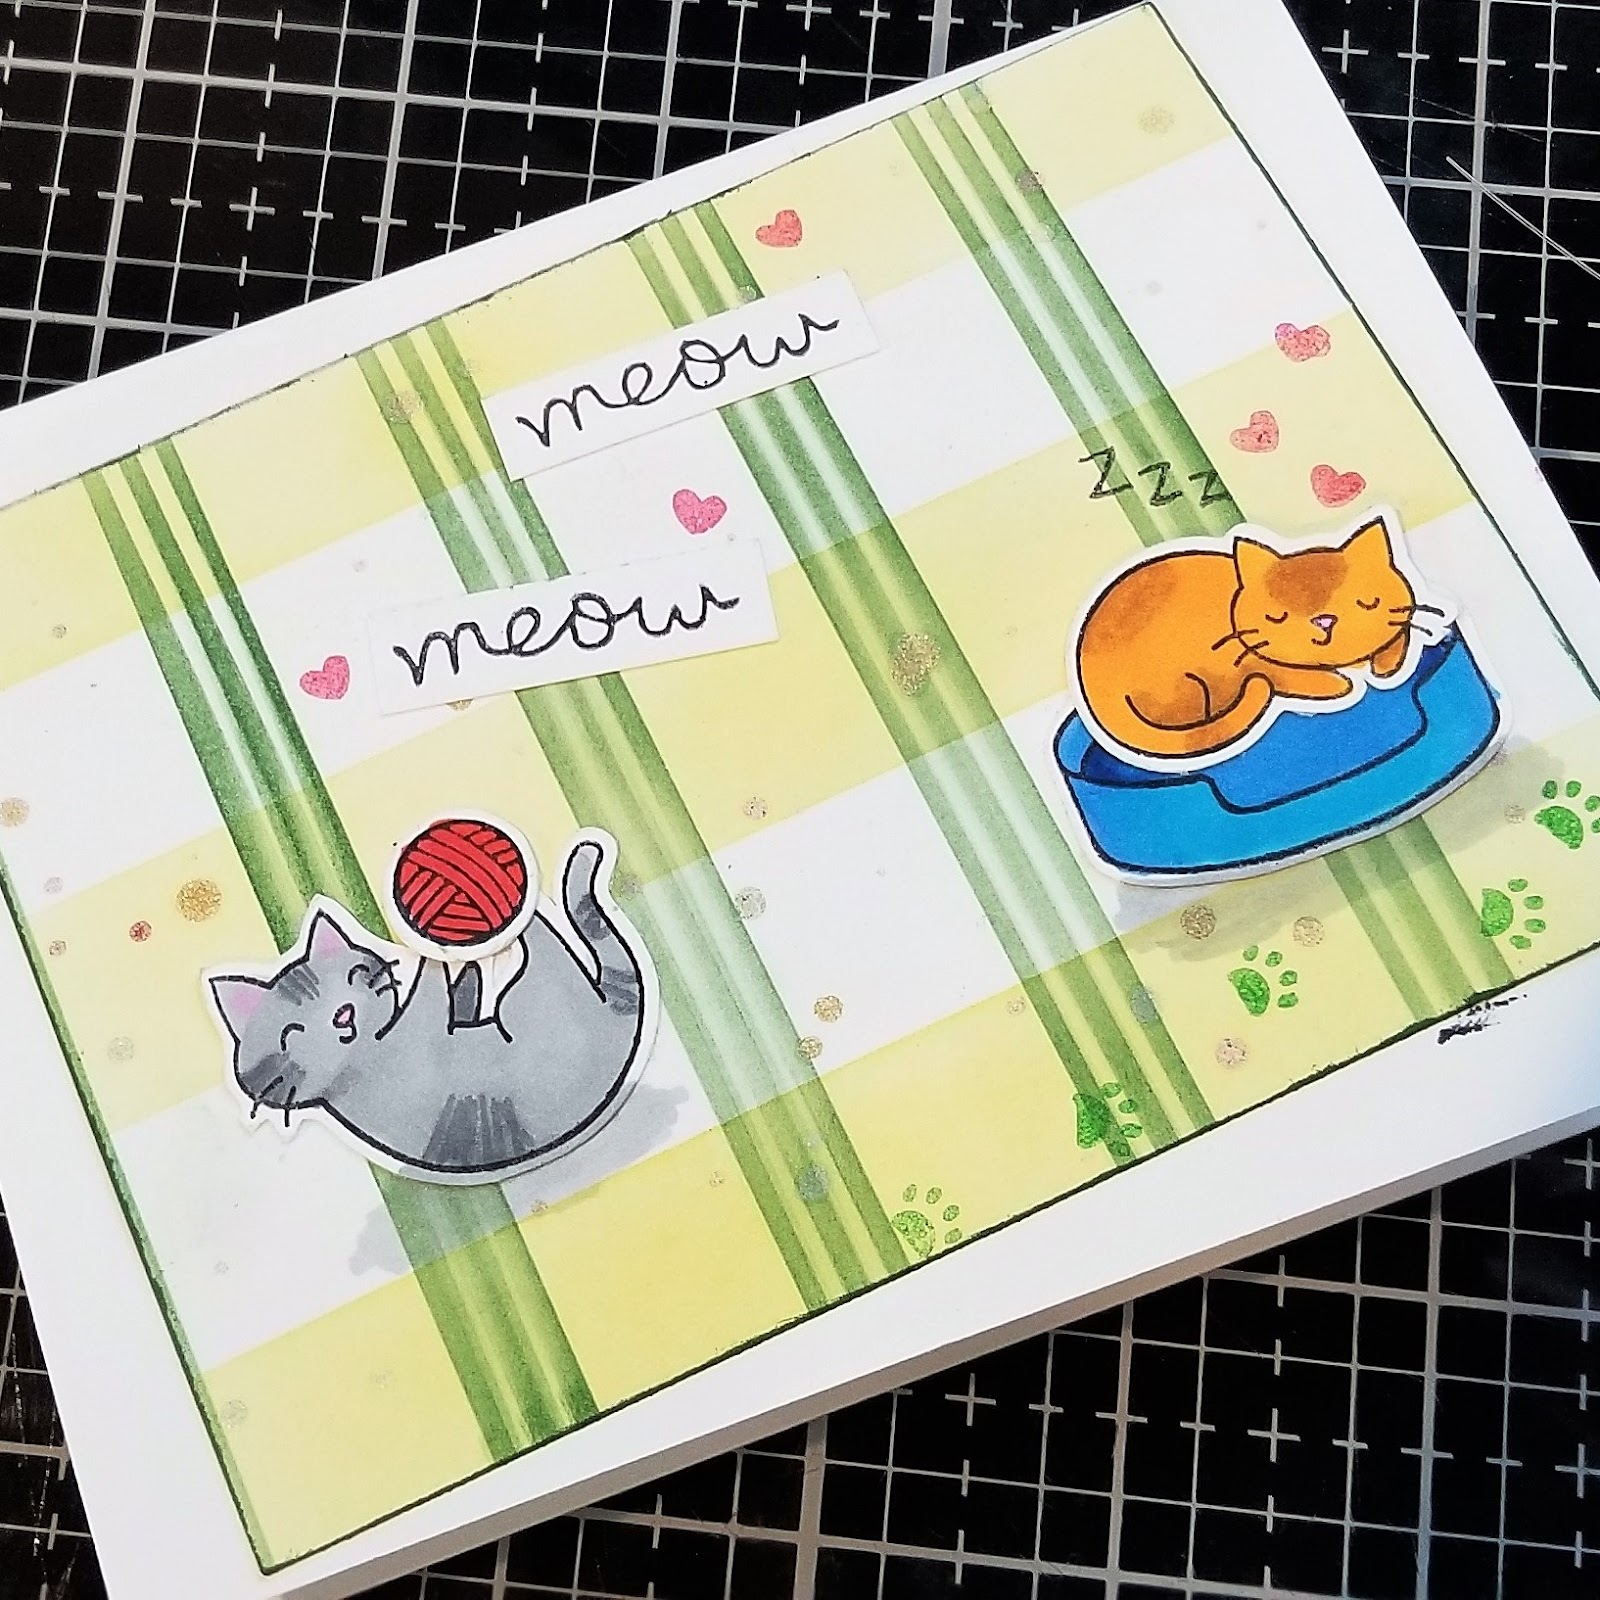
Stenciling the Background
I decided to give the kitties a rug to play on.
So I stenciled a couple of 8 ½ x 5 ½ cardstock panels with the Honeybee Plaid Background Stencil and some Distress Inks.
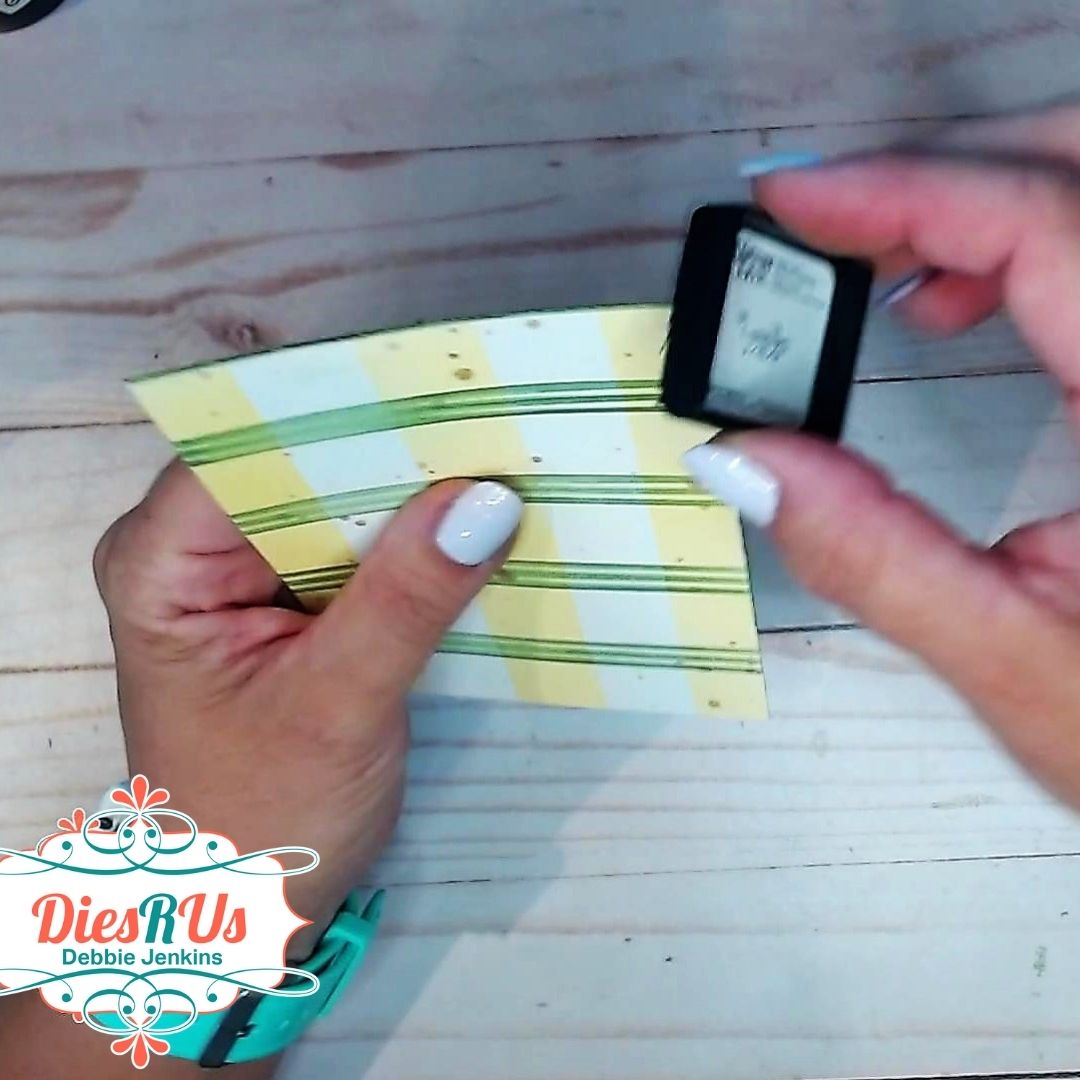
I cut one of the panels down to smaller then A2 size. Then I added a little spatter with some diy shimmer sprays made from Perfect Pearls and water.

I inked the edges, and that finished up the “rug” background for the front of the card.
Making the popup
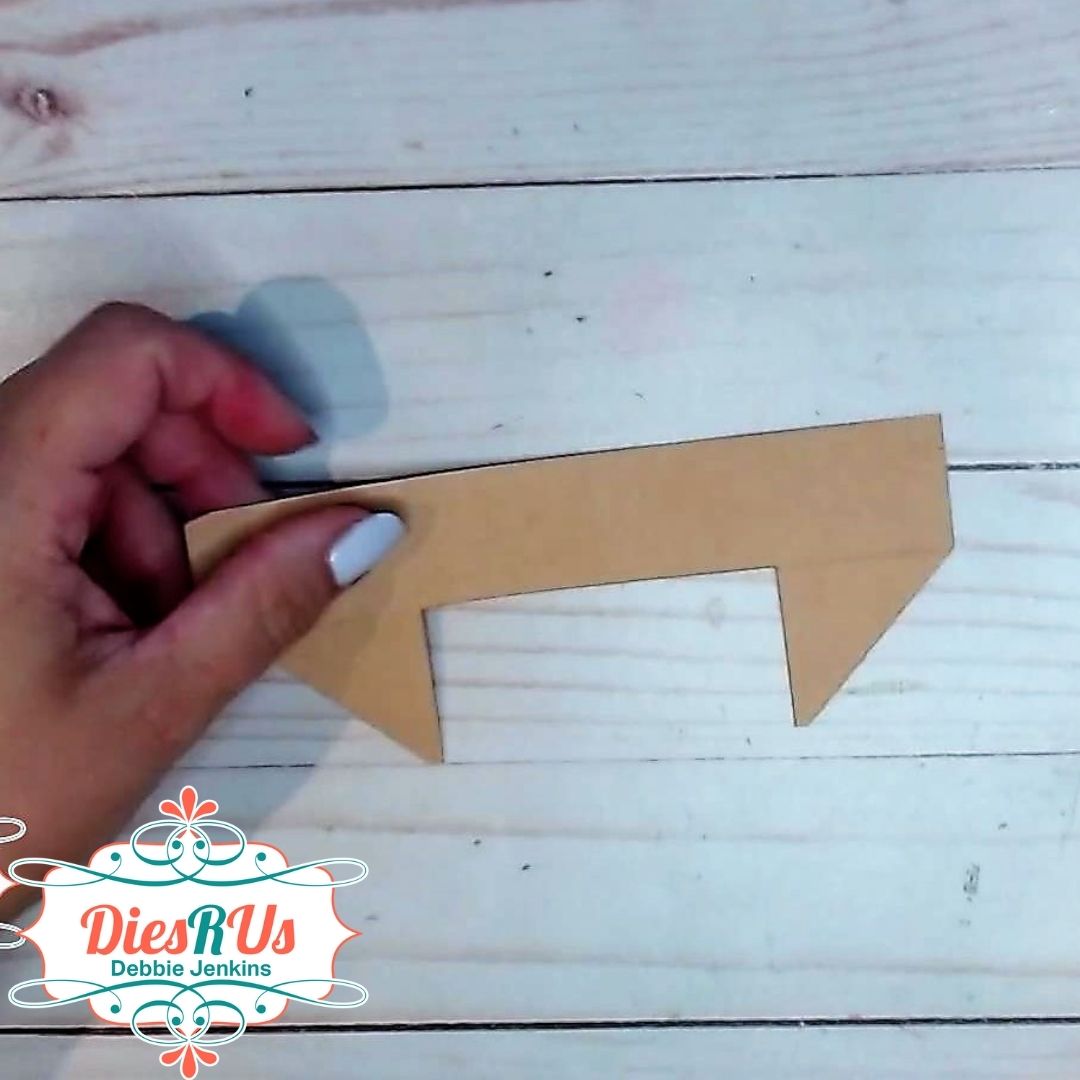
Next I started working on the popup by cutting out the main piece from the mini pop-up box die set.
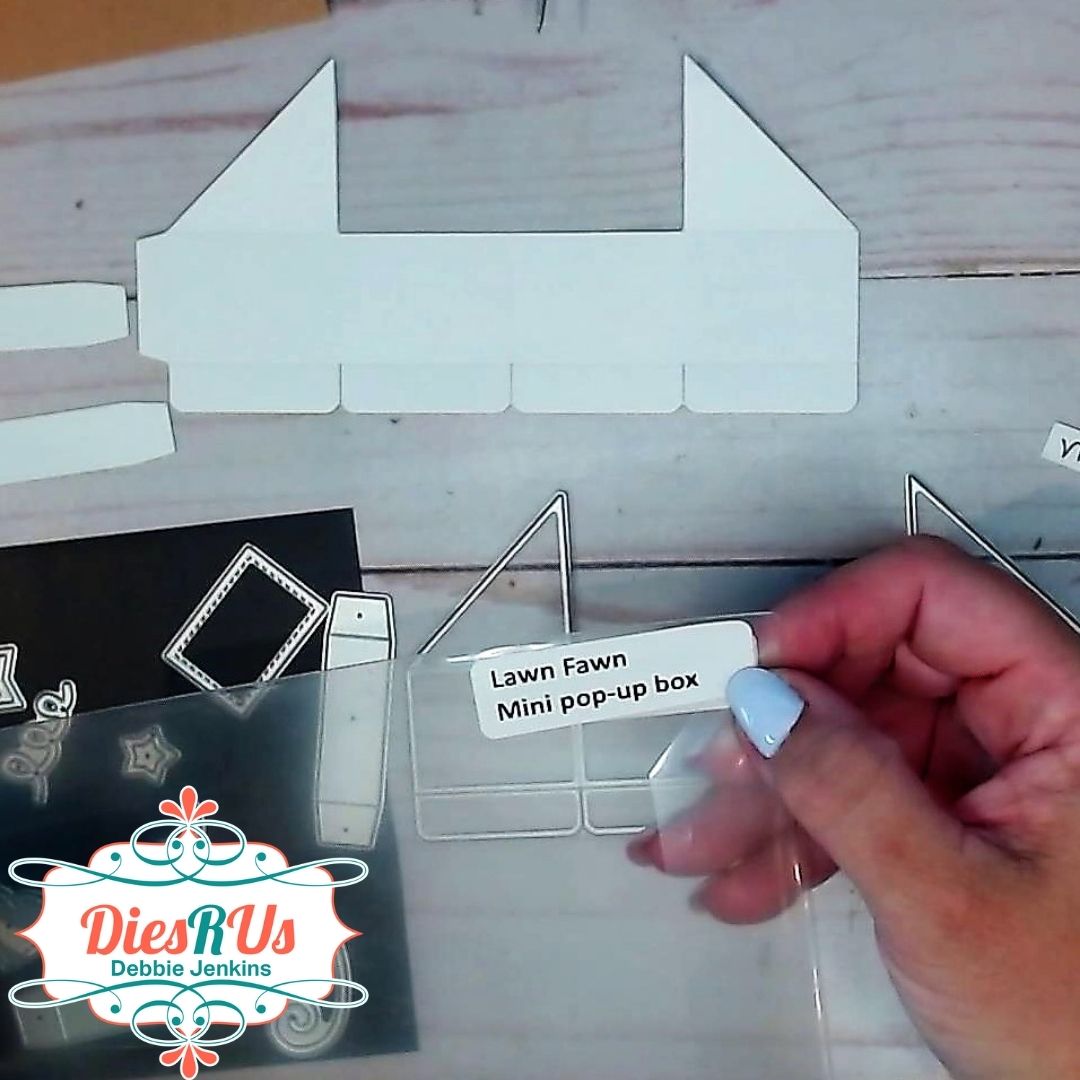
I don’t want a white box… so I cut it out of kraft cardstock and cut off the 4 top tabs.
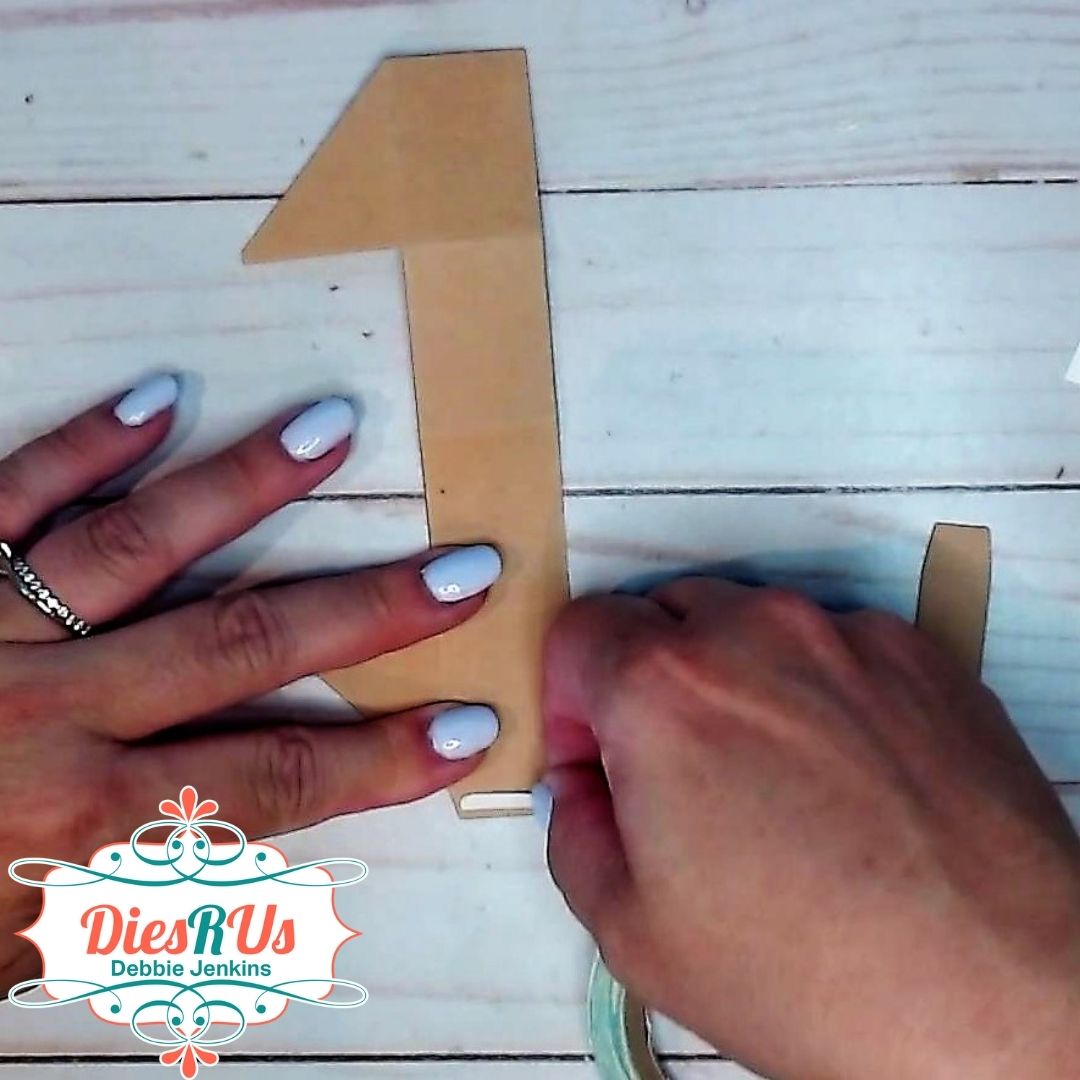
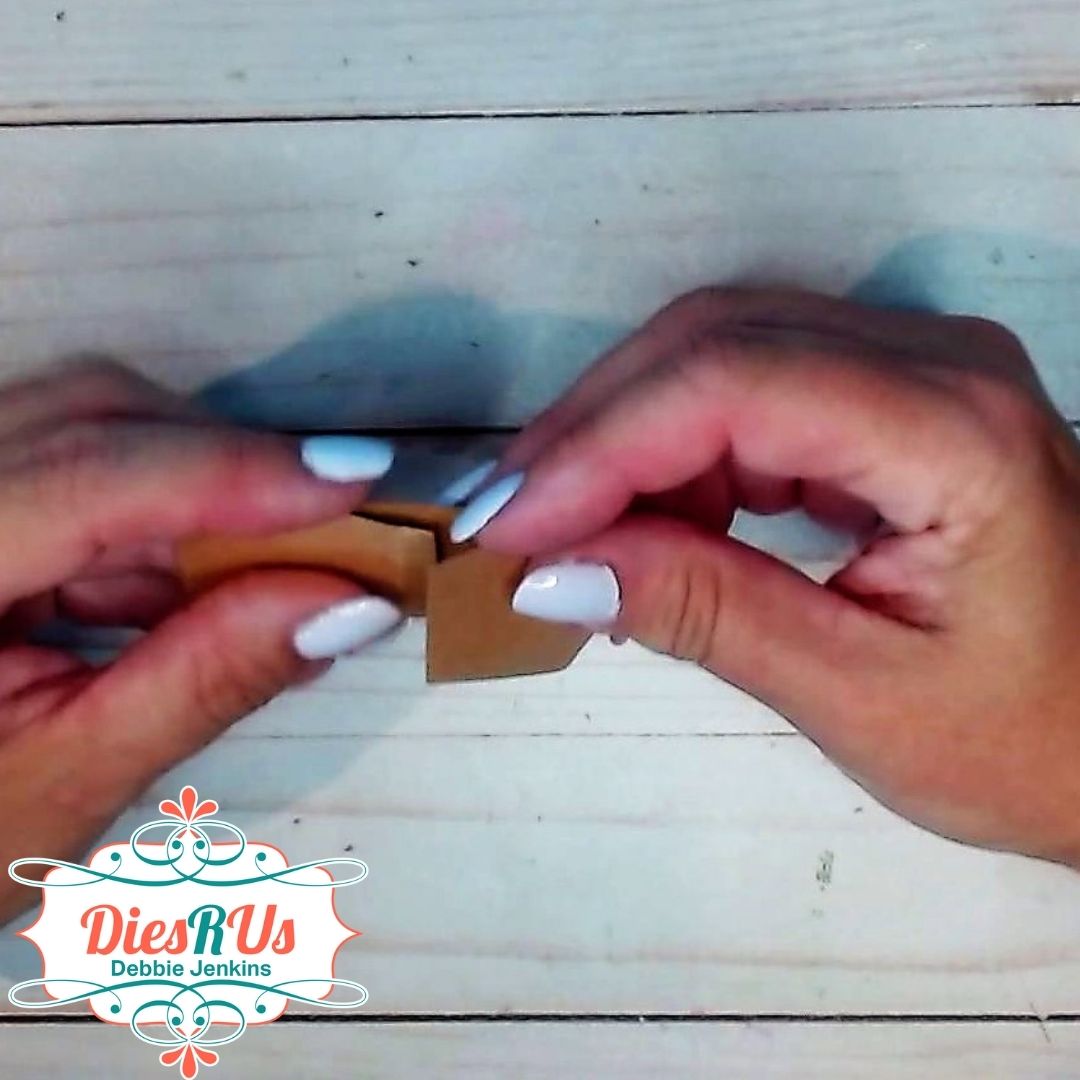
To assemble the box, I folded along the score lines and added some score-tape to the tab.

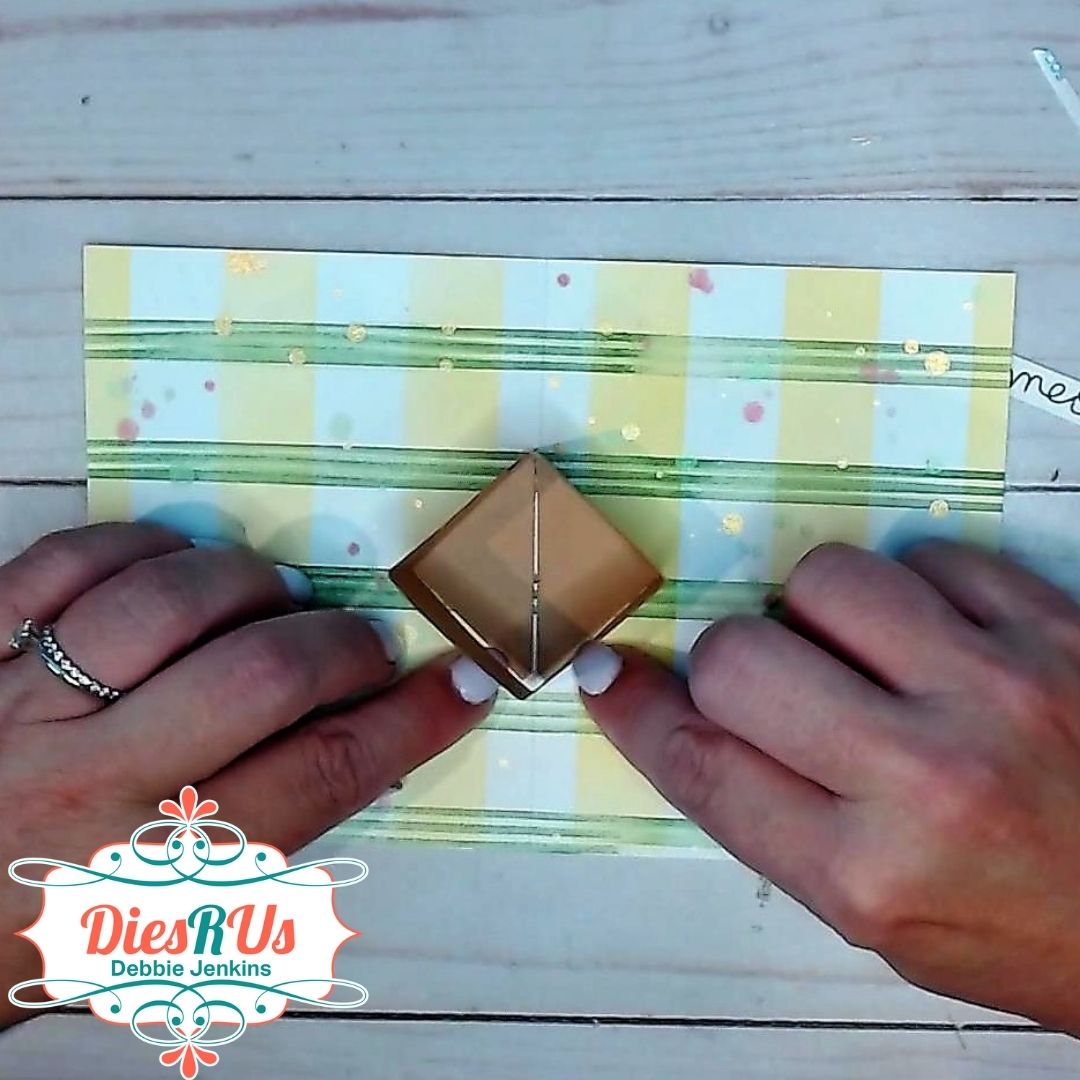
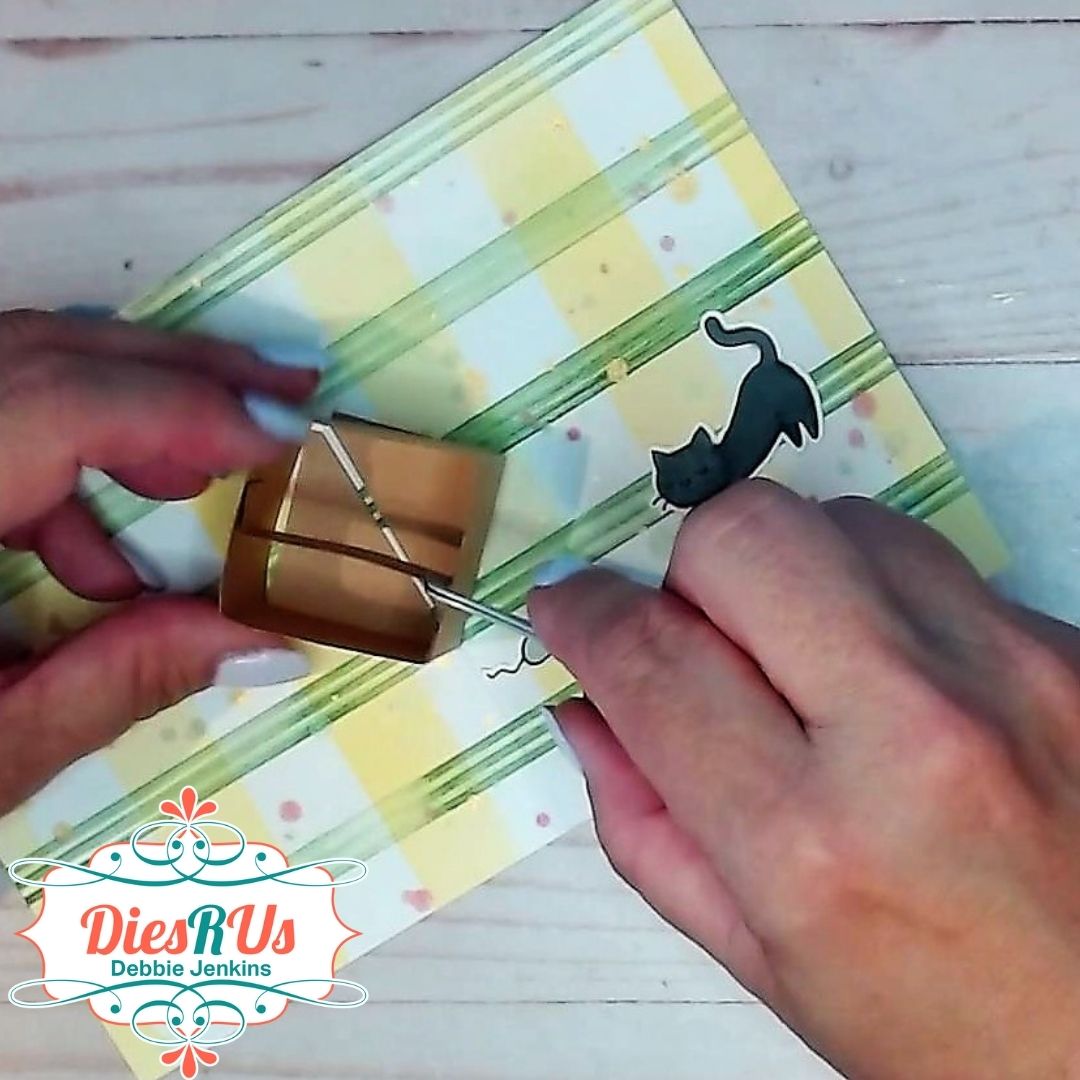
After lining the tab up with the other end, and attaching them together. We can add it to the other stenciled panel. I’ve already folded it in half. So, I added a generous amount of adhesive to the triangle shaped tabs, folded them under the box and lined them up with the middle score line of the panel.
There are also a couple of “bridge” dies. These create pieces to go across the inside of the box so you have a place to adhere your characters and decor.
I cut one of these and attached it inside the box.
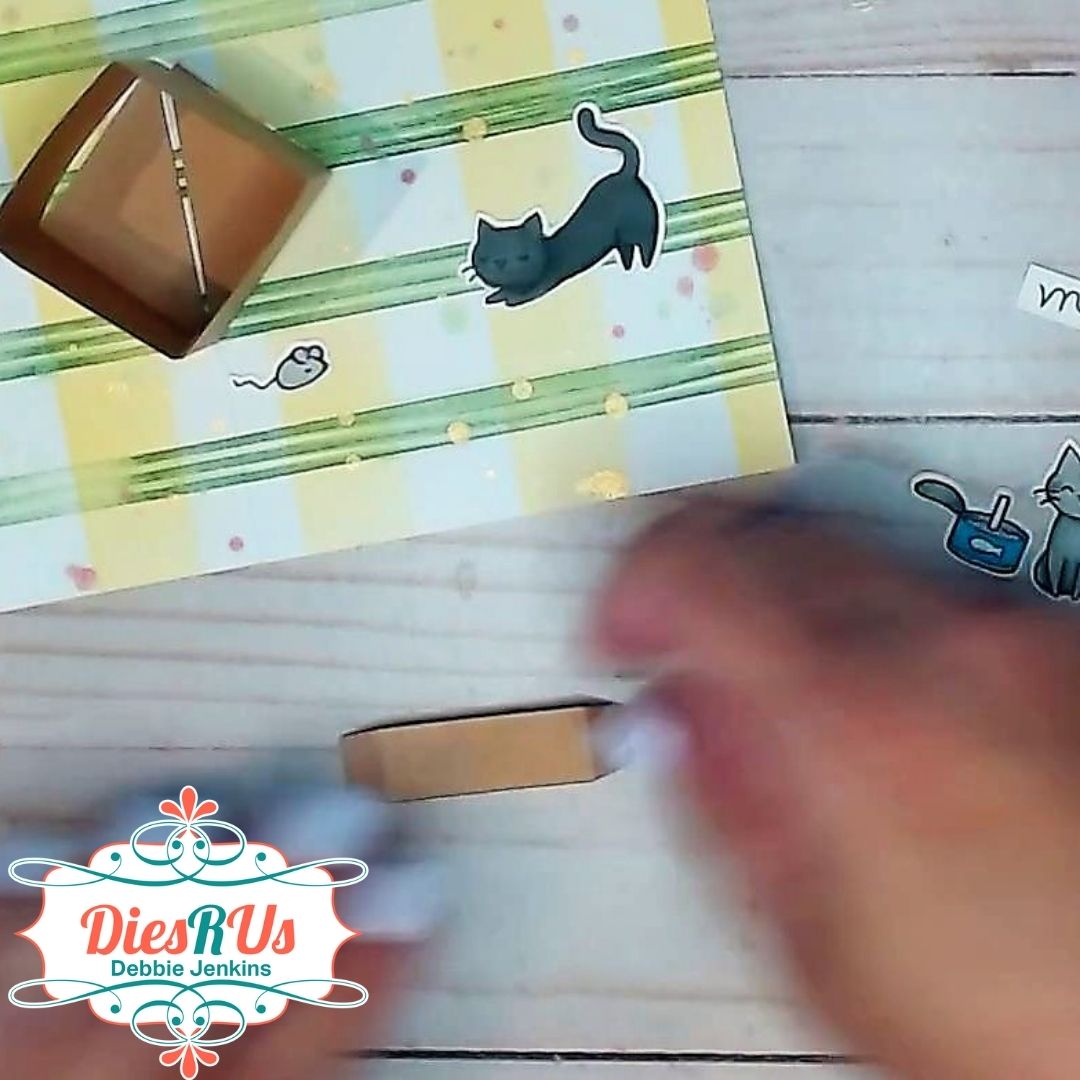
Next it’s time to decorate!
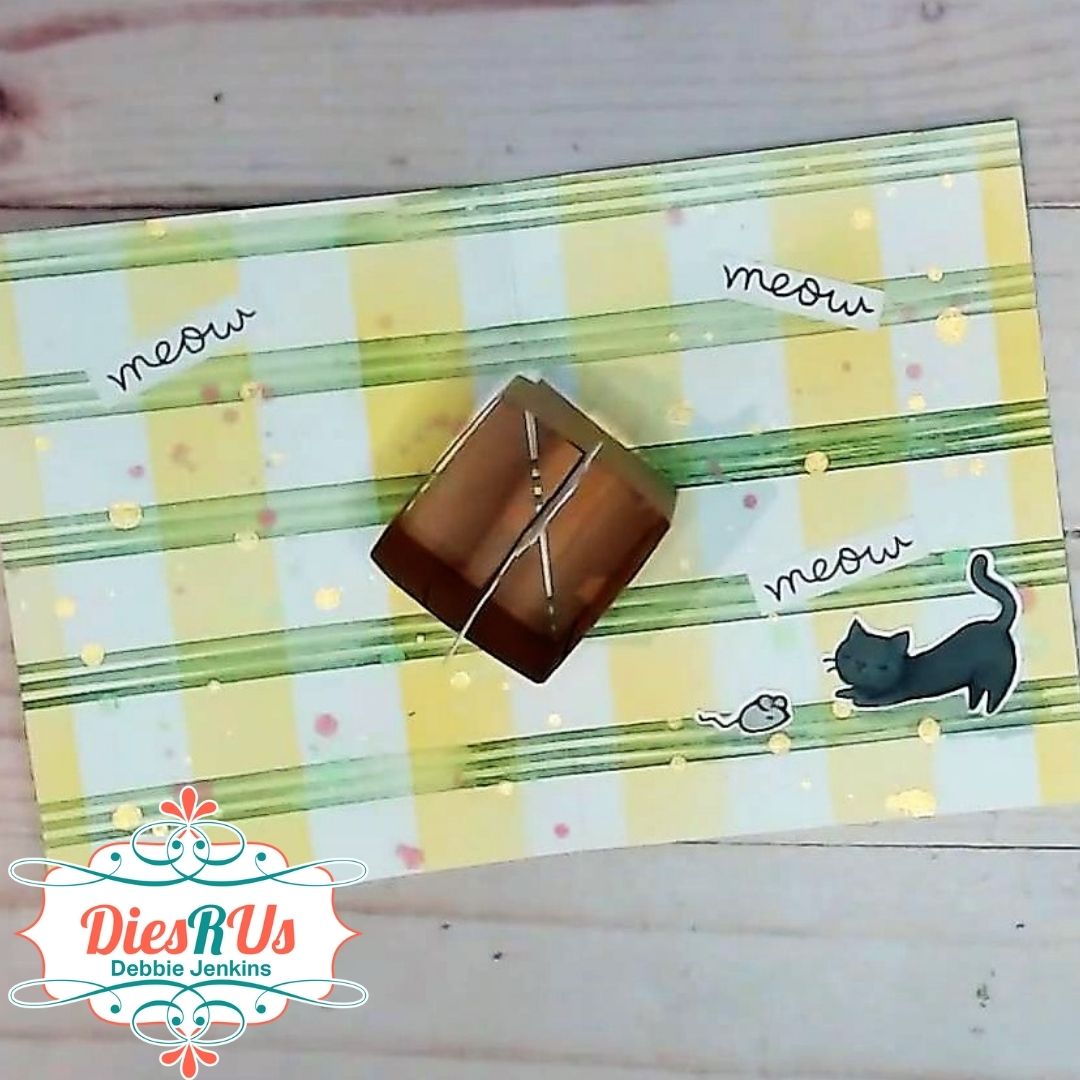
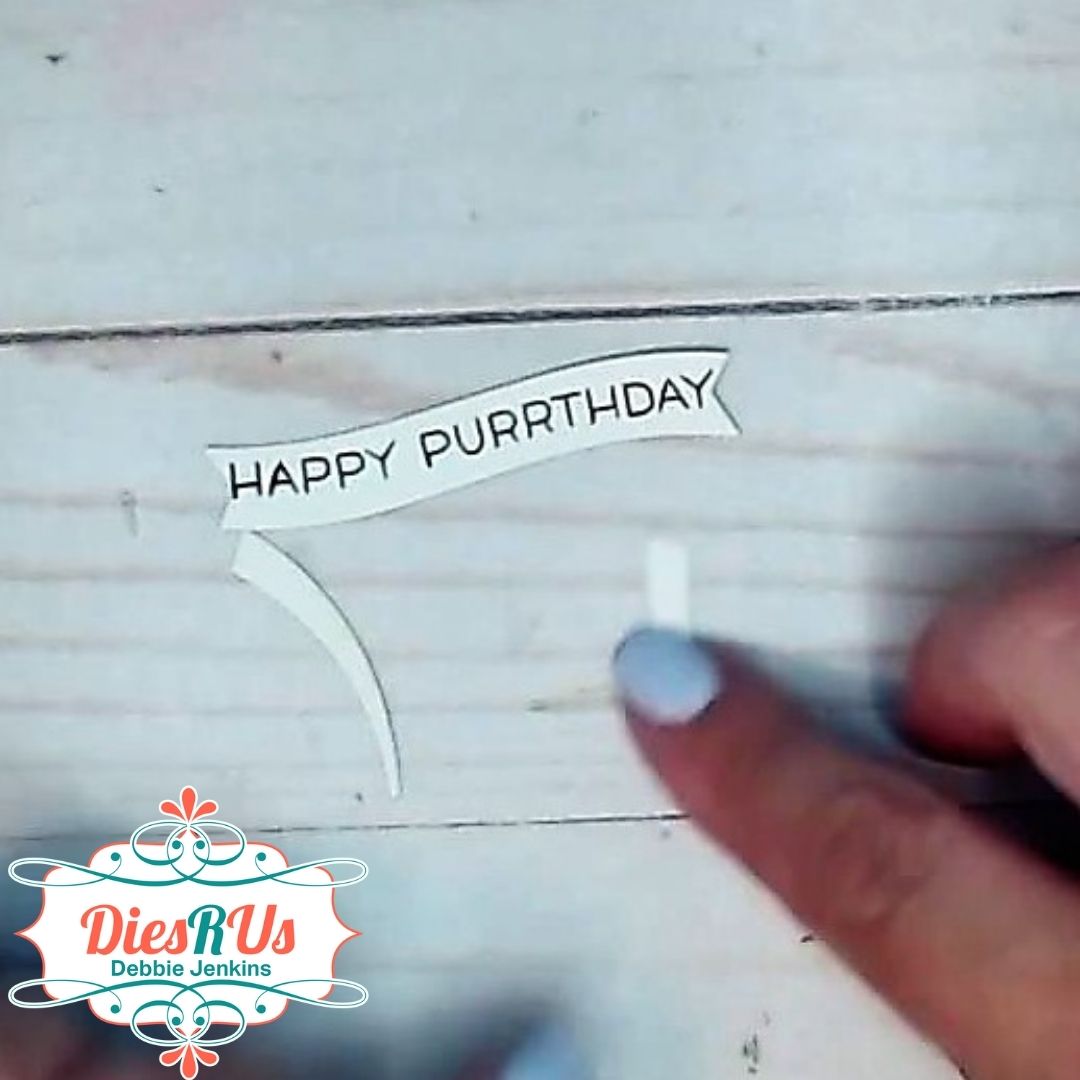
Here are some photos of the finished card.


Thank you so much for dropping by. I hope you enjoyed this project and would love to hear what you think of this card.
Please leave me a comment down below!
Be sure to check out my YouTube Channel, Blog, Pinterest, and Instagram for more inspirational projects. I also have a fun Facebook Group where you can share your projects with other fantastic creators. We would love to see what you create, so come join us!
Head back to the Dies R Us Blog tomorrow for more fabulous inspiration from the DRU Inspiration design team.
Be sure to check head over to Dies R Us Challenge Blog. We love to see what you create, and this is a perfect place for you to share your creativity.
PLUS, there is a new challenge theme offered on the 1st and 15th of each month, and one lucky randomly drawn winner will receive a $10 gift certificate to the Dies R Us Store.

Thanks so much for stopping by. And remember, if I can make it, YOU CAN TOO!
No comments:
Post a Comment
Note: Only a member of this blog may post a comment.